
 Pin
Pin
If you are looking for the easiest way to whip up a snack that actually satisfies and fuels you between meals these homemade protein bars are my go to They are chewy sweet full of nutty flavor and so much better than store bought options plus you can customize them for any diet or craving
My love for these bars started when I could never find a protein bar in stores that kept me full or tasted like real food After the first homemade batch my friends started asking for them as part of our hiking tradition
Gather Your Ingredients
- Peanut butter: choose a creamy natural peanut butter for best binding and flavor you can use almond or sunflower butter for allergies just make sure it is not too runny
- Protein powder: use a quality vanilla or unflavored protein powder with simple ingredients always check the label for sugar content and flavor strength
- Maple syrup or honey: acts as the sweetener and helps hold bars together pure maple syrup offers a deeper sweetness honey gives a floral boost use what you prefer
- Salt: adds balance and bumps up the nutty notes if using unsalted butter increase salt slightly
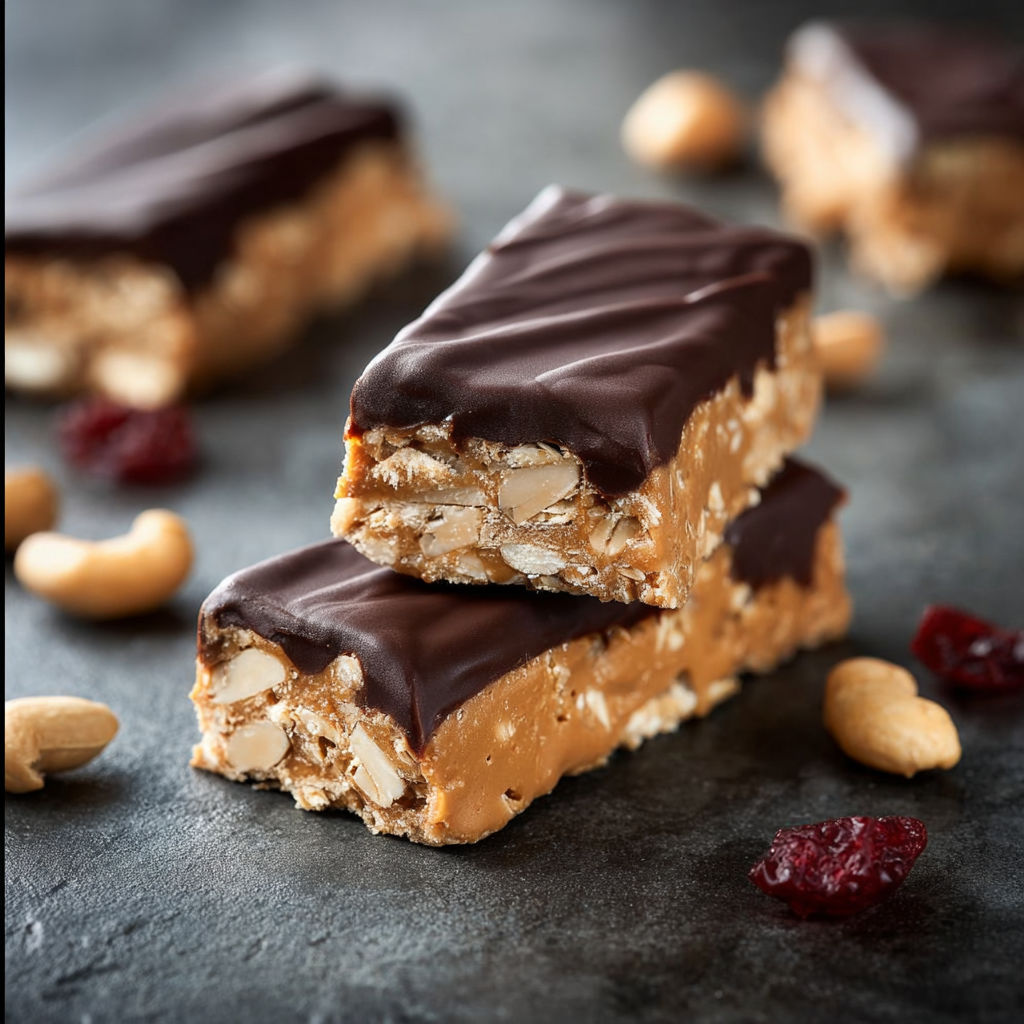
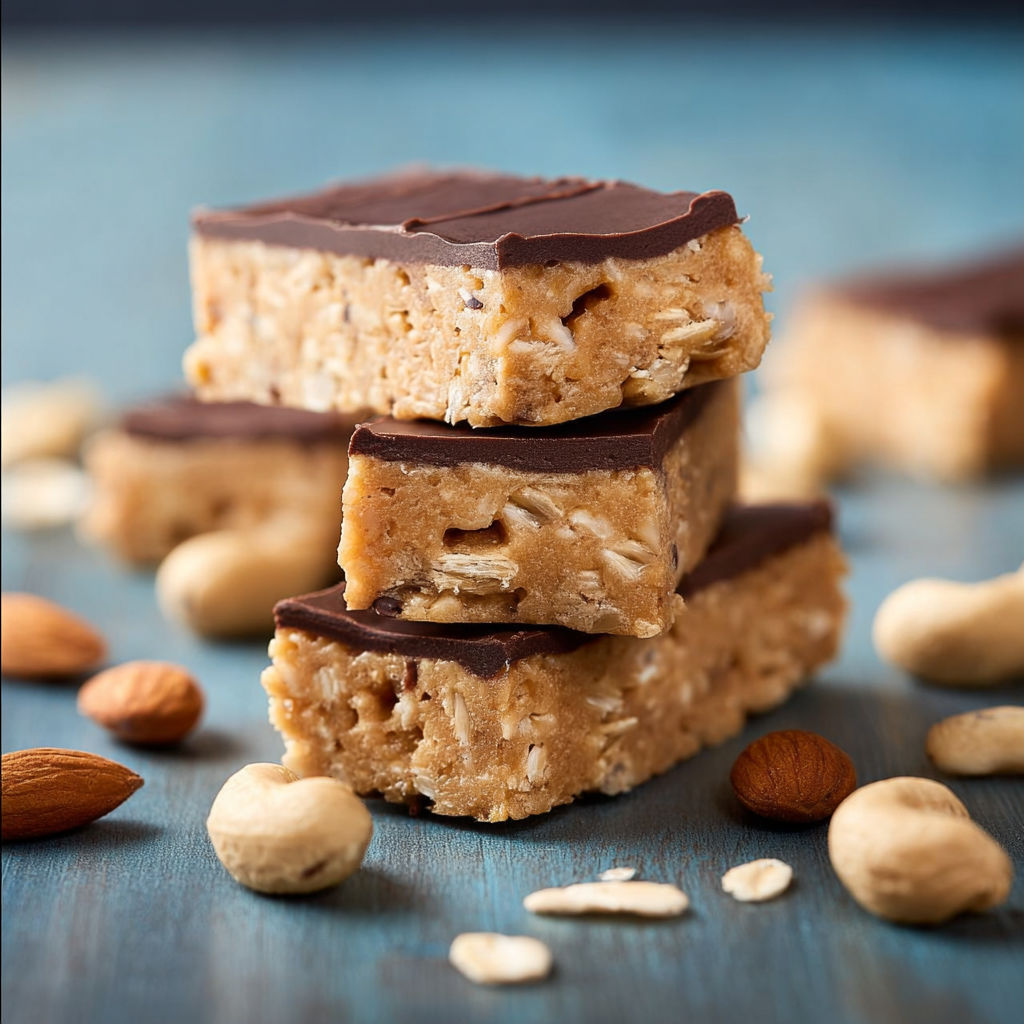
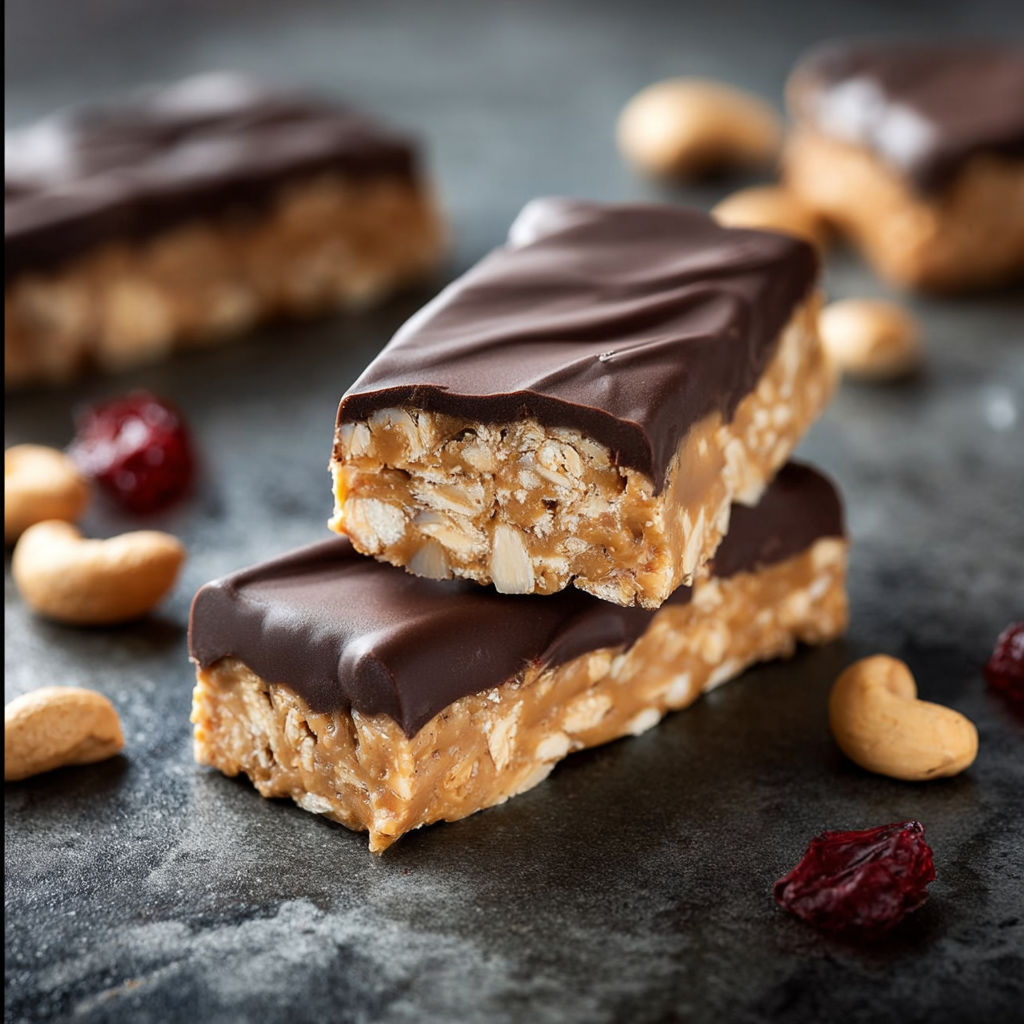
- Melted chocolate chips: optional but creates a classic protein bar topping look for dark or semisweet chips choose a brand with minimal added sugar
How to Make It
- Mix the Base:
- Combine peanut butter maple syrup or honey and salt in a medium bowl Mix until the mixture is creamy smooth and all one shade of tan If the peanut butter is very stiff warm it for ten to fifteen seconds in the microwave This helps everything blend easily and makes your bars chewy instead of crumbly
- Add Protein Powder:
- Pour the protein powder slowly into the wet mixture Stir gently with a sturdy spatula Fold until a thick dough forms and no dry protein spots remain The mixture will look dense but should still feel pliable If needed add a dash more syrup to help it come together Never rush this step or you will get lumps
- Shape and Press:
- Transfer your dough to an eight inch square pan lined with parchment paper Use the back of a spoon or small rolling pin to press the dough very firmly into the corners and edges Aim for an even half inch thickness Compacting the mixture tightly is crucial so your bars do not fall apart when sliced
- Add Chocolate Layer:
- If using chocolate chips melt them in the microwave in short bursts stirring every twenty seconds Pour the melted chocolate over the dough Use an offset spatula to spread it in a smooth even layer Chill the pan for five to ten minutes so the chocolate sets and glosses
- Chill and Cut:
- Refrigerate the filled pan for at least one hour This firms up the bars and improves the texture Lift the entire block from the pan using parchment trim edges for neat bars then slice into six or eight pieces with a sharp knife Wipe the blade between cuts for clean edges
For me the best part is choosing the topping I love swirling a sprinkle of flaky salt into the chocolate before it hardens because it reminds me of the treats my grandma made for our school lunches She always said the salt made the chocolate pop and she was right
Flavor Boosters
Swap in almond cashew or sunflower butter for peanut allergies Change the syrup to agave or date syrup for a unique flavor Plant based protein powders also work but you may need a splash more syrup for moisture
Serving Suggestions
Cut bars into mini squares for snack platters or lunchboxes Pack with fresh fruit or yogurt for a breakfast that never gets boring Drizzle with extra melted chocolate or coconut for special occasions
Creative Twists
In summer add lemon zest or dried berries for brightness During winter use warming spices like cinnamon or nutmeg to compliment the nut butter Try stirring in toasted pumpkin seeds or chopped dried apricots for fall Inspired by the farmers markets I started using local honey for a little floral sweetness in spring
I have made these for soccer practices hiking trips and late night study sessions Every time someone asks for the recipe and is surprised by how easy they are once you know the tricks After a long weekend hike they taste even better chilled from a cooler
Common Questions About This Recipe
- → What can I use instead of peanut butter?
Try almond butter, cashew butter, sunflower seed butter, or other allergy-friendly spreads for different flavors.
- → How can I make these bars lower in sugar?
Swap maple syrup with a sugar-free sweetener like stevia, monk fruit, or opt for unsweetened nut butter and chocolate.
- → Do I need to bake these protein bars?
This version calls for a brief baking time, but chilling in the fridge can also set the bars if you prefer no-bake.
- → How should I store homemade protein bars?
Keep bars in an airtight container in the refrigerator for up to one week, or freeze for longer storage.
- → Which protein powder works best for these bars?
Whey, plant-based, or collagen protein powders all work well—choose according to your dietary preference and flavor.