
 Pin
Pin
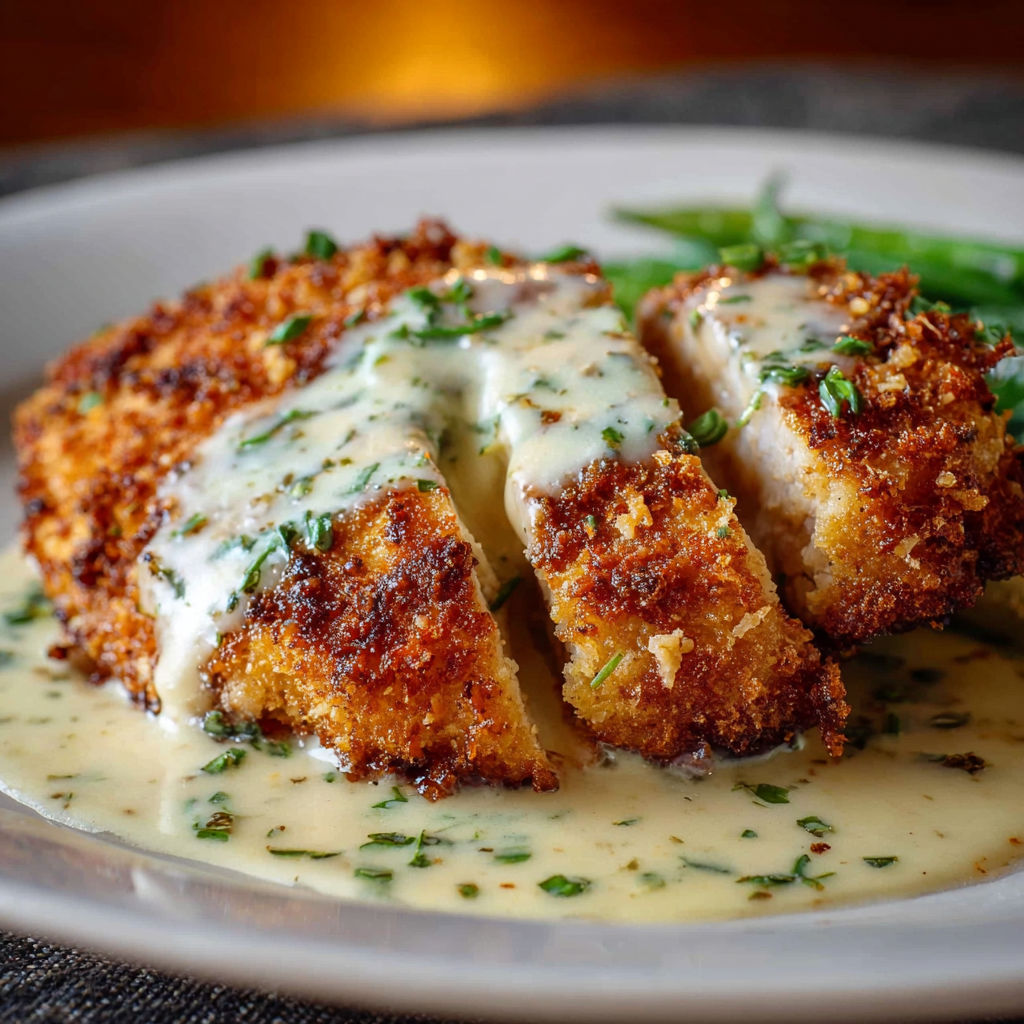
This parmesan crusted chicken with creamy garlic sauce has become my go to weeknight dinner when I want something that feels special but doesn't require hours in the kitchen. The combination of crispy golden breadcrumb coating and rich velvety sauce creates a restaurant quality meal that my family asks for at least twice a month. I stumbled upon this recipe years ago when trying to recreate a dish from our favorite Italian restaurant, and after countless attempts, I finally nailed the perfect balance of crunch and creaminess.
I remember the first time I made this for my husband's parents. They were visiting for the weekend, and I was nervous about impressing them with my cooking. The moment they took their first bite, I knew I had a winner. Now my mother in law calls me before every visit to ask if I'm making that chicken dish because she dreams about it between trips.
Gather Your Ingredients
- 4 thin chicken cutlets: Look for evenly sized pieces about half an inch thick so they cook uniformly. If you can only find thick breasts, slice them horizontally to create thinner cutlets that cook faster and stay tender.
- 1/2 cup all purpose flour: This first coating layer helps the egg adhere properly and creates a barrier that keeps the chicken moist during cooking. I keep a shallow dish just for dredging to make the process smoother.
- 2 large eggs beaten: Room temperature eggs blend more easily and create a better coating. Add a splash of water to make them go further and create a thinner more even layer.
- 1 cup breadcrumbs: Panko breadcrumbs give the crunchiest texture, but Italian seasoned breadcrumbs add extra flavor without additional work. I sometimes mix half panko and half regular for the best of both worlds.
- 1/2 cup grated Parmesan cheese: Freshly grated Parmesan makes a massive difference here. The pre grated stuff in the green can doesn't melt the same way and lacks that nutty sharp flavor that makes this coating irresistible.
- 2 tablespoons olive oil: Use regular olive oil rather than extra virgin for cooking since you'll be heating it to higher temperatures. The mild flavor won't overpower the delicate chicken.
- 2 tablespoons butter: Adds richness to the sauce and helps create that silky texture. I always use unsalted butter so I can control the salt level in the final dish.
- 3 garlic cloves minced: Fresh garlic is non negotiable for this sauce. The jarred minced garlic just doesn't have the same punch. Mince it finely so it distributes evenly and doesn't burn.
- 1 cup heavy cream: This creates the luscious sauce that makes everyone ask for seconds. Don't substitute with half and half or milk as they won't thicken properly and may separate when simmered.
- Salt and pepper to taste: Season each component separately for the best flavor. I use kosher salt for cooking and finish with flaky sea salt right before serving.
How to Make It
- Prepare the Chicken Foundation:
- Start by laying your chicken cutlets on a clean cutting board and patting them completely dry with paper towels. Any moisture will prevent the coating from sticking properly. Season both sides generously with salt and freshly ground black pepper, pressing the seasoning into the meat with your fingertips. This step seems simple but it's crucial because it's your only chance to season the actual chicken meat. Let the seasoned cutlets sit at room temperature for about 10 minutes while you set up your breading station. This brief rest allows the salt to penetrate the surface and brings the meat to room temperature so it cooks more evenly.
- Create Your Breading Station:
- Set up three shallow dishes or pie plates in a row on your counter. Place the flour in the first dish. Crack the eggs into the second dish and beat them thoroughly with a fork until no streaks of white remain. In the third dish, combine the breadcrumbs with the grated Parmesan cheese, mixing them together with your fingers to distribute the cheese evenly throughout. This assembly line approach makes the coating process much faster and less messy. Arrange them in order from left to right with an empty plate at the end for the coated chicken because it keeps everything organized.
- Coat Each Cutlet Thoroughly:
- Take your first cutlet and lay it in the flour, turning it once to coat both sides completely. Lift it up and shake off any excess flour by tapping the cutlet gently against the side of the dish. Next, dip the floured cutlet into the beaten eggs, making sure every surface is covered. Let the excess egg drip back into the dish for a few seconds. Finally, lay the cutlet in the breadcrumb mixture and press down firmly with your palm. Flip it over and press again, then use your dry hand to sprinkle additional breadcrumbs on any bare spots. The coating should look thick and even with no chicken showing through. Place the coated cutlet on a clean plate and repeat with the remaining pieces.
- Pan Fry to Golden Perfection:
- Heat the olive oil in a large skillet over medium heat for about two minutes until it shimmers but doesn't smoke. To test if it's ready, drop a single breadcrumb into the oil. If it sizzles immediately, you're good to go. Carefully lay two cutlets in the pan, leaving space between them so they don't steam each other. Let them cook undisturbed for 3 to 4 minutes. You'll know they're ready to flip when the edges start turning golden and the cutlets release easily from the pan when you gently lift a corner with a spatula. Flip each piece and cook the second side for another 3 to 4 minutes until deep golden brown and crispy. The internal temperature should reach 165 degrees. Transfer the cooked chicken to a paper towel lined plate and repeat with the remaining cutlets. Don't stack them or the steam will soften the crust.
- Build the Creamy Garlic Sauce:
- Without cleaning the skillet, reduce the heat to medium low and add the butter. As it melts, use a wooden spoon to scrape up all those browned bits stuck to the bottom of the pan. Once the butter is melted and starting to foam, add the minced garlic. Stir constantly for about 30 seconds to one minute until the garlic becomes fragrant and just barely starts to turn golden. Pour in the heavy cream and stir to combine. Let the sauce come to a gentle simmer, then reduce the heat to low. Simmer for 3 to 5 minutes, stirring occasionally, until thickened. Add a generous handful of grated Parmesan cheese and stir until it melts completely into the sauce. Taste and adjust with salt and pepper as needed.
- Bring It All Together:
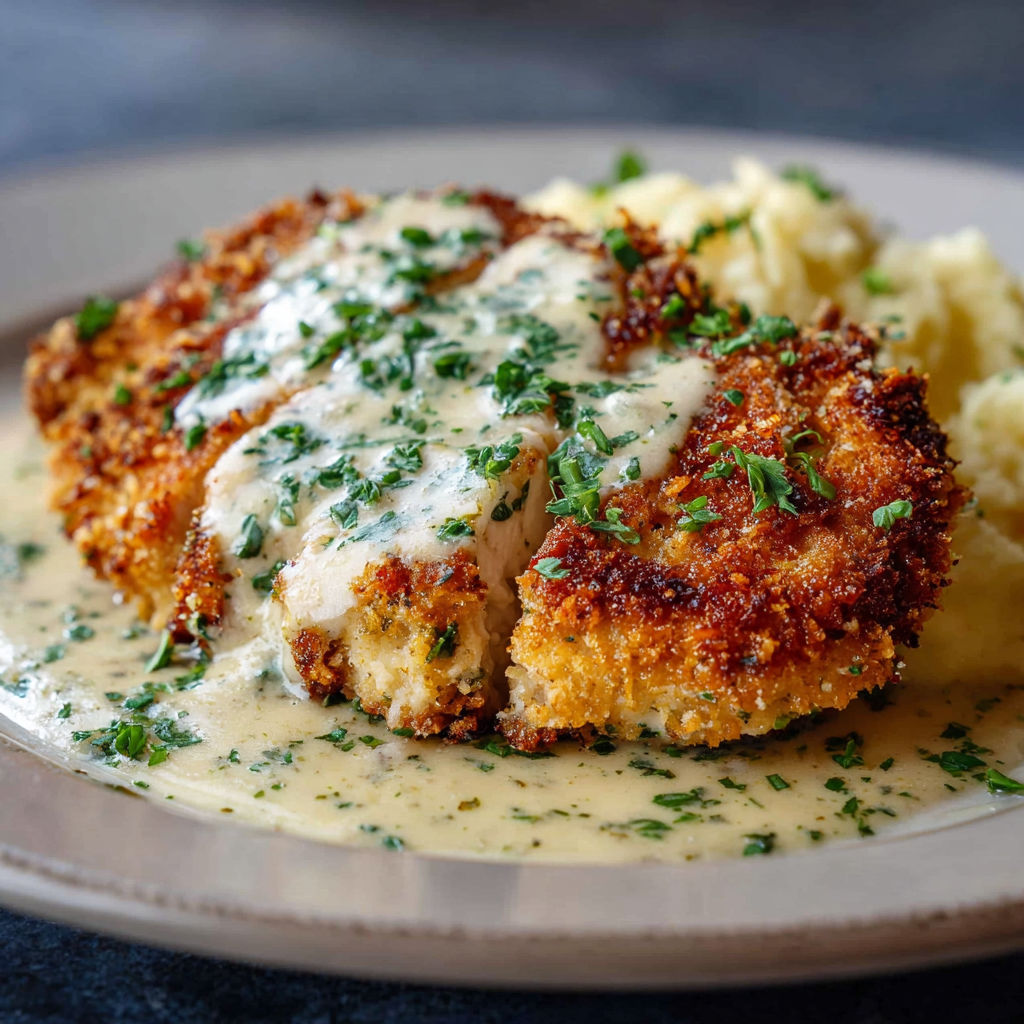
- Return the cooked chicken cutlets to the skillet with the sauce. Spoon some of the sauce over the top of each piece so they're partially covered but the crispy coating still shows. Let everything warm together for just a minute or two over low heat. If you have fresh parsley, sprinkle it over the top for color and flavor.
- Serve with Your Favorite Sides:
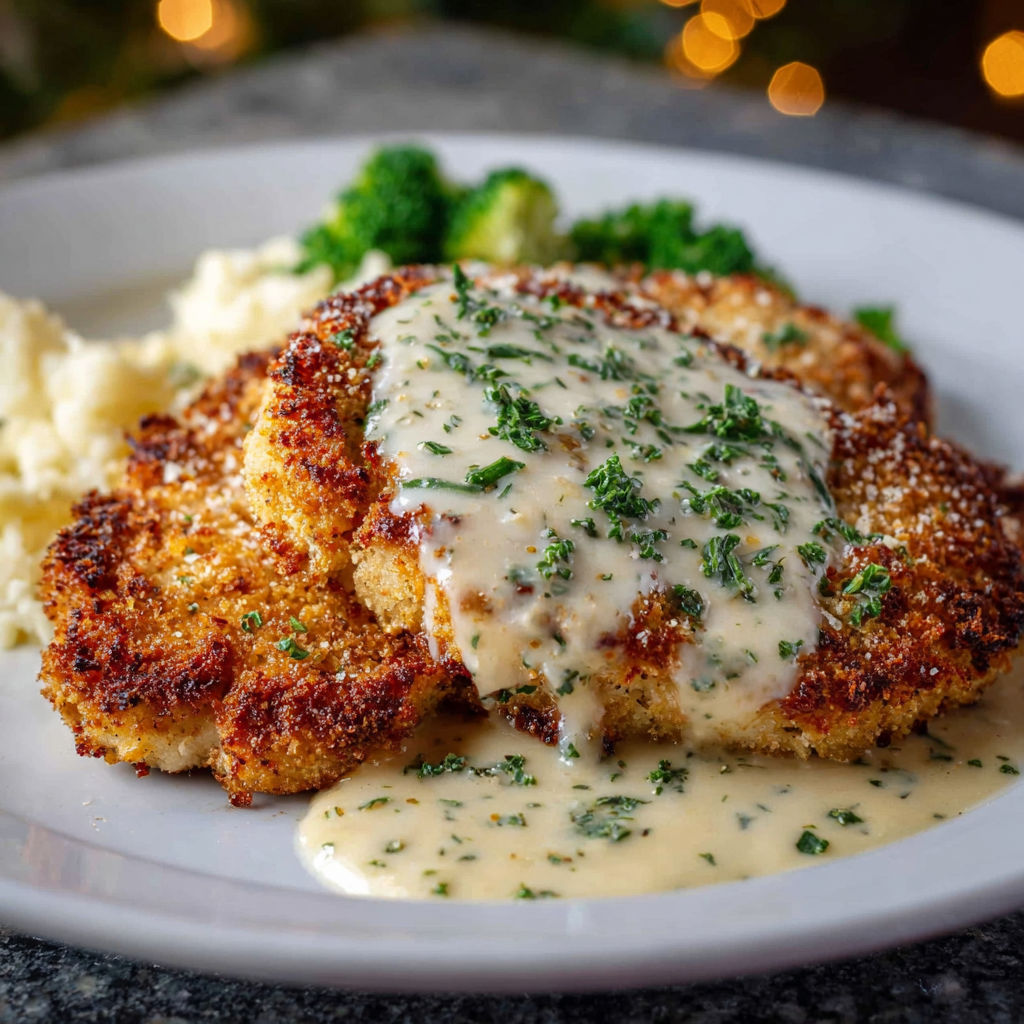
- Transfer the saucy chicken to serving plates and spoon extra sauce around each piece. Serve with mashed potatoes, pasta, or roasted/steamed vegetables. An arugula salad with lemon juice and olive oil is another great side to balance the richness.
My absolute favorite part of this recipe is the way the garlic perfumes the entire kitchen as it cooks in the butter. That smell alone is enough to bring my teenagers running from their rooms asking when dinner will be ready. I've also discovered that the crispy coating technique works beautifully with pork chops or even thick slices of eggplant if you want a vegetarian version. Last month, my daughter asked if I could teach her to make this before she leaves for college because she wants to impress her future roommates, and that request meant more to me than any compliment ever could.
Flavor Boosters
If you want extra flavor, try adding finely chopped fresh herbs like parsley, basil, or thyme to the breadcrumb mixture before coating the chicken. A sprinkle of lemon zest in the sauce brightens everything up, and a pinch of red pepper flakes will lend a little heat. Substitute pecorino or gruyere for some of the Parmesan for a twist, or stir in sautéed mushrooms or baby spinach to the sauce for more depth and variety.
Serving Suggestions
Serve this chicken over creamy mashed potatoes, buttered pasta, or even soft polenta to soak up the rich garlic sauce. Roasted asparagus, broccoli, or green beans make colorful and nutritious sides. For a lighter option, try it at room temperature over a salad of peppery greens, ripe tomatoes, and a drizzle of the sauce thinned with broth as a creamy dressing.
Creative Twists
Make it gluten free by using gluten free flour and breadcrumbs or crushed crackers. Swap chicken for turkey cutlets, boneless pork chops, or thick slices of eggplant for a vegetarian meal. Add baby spinach, sun dried tomatoes, or sautéed mushrooms to the sauce for more color and flavor. Use Greek yogurt to lighten the sauce, or prepare the coated chicken in advance and freeze for easy weeknight cooking.
This dish creates memorable moments for family dinners and is guaranteed to impress guests. The irresistible aroma has a way of drawing everyone to the table in anticipation of a comforting, restaurant worthy meal.
Common Questions About This Recipe
- → How do you keep the parmesan crust from falling off the chicken?
Ensure each cutlet is properly dried and coated in flour, egg, and then the breadcrumb-parmesan mixture. Press crumbs on well before pan-frying for best results.
- → Can I use chicken breasts instead of cutlets?
Yes, you can use chicken breasts sliced horizontally into thinner pieces to create cutlets that cook evenly and stay juicy.
- → What pairs well with this dish?
This chicken goes well with mashed potatoes, pasta, or roasted vegetables. The creamy sauce complements mild sides beautifully.
- → How can I make the sauce thicker?
Let the sauce simmer longer to reduce and thicken. You can also add a touch more parmesan cheese or simmer uncovered for a few extra minutes.
- → Is it possible to make this dish ahead?
You can pan-fry the chicken in advance and add the warm sauce just before serving for best texture. Avoid refrigerating with sauce already on for crispiness.