
 Pin
Pin
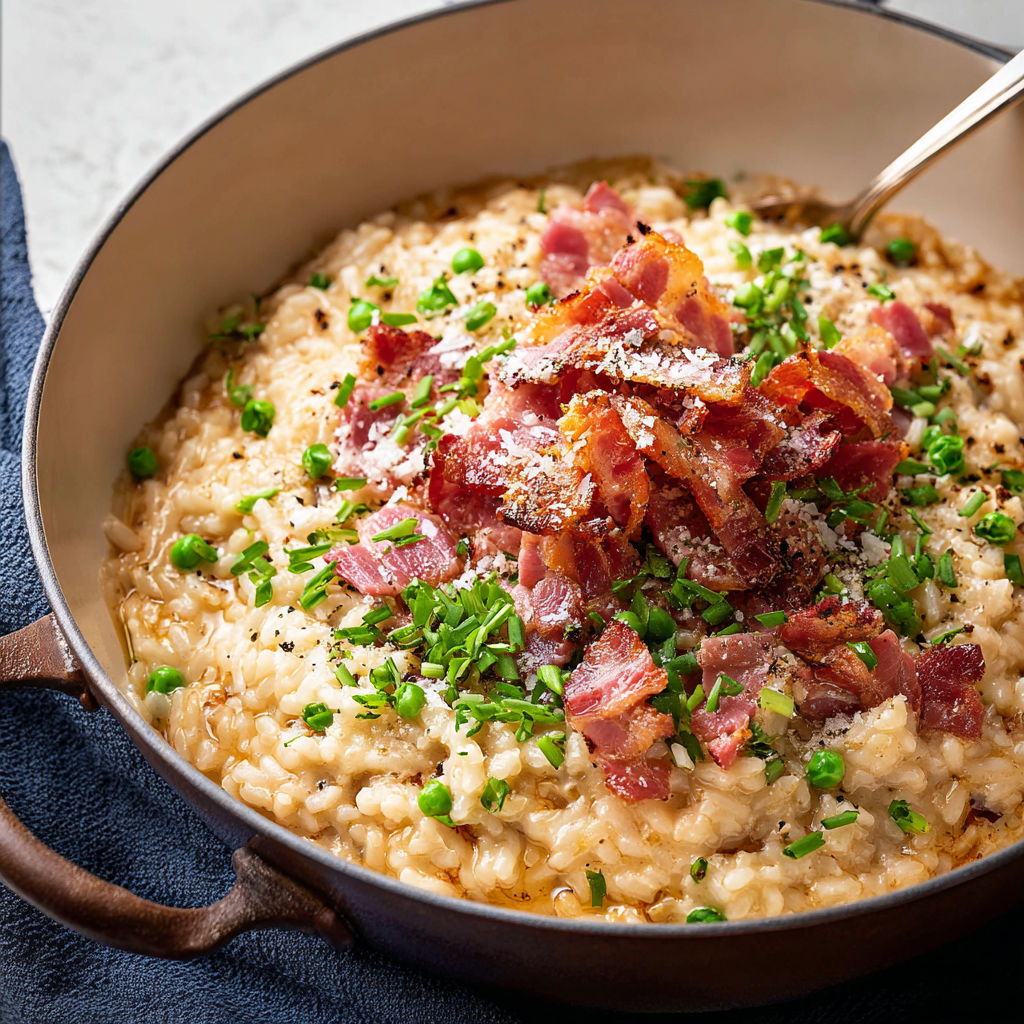
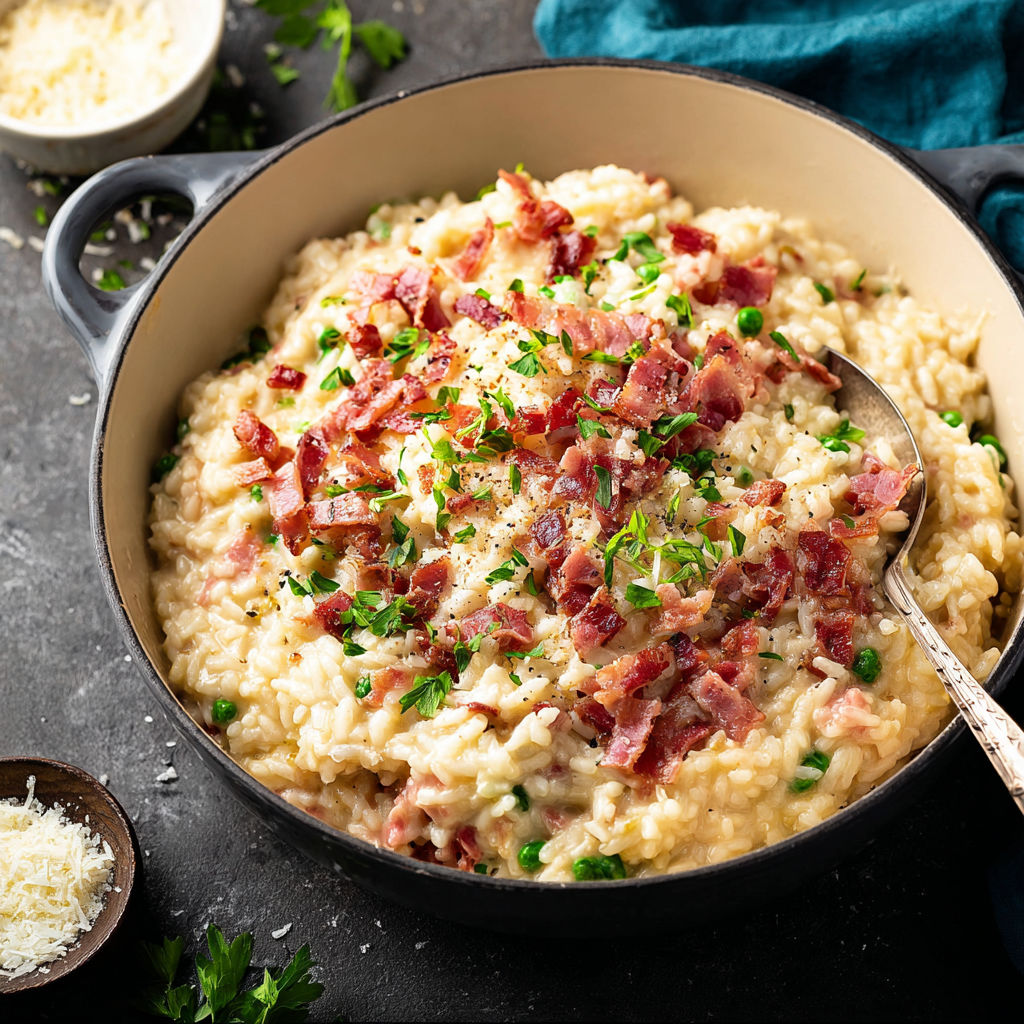
This bacon risotto with peas transforms simple pantry ingredients into a restaurant quality dish that feels indulgent without requiring hours in the kitchen. The combination of smoky bacon, creamy Arborio rice, and sweet peas creates layers of flavor and texture that satisfy even the pickiest eaters at your table.
The first time I made this recipe, I was skeptical about using canned peas instead of fresh, but the convenience won me over completely. Now my family requests this dish at least twice a month, and I've stopped apologizing for taking the easy route with those sweet little peas from the can.
Gather Your Ingredients
- 6 slices bacon: The foundation of flavor in this dish. Look for thick cut bacon with good marbling as it renders better fat for cooking and provides that satisfying crispy texture. Center cut works beautifully if you prefer less fat.
- 1 small yellow onion finely diced: Yellow onions offer the perfect balance of sweetness and sharpness. Dice them small so they melt into the risotto and create a smooth texture throughout.
- 2 to 3 cloves garlic minced: Fresh garlic is essential here. The minced pieces should be tiny so they cook evenly and distribute their flavor without burning. Avoid jarred garlic as it lacks the punch needed.
- 1½ cups Arborio rice or white long grain rice: Arborio is the traditional choice because its high starch content creates that signature creamy consistency. If using long grain rice, the texture will be less creamy but still delicious.
- 3 cups chicken broth divided: Use good quality broth as it becomes concentrated during cooking. Low sodium gives you better control over seasoning. Homemade broth elevates this dish to another level.
- 1 cup heavy cream: This adds richness and helps create the luxurious coating on each grain of rice. Full fat is necessary here as lower fat options won't provide the same silky texture.
- 15 ounces can sweet peas rinsed and drained: Rinsing removes excess sodium and any metallic taste from the can. Sweet peas are smaller and more tender than regular garden peas.
- Salt and freshly ground black pepper to taste: Season generously at the end when you can taste the complete dish. Freshly ground pepper makes a noticeable difference in flavor.
How to Make It
- Cook the Bacon to Perfection:
- Place the bacon slices in a large frying pan in a single layer without overlapping. Set your burner to medium high heat and let the bacon cook undisturbed for about 2 to 3 minutes until the bottom develops a deep golden brown color. Flip each slice carefully using tongs and cook for another 2 to 3 minutes until both sides reach your preferred level of crispiness. The total cooking time of 5 minutes works for most bacon, but thicker cuts may need an extra minute or two. Watch closely during the final minute as bacon can go from perfectly crispy to burnt quite quickly.
- Drain and Crumble the Bacon:
- Transfer the cooked bacon to a plate lined with two layers of paper towels. The paper towels will absorb excess grease while the bacon cools enough to handle safely. Let it rest for about 2 minutes, then use your hands or kitchen shears to break the bacon into bite sized pieces roughly the size of a dime. Set these crumbles aside in a small bowl. Look at your pan and admire those beautiful bacon drippings because they're going to flavor everything that follows.
- Soften the Onions in Bacon Fat:
- Keep the heat at medium high and add your finely diced onions directly into the bacon fat remaining in the pan. You should hear a gentle sizzle when the onions hit the pan. Stir the onions every 30 seconds or so to ensure even cooking and prevent any pieces from sticking to the bottom. After about 3 minutes, the onions should turn translucent and soften considerably, with the edges just beginning to show a hint of golden color. They should smell sweet and aromatic without any burnt or acrid notes.
- Toast the Garlic and Rice:
- Add your minced garlic to the softened onions and stir constantly for about 30 seconds until you can smell the garlic releasing its fragrance. Immediately pour in the Arborio rice and stir to coat every grain with the flavorful bacon fat. Continue stirring frequently over medium high heat for about 2 to 3 minutes. You'll notice the rice grains becoming slightly translucent around the edges while remaining white in the center. This toasting step is crucial as it helps each grain maintain its structure during the cooking process and prevents the risotto from becoming mushy.
- Begin the First Broth Addition:
- Pour one full cup of chicken broth into the pan and listen for the satisfying sizzle as the liquid hits the hot rice. Immediately begin stirring to prevent any rice from sticking to the bottom. Keep the heat at medium and stir every 20 to 30 seconds, making sure to scrape along the bottom and sides of the pan. After about 4 to 5 minutes, most of the liquid will be absorbed and you'll notice the rice mixture has thickened considerably. The pan should look almost dry with just a slight glossy coating remaining on the rice.
- Add the Second Cup of Broth:
- Pour in another cup of chicken broth and repeat the stirring process. At this stage, the rice will start to release more starch into the liquid, creating a creamier consistency. Continue stirring regularly, every 20 to 30 seconds, and watch as the broth slowly disappears into the rice over the next 4 to 5 minutes. The grains should be swelling now and the mixture will look thicker and more cohesive than after the first addition.
- Finish with the Final Broth:
- Add the remaining cup of chicken broth to the pan and maintain your stirring rhythm. By now, your arm might be getting tired but this constant attention is what creates the creamy texture that makes risotto special. The rice should be approaching tenderness at this point. After this third cup is absorbed, which takes another 4 to 5 minutes, taste a grain of rice. It should be tender but still have a slight firmness in the very center, what Italians call "al dente."
- Incorporate the Heavy Cream in Two Stages:
- Pour half of the heavy cream into the risotto and stir it in thoroughly. The cream will immediately make everything look richer and more luxurious. Keep stirring regularly for about 2 to 3 minutes until the cream is almost completely absorbed and the risotto returns to a thick, porridge like consistency. Then add the remaining cream and stir until about two thirds of it has been absorbed. At this stage, the risotto should be flowing slightly when you tilt the pan but still thick enough to coat the back of your spoon.
- Fold in the Sweet Peas:
- Add the drained and rinsed peas to the creamy risotto and gently fold them in using a wooden spoon or silicone spatula. Make sure the peas are distributed evenly throughout the dish. Continue cooking for 2 to 3 minutes, stirring occasionally, until the peas are heated through completely. You'll know they're ready when you can feel warmth throughout when you stir and a small taste test confirms they're hot in the center.
- Season and Finish the Dish:
- Remove the pan from the heat source completely. This is important because you want to stop the cooking process right at this perfect moment of creamy consistency. Add several generous pinches of salt and multiple grinds of black pepper. Stir well and then taste a spoonful, letting it cool slightly before it touches your tongue. Adjust the seasoning by adding more salt or pepper as needed. Remember that the bacon will add saltiness too, so be conservative at first. Finally, stir in the crumbled bacon you set aside earlier, mixing it throughout so every serving will have those delicious smoky bits.

The heavy cream in this recipe is what sets it apart from traditional risotto methods. I stumbled upon this technique years ago when I was too impatient to stand over the stove adding broth ladle by ladle. The cream not only speeds up the process but creates an incredibly silky texture that my kids actually prefer over the traditional version. My daughter once told me this tastes like "fancy mac and cheese for grownups," which I consider the highest compliment.
Flavor Boosters
Grated Parmesan cheese adds another layer of savory flavor when stirred in at the end or sprinkled on top. Fresh cracked black pepper at the table lets each person adjust the spice level to their preference. A drizzle of good quality olive oil just before serving adds a beautiful sheen and subtle fruity notes.
Serving Suggestions
This bacon risotto serves beautifully as a main course for a cozy weeknight dinner or as an elegant side dish for roasted chicken or grilled fish. I love pairing it with a simple arugula salad dressed with lemon vinaigrette to cut through the richness. A crisp white wine like Pinot Grigio or Sauvignon Blanc complements the creamy texture perfectly. For a more substantial meal, serve alongside roasted asparagus or sautéed green beans. The presentation looks restaurant worthy when you mound the risotto in the center of a shallow bowl and garnish with extra crumbled bacon, a few whole peas, and a sprinkle of fresh herbs like parsley or chives.
Creative Twists
Spring calls for the addition of fresh asparagus tips and baby spinach folded in during the final minutes of cooking. Summer versions benefit from halved cherry tomatoes and fresh basil stirred in at the end for a bright, colorful twist. During fall, I sometimes add butternut squash that's been roasted until caramelized, along with crispy sage leaves for an autumn inspired variation. Winter months are perfect for stirring in sautéed mushrooms and a handful of fresh thyme to create an earthy, comforting version. Lemon zest brightened with fresh herbs transforms this into a spring celebration dish. Sun dried tomatoes and roasted red peppers create a Mediterranean inspired summer version. Caramelized onions and Gruyere cheese instead of bacon makes an elegant French influenced variation.
The beauty of this recipe is that it looks and tastes impressive but the technique is forgiving enough for beginners. Serve and enjoy right away while the risotto is at its creamy, luxurious best.
Common Questions About This Recipe
- → How do I get my risotto creamy?
Stir regularly while gradually adding broth, letting the rice release starch for a creamy texture. Adding cream at the end enhances richness.
- → Can I use another type of rice?
Arborio rice is ideal for creaminess, but white long grain rice works if needed. Texture may be slightly less creamy than Arborio.
- → Do I need to cook the peas separately?
No, simply stir in drained peas near the end for them to warm through while keeping their bright color and sweet taste.
- → Is it necessary to use bacon drippings?
Cooking onions and rice in bacon drippings adds extra flavor and depth, but you can substitute a bit of butter if preferred.
- → Can I make this ahead?
Risotto is best eaten fresh, but you can prep ingredients ahead of time. Reheat gently with extra broth or cream to restore texture.