
 Pin
Pin
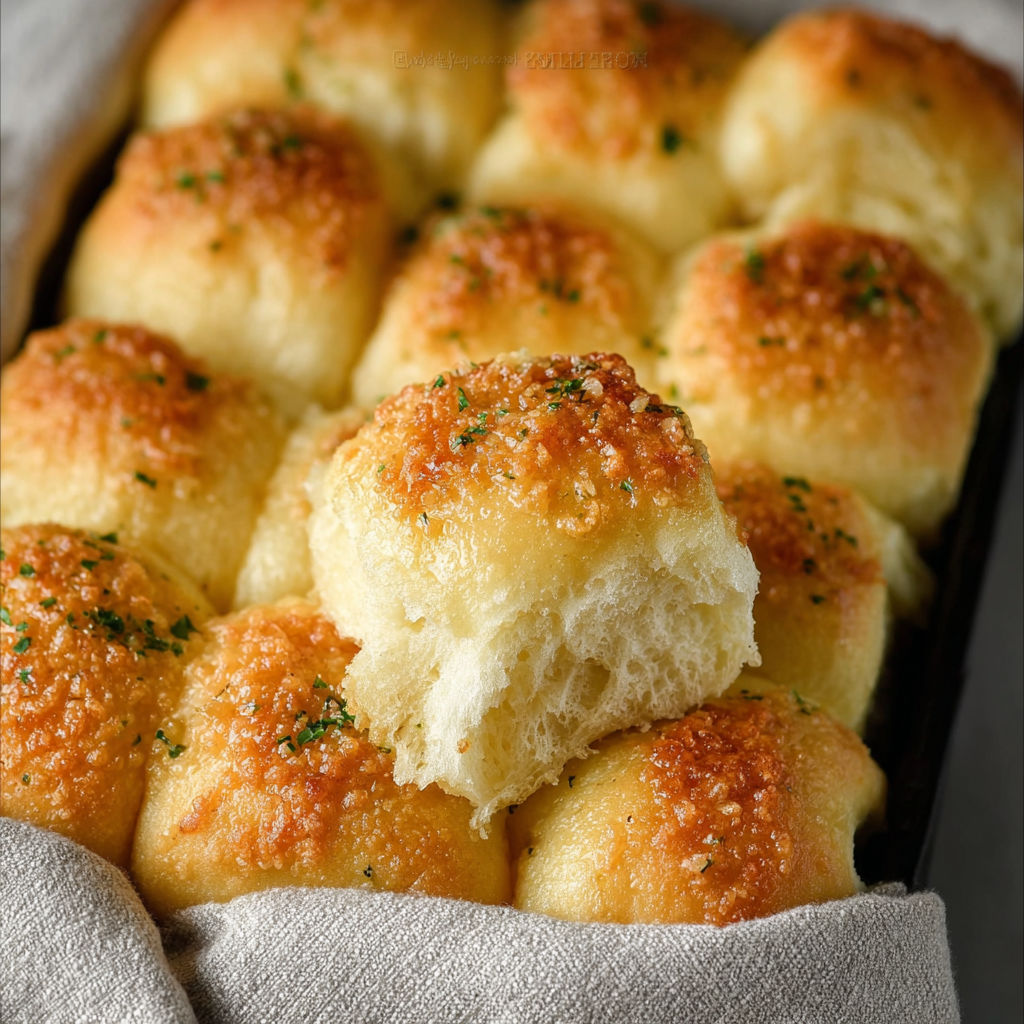
This recipe transforms basic pantry staples into pillowy soft dinner rolls that fill your kitchen with the irresistible aroma of garlic and butter in just 30 minutes. The secret lies in the quick rise method and generous coating of garlic parmesan butter that creates a golden crust while keeping the inside tender and fluffy.
I stumbled upon this quick method during a Thanksgiving when I realized I had forgotten to make rolls the night before. My family now insists these taste better than the traditional overnight version I used to make. The best part is watching everyone reach for seconds and thirds before the main course even arrives.
Gather Your Ingredients
- Warm water at 95 to 105 degrees: This precise temperature range is crucial for activating the yeast without killing it. Test with a thermometer or make sure it feels warm but not hot on your wrist like baby formula.
- Granulated sugar: Feeds the yeast for a faster rise and adds a subtle sweetness that balances the savory garlic. Never substitute with artificial sweeteners as yeast needs real sugar.
- Yeast using instant or platinum varieties: Both types work beautifully for quick rising. Look for packets that are well within the expiration date and store opened yeast in the freezer to maintain potency.
- Canola oil: Keeps the rolls incredibly soft and moist without the heaviness of butter in the dough. You can substitute with vegetable oil but avoid olive oil as the flavor competes with the garlic.
- Salt: Enhances all the flavors and controls the yeast activity. I prefer fine sea salt for even distribution throughout the dough.
- Large egg at room temperature: Provides structure and richness while creating that beautiful golden color. Room temperature eggs incorporate more easily into the dough.
- All purpose flour: The foundation of your rolls. I always keep an extra half cup nearby as humidity levels can affect how much flour you need for the perfect consistency.
- Melted butter for brushing: This is where the magic happens. Use real butter not margarine for that authentic bakery flavor and gorgeous sheen.
- Granulated garlic: More potent and evenly distributed than garlic powder. Look for fresh granulated garlic that clumps slightly when squeezed indicating it still has good moisture and oils.
- Parsley: Adds a pop of color and fresh herbaceous note. Dried parsley works great here though fresh chopped parsley takes it to the next level.
How to Make It
- Prepare Your Baking Surface
- Line your baking sheet with parchment paper or a silicone baking mat and set it within arm's reach of your workspace. This preparation step ensures you can transfer your shaped rolls immediately without scrambling later. I learned this the hard way when dough stuck to an unlined pan and my rolls lost their beautiful shape during removal.
- Activate the Yeast
- Pour the warm water into a large mixing bowl and whisk in the sugar until mostly dissolved. Sprinkle the yeast over the surface and give it a gentle stir. Walk away for 2 to 5 minutes and resist the urge to disturb it. You will know it is ready when the mixture becomes foamy and bubbly on top with a slightly yeasty aroma. If nothing happens after 5 minutes your water was likely too hot or your yeast was old so start over.
- Build the Dough
- Add the canola oil, salt, and egg to your proofed yeast mixture. Whisk these wet ingredients together for about 30 seconds until the egg is fully incorporated and you see no streaks. Pour in the flour all at once and switch to a sturdy wooden spoon or spatula. Stir in broad circular motions folding the flour into the wet ingredients until no dry pockets remain. The dough should pull away from the sides of the bowl but still feel slightly tacky to the touch. If it is sticking to your fingers like bubble gum, sprinkle in additional flour one tablespoon at a time until it reaches the right consistency.
- Shape the Rolls
- Lightly flour your work surface and turn out the dough. Divide it into 12 to 16 equal pieces depending on your preferred roll size. I use a bench scraper for clean cuts that do not deflate the dough. Cup your hand over each piece and roll it against the counter in a circular motion applying gentle downward pressure. This creates surface tension that helps the rolls rise upward instead of spreading outward. Place each shaped roll on your prepared baking sheet spacing them about 2 inches apart.
- Quick Rise Method
- Find the warmest spot in your kitchen for rising. I place mine near my preheating oven or on the fireplace hearth during winter months. Cover the rolls loosely with a clean kitchen towel to prevent a skin from forming. Let them rest for 5 to 10 minutes until they look slightly puffy and feel pillowy when gently pressed. They will not double in size during this short rise but should visibly increase by about 50 percent.
- Apply the Garlic Butter
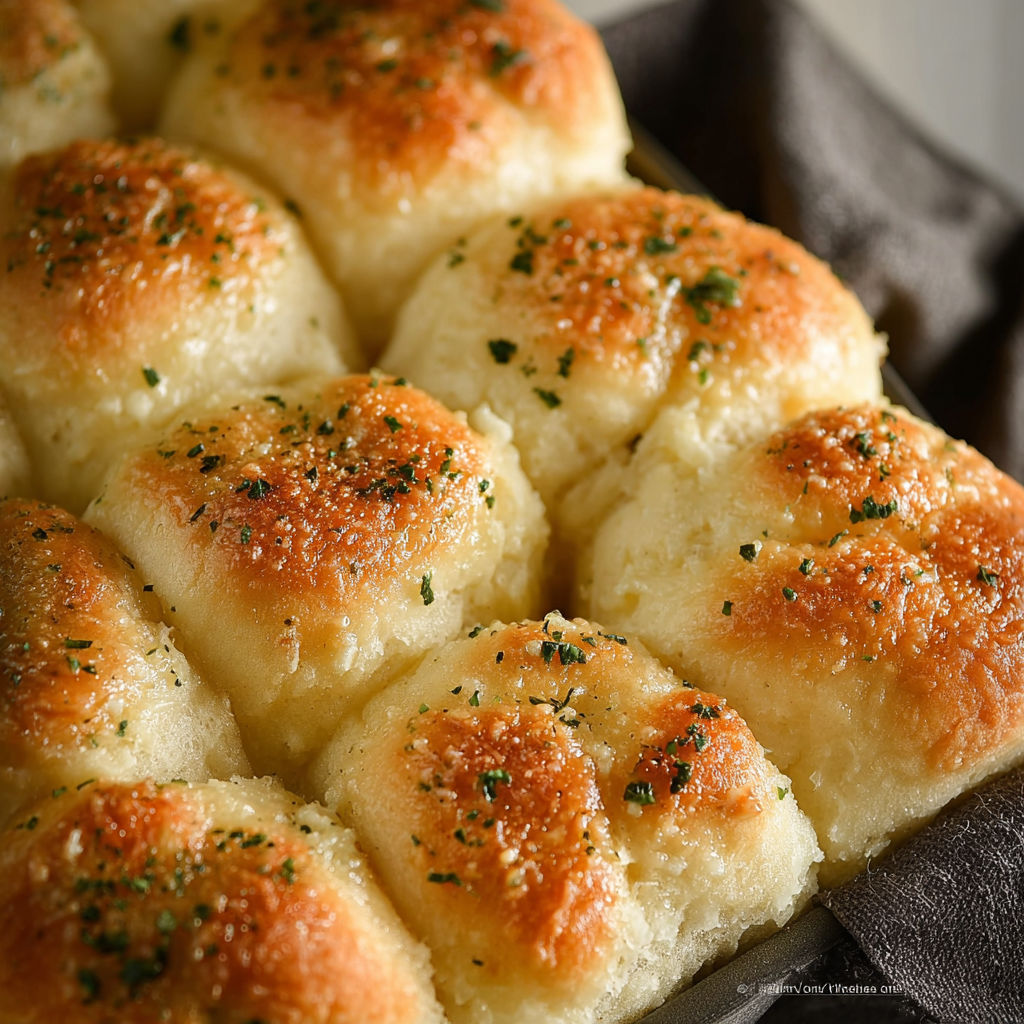
- Melt your butter in the microwave for about 30 seconds until completely liquid. Use a pastry brush to generously coat the top and sides of each risen roll with the melted butter. Do not be shy here as this creates that signature golden crust. Immediately sprinkle the granulated garlic evenly over all the rolls followed by a generous coating of parmesan cheese and a final dusting of parsley. Press the toppings gently with your palm so they adhere to the butter.
- Bake to Perfection
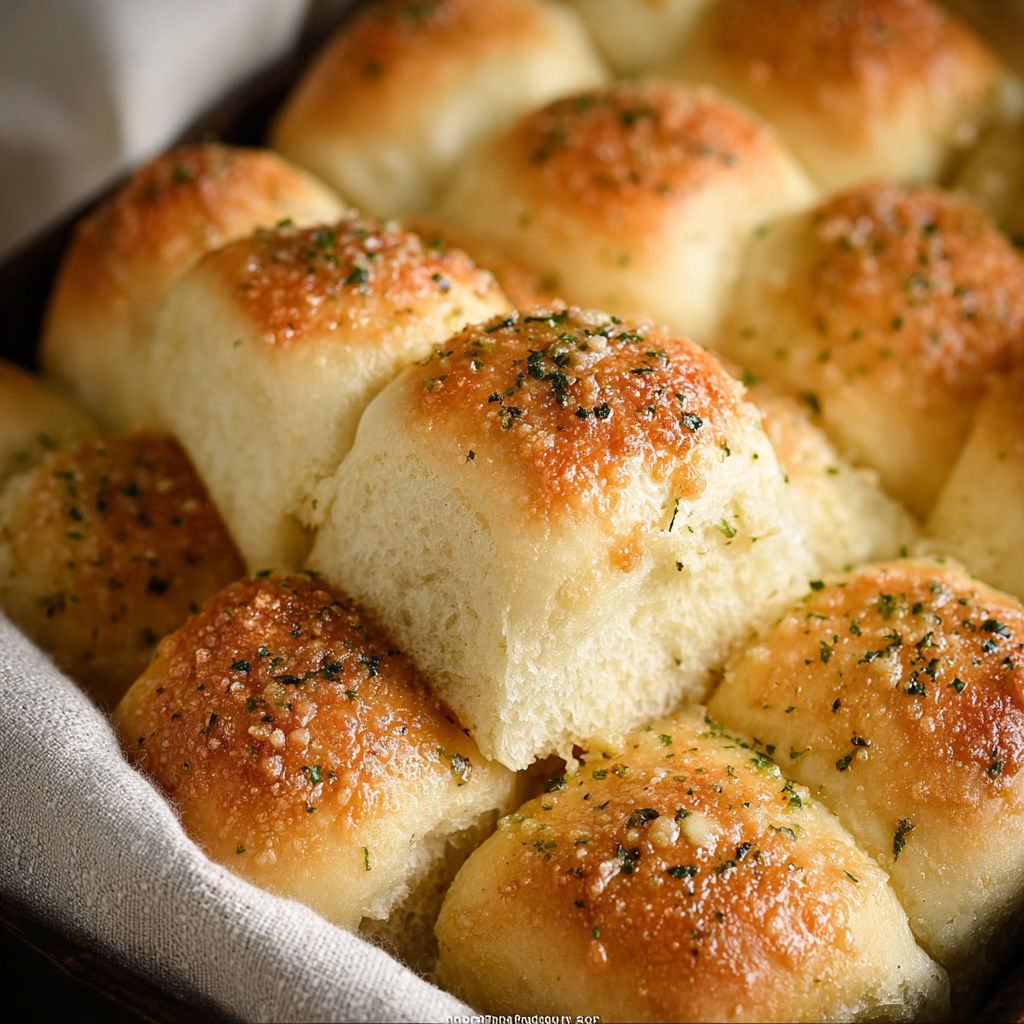
- Slide the baking sheet into your preheated 375 degree oven on the center rack for even heat distribution. Set your timer for 18 minutes then check for doneness. The rolls should be deeply golden brown on top and sound hollow when tapped on the bottom. If they need more time give them another 2 minutes but watch carefully as they can go from perfect to overdone quickly. Remove from the oven and brush with any remaining melted butter for extra shine and flavor.
My favorite part of this recipe is the moment when the granulated garlic hits that hot butter creating an aroma that brings everyone running to the kitchen. I have made these rolls hundreds of times and that smell never gets old. My daughter once told me it smells like the best Italian restaurant wrapped in a hug which might be the perfect description.
Flavor Boosters
The beauty of this recipe lies in its flexibility for whatever you have on hand. Swap the canola oil for melted coconut oil if you want a subtle tropical note or use melted butter throughout for an even richer dough. Active dry yeast works perfectly in place of instant but add 5 minutes to the proofing time and make sure to stir it into the water. Whole wheat flour can replace up to half the all purpose flour for a nuttier heartier roll though you may need an extra tablespoon or two of water. Fresh minced garlic mixed into softened butter creates an even more intense garlic flavor but apply it during the last 5 minutes of baking to prevent burning. Asiago or Romano cheese make excellent substitutes for parmesan each bringing their own distinct sharpness.
Serving Suggestions
These versatile rolls shine in more situations than just alongside your evening meal. Split them horizontally for the best slider buns you have ever tasted especially with meatballs and marinara. I serve them with big pots of soup or chili where they become the perfect vehicle for soaking up every last drop. They also make incredible breakfast sandwiches filled with scrambled eggs and cheese. During the holidays I arrange them in a cloth lined basket as an edible centerpiece that disappears before the turkey is even carved. The garlic parmesan coating makes them substantial enough to enjoy on their own as a snack with a glass of wine.
Creative Twists
Turn day old rolls into garlic croutons by cubing and toasting them in the oven. Use them as the base for mini pizzas by adding sauce and extra cheese. Serve alongside pasta dishes where they replace traditional garlic bread.
Food is more than just sustenance. These garlic parmesan rolls connect us to memories, bring families together, and create traditions with every bite.
Common Questions About This Recipe
- → Can I use active dry yeast instead of instant?
Yes, you can substitute active dry yeast. Bloom it with warm water and sugar as directed, but allow additional proofing time if the dough needs more rise.
- → How do I keep the rolls soft after baking?
Brush with melted butter right after baking and store covered in a towel or airtight container to retain moisture and softness.
- → Can I make the dough ahead of time?
Prepare the dough, shape the rolls, and refrigerate before the final rise. Bring to room temperature before baking for best results.
- → What cheese can I use besides parmesan?
Try asiago, Romano, or even a sharp cheddar for different flavor twists while maintaining similar texture when baking.
- → Can these rolls be frozen?
Yes, freeze baked and cooled rolls in a sealed bag. Reheat in the oven or microwave when needed and brush with extra melted butter if desired.