
 Pin
Pin
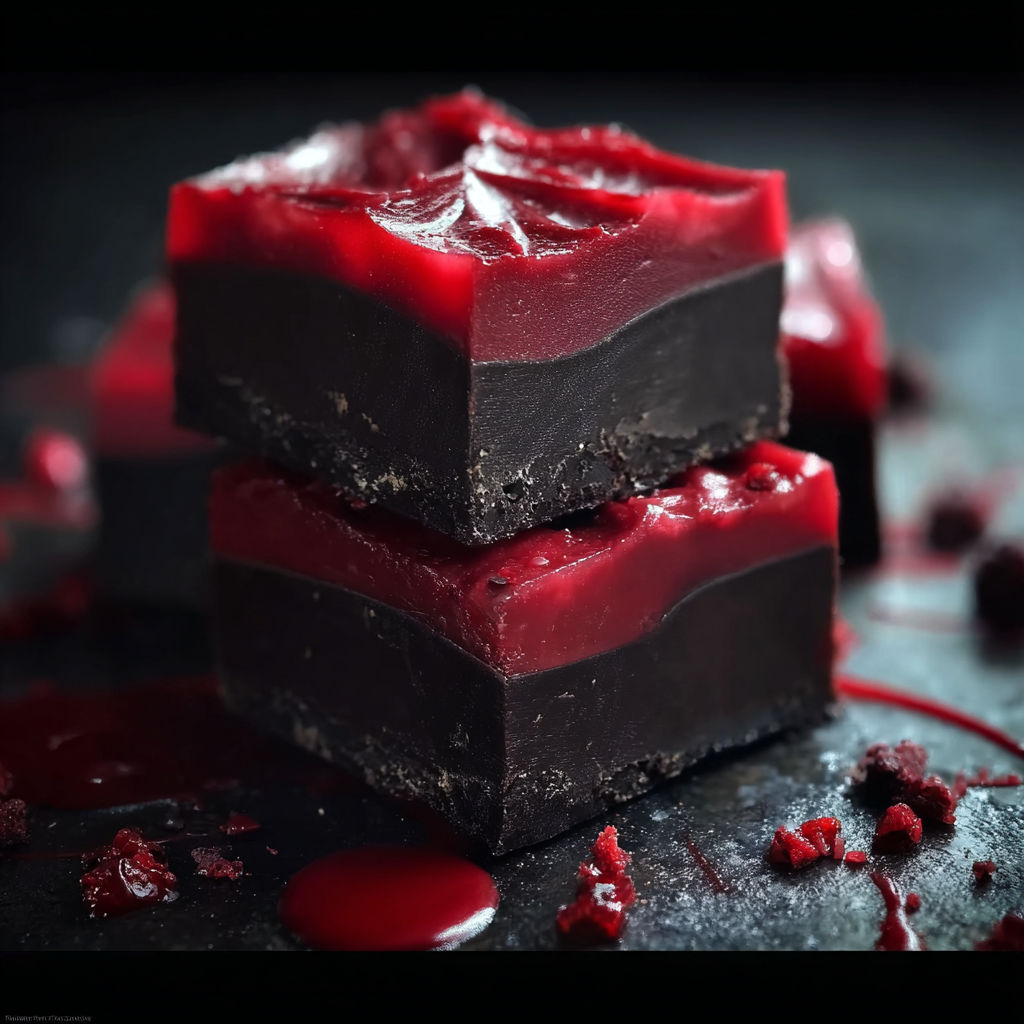
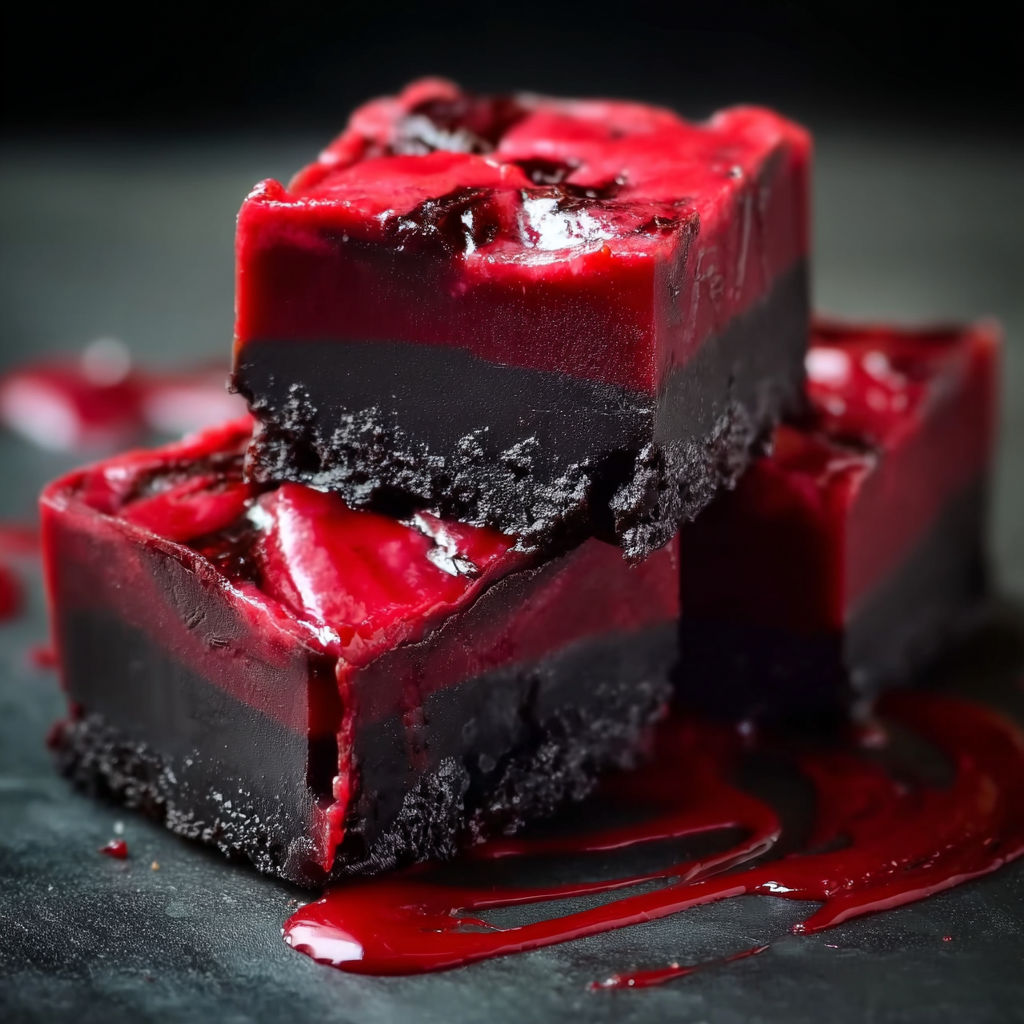
Vampire Fudge is a Halloween dessert that takes center stage at any festive get together with its dramatic swirls of deep black and blood red. Each slice has a marbled surprise inside and the lush candy base is sweet enough to satisfy every goblin at the table. It is so simple to make that you can focus on your party and still serve an unforgettable treat.
My youngest still talks about the first time we made a batch and swirled the colors together. That became our new kitchen Halloween tradition and now every year we laugh over the mess and the memories.
Gather Your Ingredients
- Black candy melts: Give the dramatic dark effect and a creamier texture than regular chocolate. Look for a glossy surface with no white streaks which means they are fresh
- Red candy melts: Provide the blood red swirl and a fun pop of color. Go for a rich shade as dull reds will look less striking once mixed. These are usually found in baking aisles around holidays
- Cream cheese frosting: Adds smoothness and a tangy finish. Choose a tub with no lumps and check the date before you grab it
- Optional warm milk: Can help thin the mixture if you find it too thick during mixing. Whole milk works best for creaminess
- Parchment paper: Ensures you can lift the fudge from the pan and get perfect squares
How to Make It
- Prepare the Pan:
- Lightly grease an eight inch by eight inch pan and line it with parchment paper creating two overlapping strips so you can pull out the finished fudge with ease
- Melt the Candy:
- Put the black candy melts in one microwave safe bowl and the red in another. Microwave each for up to two minutes stirring every thirty seconds until melted and smooth
- Warm the Frosting:
- Microwave the entire tub of cream cheese frosting for forty five seconds until just pourable. Stir after heating so it turns glossy
- Combine Colors and Frosting:
- Divide the warmed frosting evenly between the two melted candy melt bowls. Stir fast and thoroughly in each bowl so the colors and creaminess blend without streaks
- Layer and Marble:
- Spoon dollops of black and red mixtures alternately in your pan continuing until everything is used up. This will give the marbled spooky look as you go
- Chill the Fudge:
- Tap the pan hard a couple times on your counter to flatten and pop out any bubbles. Chill in the fridge for at least four hours so the fudge sets solid
- Slice and Serve:
- Using the parchment paper handles lift out the whole block and place on a cutting board. Slice into small squares for serving. Room temperature fudge will cut cleaner
- Serve and Store:
- Store the fudge pieces in an airtight container in your fridge until ready to serve. They keep well for up to five days
Every year I look forward to watching my kids swirl the black and red together. The black candy melts are now a staple in our house for spooky bakes and nothing matches the excitement of revealing those sharp layers when we slice into the fudge.
Flavor Boosters
If you cannot find black or red candy melts you can use white melts and tint them with oil based gel food coloring (do not use water based colors as they can seize the melts). Homemade cream cheese frosting or ready made vanilla frosting both work to give a new flavor or color. Plant based cream cheese frosting and allergy friendly candy melts are great for guests with dietary preferences.
Serving Suggestions
Serve Vampire Fudge at your next Halloween bash on a platter surrounded by toy spiders or edible gel blood for a little drama. These look great set out with other Halloween treats. Top with sea salt before chilling for a grown up twist.
Creative Twists
Change the color of the melts for other holidays—pastel swirls for Easter, orange and black for classic Halloween, or all white fudge and rainbow swirls for birthdays. The marbled fudge base is easy to adapt for any festivity.
This fudge recipe will cast a spell over any Halloween crowd and is sure to become a yearly tradition. Enjoy unforgettable swirls and sweet spooky fun with every bite.
Common Questions About This Recipe
- → What gives the fudge its layered look?
Alternating black and red candy melt mixtures creates a dramatic marbled appearance throughout the dessert.
- → Can I use other color melts for different themes?
Absolutely! Swap in any two contrasting candy melt colors to match your party or holiday celebration.
- → What pan size works best?
An eight by eight inch pan works perfectly for even layers and easy slicing into squares.
- → How do I ensure clean slices?
Let the treat come to room temperature for five minutes before slicing for neat, tidy edges.
- → How should leftovers be stored?
Store in an airtight container in the fridge for up to five days for maximum freshness and flavor.
- → Is this treat gluten free?
Yes, when made with certified gluten-free candy melts and frosting, it is naturally gluten free.