
 Pin
Pin
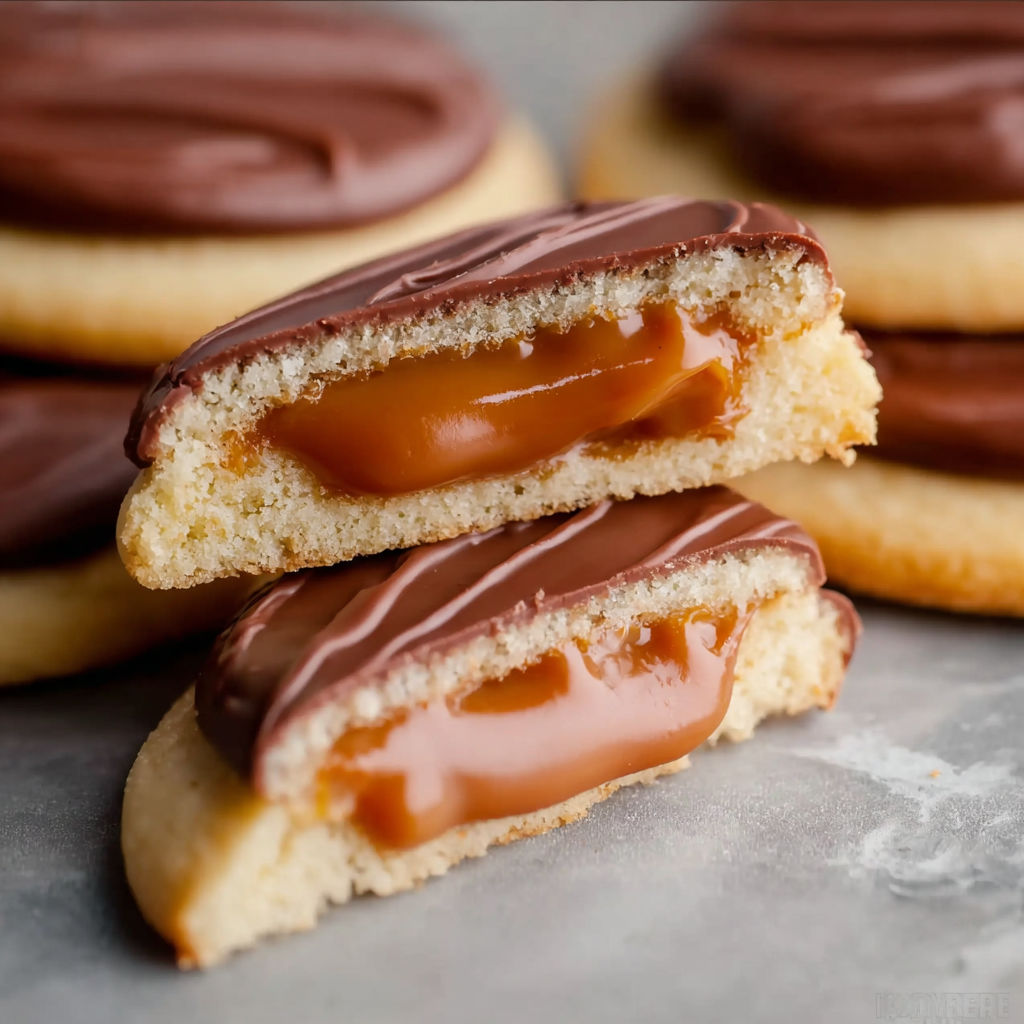
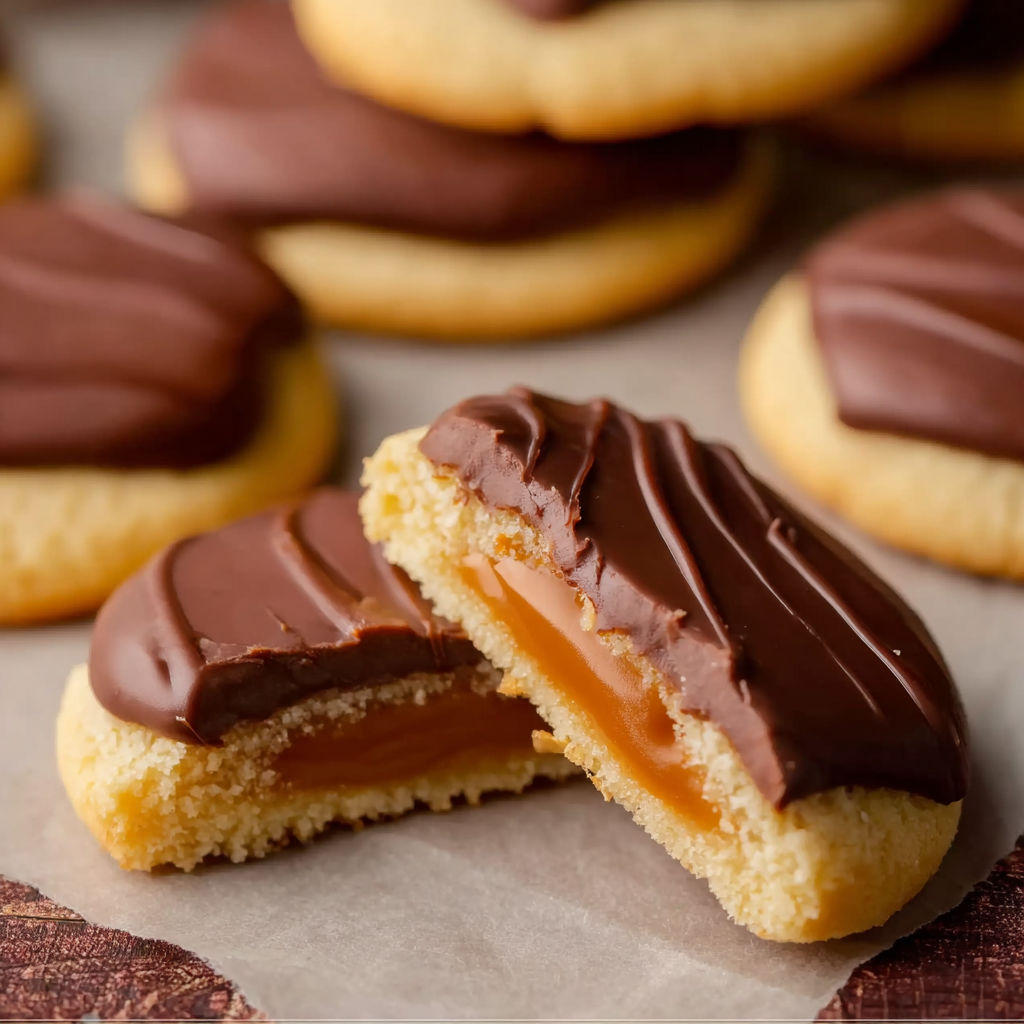
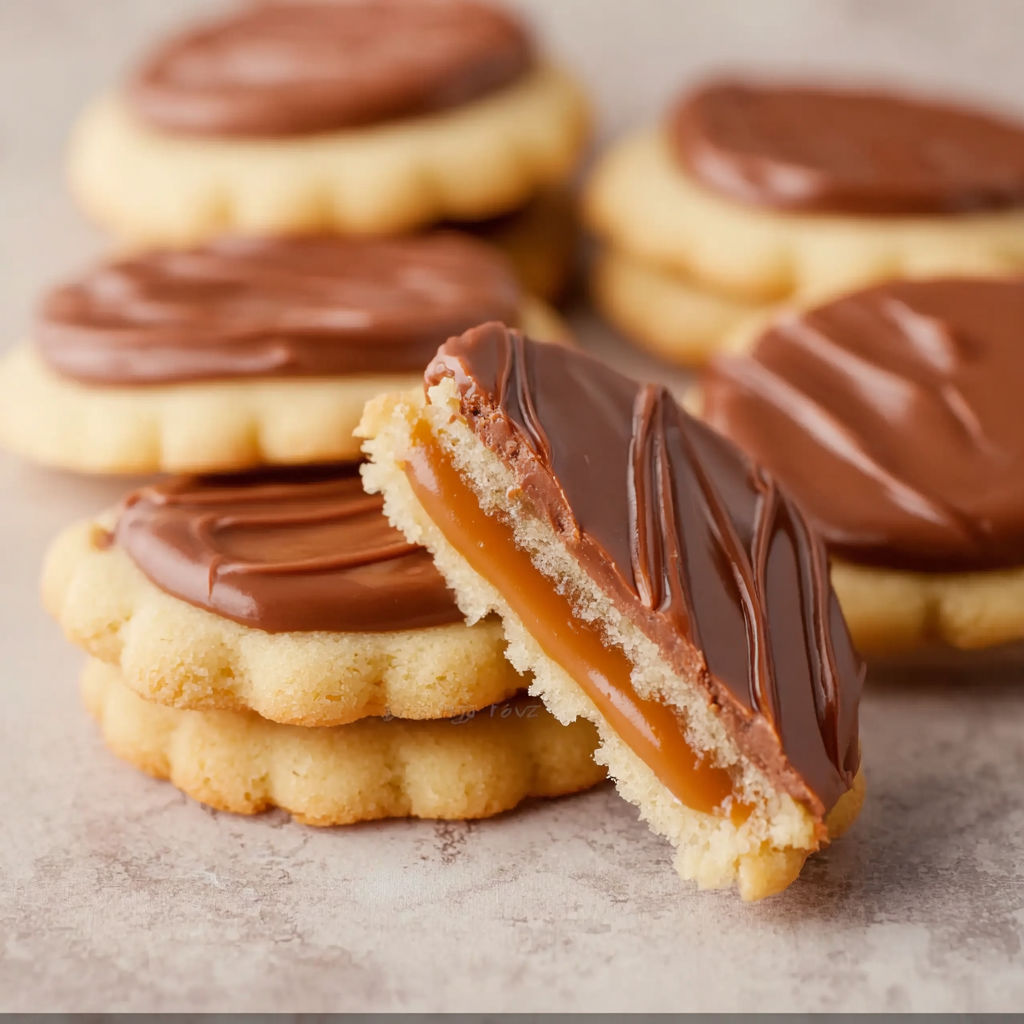
A batch of homemade Twix cookie cups makes any day feel special and lets you enjoy that famous candy bar flavor with the added comfort of a fresh baked treat. The combination of buttery cookie base gooey caramel and smooth chocolate topping is both nostalgic and crowd pleasing. These are easy to whip up and always disappear quickly at parties or family movie nights.
My kids call these the best cookies ever after the very first time I made them for a birthday sleepover they were gone before I could hide a few for myself
Gather Your Ingredients
- Salted butter: for a rich base and the salt helps balance the sweetness look for high quality European style if possible
- Granulated sugar: sweetens and helps the cookies become crisp around the edges use fine sugar for best creaming
- Vanilla extract: adds deep aroma try to use real vanilla if you can
- Egg white: binds the dough together and helps with structure make sure it is at room temperature
- All purpose flour: gives the cookies their classic texture make sure to fluff it before measuring
- Baking powder: creates lightness and prevents dense cookies check that your baking powder is fresh
- Caramels: are the heart of the “Twix” layer pick soft chewy caramels for easy melting
- Milk: just a splash to thin the caramel and help it spread
- Milk chocolate chips: replicate the candy bar’s coating use a quality brand for a silky melt
How to Make It
- Preheat and Prep:
- Set your oven to 350 degrees so it heats evenly while you mix the dough. Prepare a clean surface and generously dust it with flour to stop sticking.
- Cream Butter and Sugar:
- Combine softened salted butter and granulated sugar in a medium bowl. Using a mixer beat on medium speed for two to three minutes until the mixture is pale and fluffy. This step is crucial for a tender cookie.
- Add Wet Ingredients:
- Crack and separate one egg keeping only the white. Add the egg white and vanilla extract to your creamed butter and sugar. Continue mixing for about thirty seconds until the mixture looks silky and uniform.
- Mix Dry Ingredients:
- In a separate bowl whisk together flour and baking powder to evenly distribute the leavening. Add this dry mix in thirds to your wet mixture using your mixer on low so flour does not fly everywhere. Beat until just combined and a soft dough forms.
- Shape and Cut Cookies:
- Roll out the dough on your floured surface to between a quarter and half inch thickness. Use a round cookie cutter about two inches wide for even baking. Gently transfer circles onto an ungreased sheet pan giving each space to spread.
- Bake the Cookies:
- Bake the cookies for six to eight minutes. Watch closely and remove when the tops are puffy and the surface is no longer glossy. Do not overbake so the cookies stay soft.
- Cool Completely:
- Transfer baked cookies to a wire rack so they stop baking from residual heat. Let them cool completely before moving on or the caramel may run off.
- Make the Caramel Layer:
- Place the unwrapped caramels and a tablespoon of milk in a microwave safe bowl. Microwave for a total of one minute pausing at thirty seconds to stir. When done stir until completely smooth and melted.
- Add Caramel to Cookies:
- Using a small spoon add two to three teaspoons of melted caramel to each cookie. Smooth to cover most of the surface but stop just short of the edges for a classic caramel “pool” look.
- Chill to Set the Caramel:
- Place caramel topped cookies into the fridge for ten to fifteen minutes. Cold caramel keeps the chocolate from mixing in and helps everything set neatly.
- Melt the Chocolate:
- In a clean microwave safe bowl zap your chocolate chips in thirty second bursts stirring between each until glossy and melted. Be careful not to overheat or scorch the chocolate.
- Top with Chocolate:
- Spoon or drizzle melted chocolate over each caramel top. Tilt the cookies if you want an even layer or swirl with the back of your spoon for a rustic finish. Let set at room temperature or pop back in the fridge if you want them ready faster.
Tastes just like a Twix bar but with a home baked touch Even as an adult I cannot resist dunking these in coffee or cold milk and my family always sneaks extras from the fridge when they think I am not looking
Flavor Boosters
If you are out of milk chocolate try dark or semisweet for a richer twist. You can even use homemade caramel if you want extra flavor control. Gluten free flour blend also works here just use a one to one style substitute.
Serving Suggestions
Serve your cookie cups on a pretty platter for dessert buffets or give as edible gifts by stacking in a cellophane bag. Warm one in the microwave for a few seconds and top with vanilla ice cream for a decadent treat.
Creative Twists
For a holiday take add a sprinkle of flaky salt or even festive colored sprinkles on top of the chocolate layer. These cookies work year round but taste extra special when shared at Christmas or Halloween.
There is nothing quite like watching friends and family discover that you have “hacked” a beloved chocolate bar into homemade cookies. The joy is as much in the making as in the eating.
Common Questions About This Recipe
- → How do I know when the cookie cups are done baking?
The cookies are ready when they're puffy and lose their gloss. Avoid overbaking for a soft texture.
- → Can I use homemade caramel instead of store-bought caramels?
Yes, homemade caramel can be used. Ensure the consistency is thick but spreadable for the best results.
- → What type of chocolate works best for the topping?
Milk chocolate chips mimic Twix bars, but semi-sweet or dark chocolate can be substituted for a richer flavor.
- → How should I store Twix cookie cups?
Keep them in an airtight container at room temperature for up to 3 days or refrigerate for longer freshness.
- → Can I make these cookie cups ahead of time?
Yes, bake and assemble a day in advance. Store them chilled, then serve at room temperature for the best texture.