
 Pin
Pin
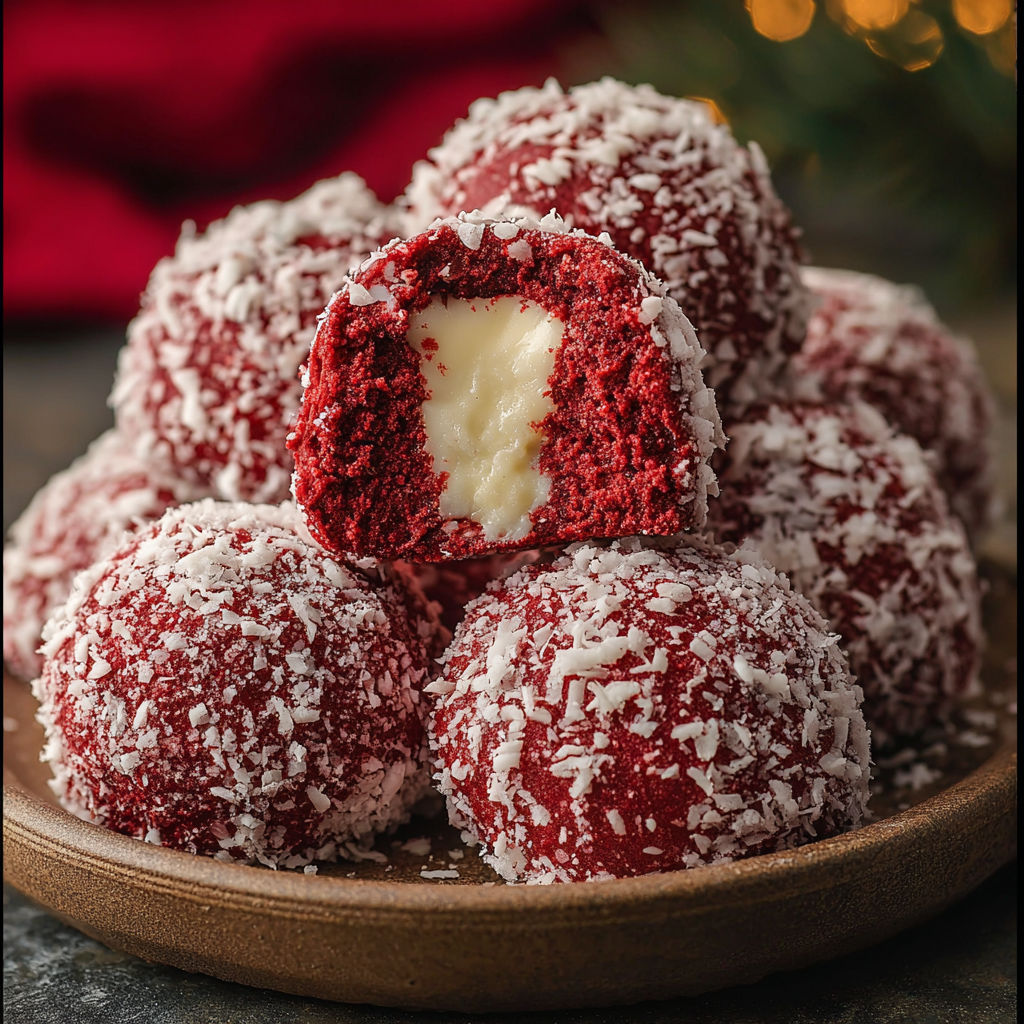
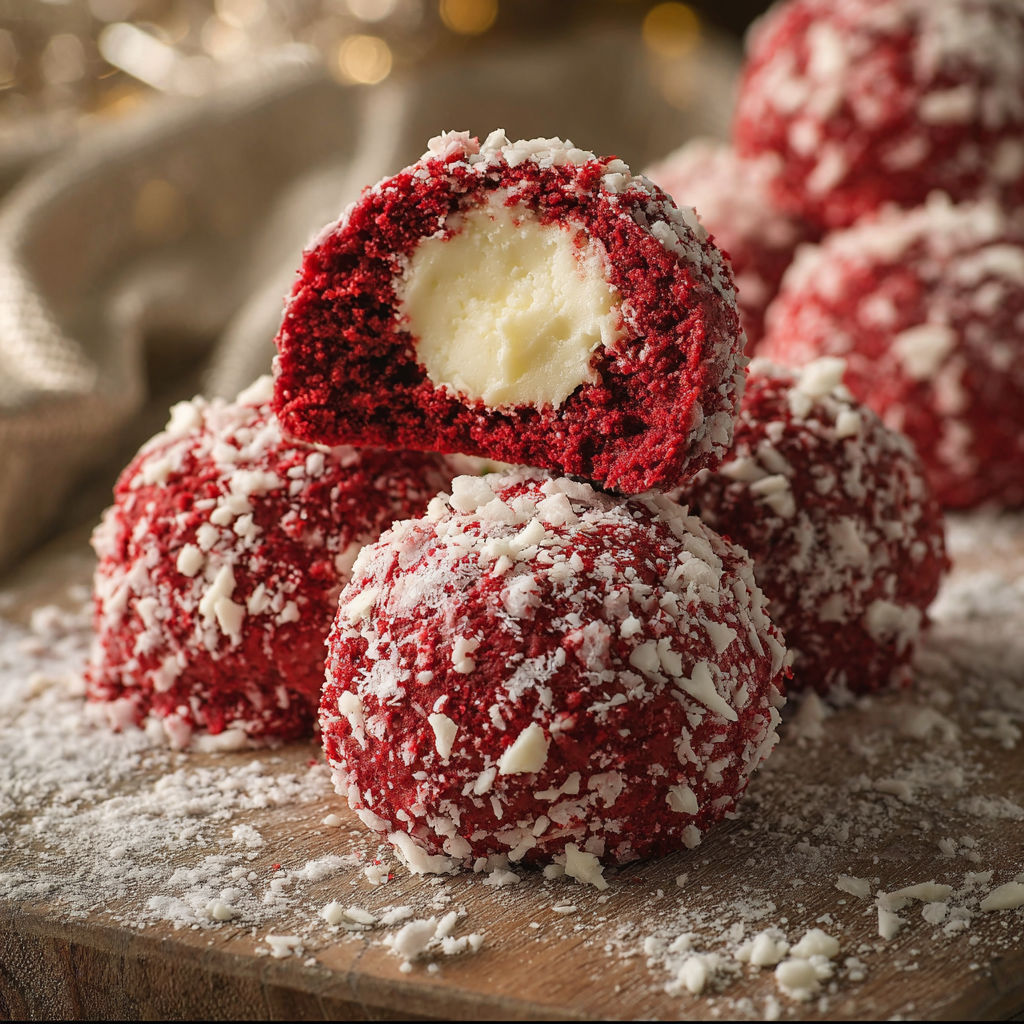
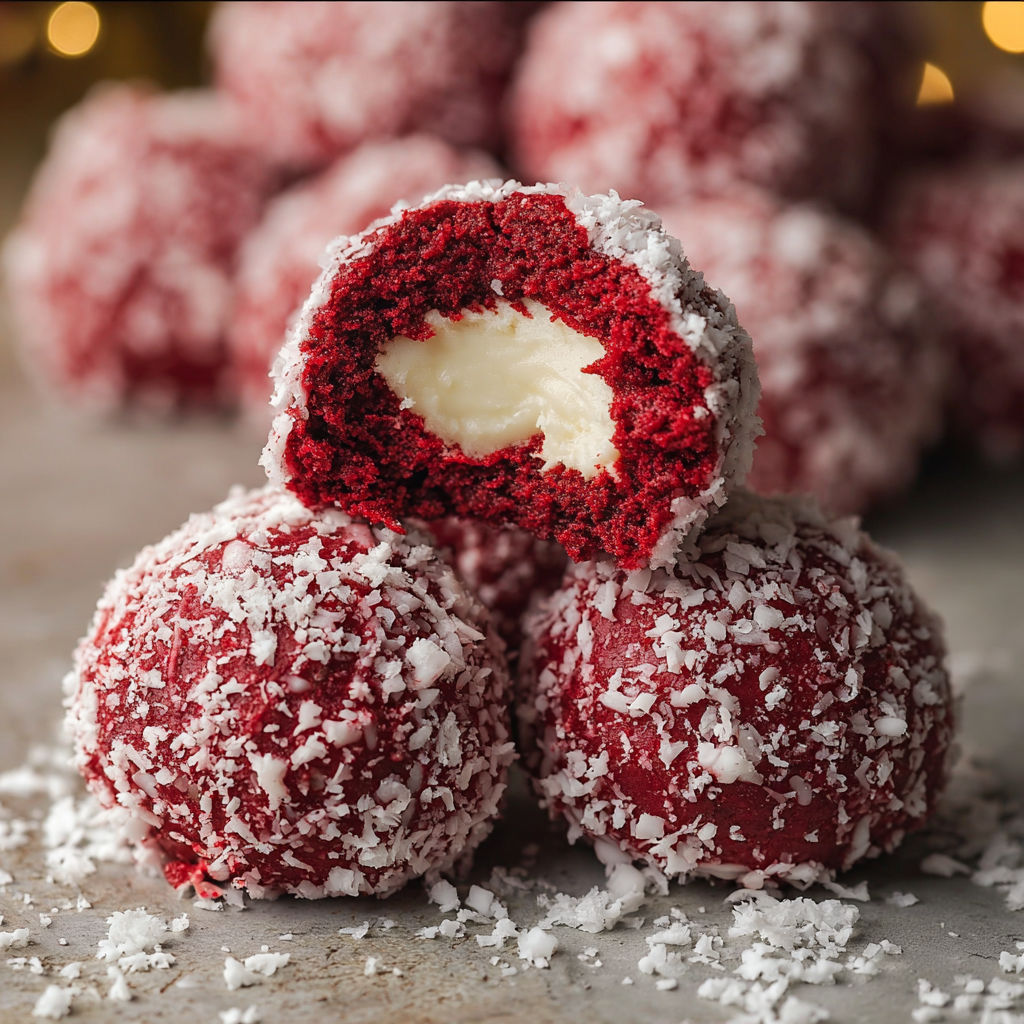
Nothing makes a holiday tray more festive than red velvet snowball cookies filled with creamy white chocolate and coated in coconut. Their soft crumb and surprise center set them apart from classic butter cookies, yet you can use familiar steps and a handful of everyday pantry ingredients. These cookies have become my go-to whenever I crave something showstopping for winter gatherings.
My family loves to help with the coconut coating step since it is fun and hands-on. I once brought these to a cookie exchange and they disappeared before I could even enjoy a second one.
Gather Your Ingredients
- All-purpose flour: gives the cookies their tender structure look for unbleached for better flavor
- Baking powder: helps create a slight lift for a melt-in-your-mouth crumb check that your baking powder is fresh
- Salt: balances sweetness use fine sea salt if possible
- Unsalted butter: ensures a rich clean taste select butter with minimal added water
- Granulated sugar: brings the signature sweetness opt for organic if you can
- Large egg: binds the dough and keeps it tender fresher eggs create fluffier cookies
- Vanilla extract: boosts aroma and warmth always use pure extract
- Red food coloring: delivers that classic red velvet shade gel forms have deeper color without thinning the batter
- Sugar syrup or water: is brushed on before rolling in coconut for extra stick and shine make your own syrup or use light corn syrup if needed
- Shredded coconut: adds the snowball look and toasty flavor choose unsweetened for a more balanced finish
- White chocolate: works as the filling aim for a good-quality bar for a creamy melt
How to Make It
- Prepare the Dough:
- In a large bowl use an electric mixer to cream softened butter and granulated sugar together on medium speed for two to three minutes. The mixture should look pale and fluffy. This step creates air pockets for a soft cookie.
- Blend in Wet Ingredients:
- Beat in the egg, vanilla extract, and red food coloring. Scrape down the sides to ensure even color. You want the batter to look smooth and fully red from edge to edge.
- Add Dry Ingredients:
- Stir flour, baking powder, and salt in a separate bowl. Gradually add dry mixture to the wet using low speed or a spatula. Mix only until just combined to avoid overworking the dough.
- Portion and Fill:
- Using a small scoop or spoon, portion out even balls of dough. Press a small divot in the center. Place a square of white chocolate in each center then gently close the dough around it. Make sure the chocolate is completely hidden.
- Bake the Cookies:
- Arrange the dough balls on a parchment-lined baking sheet, leaving space between them. Bake at 350°F or 175°C for 12 to 15 minutes until the cookies are set but not deeply golden. The bottoms should be barely colored. Let them cool for two to three minutes on the tray.
- Coat in Coconut:
- While cookies are still warm, brush each with a little water or thin sugar syrup. This makes the surface tacky. Immediately roll in shredded coconut, pressing softly to help it adhere. Let them cool completely so the white chocolate center sets.
I adore the creamy white chocolate inside which reminds me of winning winter bake-offs as a teen. My grandmother would always sneak an extra cookie onto my plate when we baked together. The coconut always makes me think of snowy afternoons indoors.
Flavor Boosters
Chilling dough for 15 minutes makes shaping easier so try this if things get sticky. Using fine shredded coconut creates a more even look than flaked coconut. If you want the red color to pop use a true gel food coloring not liquid.
Serving Suggestions
These cookies make stunning gifts just pack them in a red tin or clear bag with a ribbon. Pair with hot cocoa for an over-the-top treat. I love using them as a topper for holiday cakes or layering them on a winter grazing board with berries and candied nuts.
Creative Twists
If white chocolate is unavailable wrap the dough around a good-quality chocolate chip or even a small caramel. For a dairy-free cookie swap in plant-based butter and a non-dairy chocolate center. Almond extract adds a lovely twist just use half vanilla and half almond.
Last year I gave these cookies to my neighbors during a snowstorm and got three thank-you notes. Everyone asked for the recipe. My youngest likes to add sprinkles for extra sparkle and they freeze beautifully so you can bake ahead for holiday crunch time.
Common Questions About This Recipe
- → How do I achieve a vibrant red color in the cookies?
Using gel or liquid red food coloring ensures the dough turns a classic red velvet shade. Mix well for even color distribution.
- → Can I substitute the white chocolate filling?
Yes, you can use milk or dark chocolate for the filling, or even a cream cheese mixture for a tangy center.
- → What helps the coconut coating stick?
Lightly brushing warm cookies with water or sugar syrup allows the coconut flakes to adhere and stay bright white.
- → Do these cookies need to be refrigerated?
They can be stored at room temperature in an airtight container for up to 4 days. Refrigeration will help them last longer.
- → Can I prepare the dough ahead of time?
Yes, the dough can be made a day in advance and kept chilled until ready to bake for convenience.