
 Pin
Pin
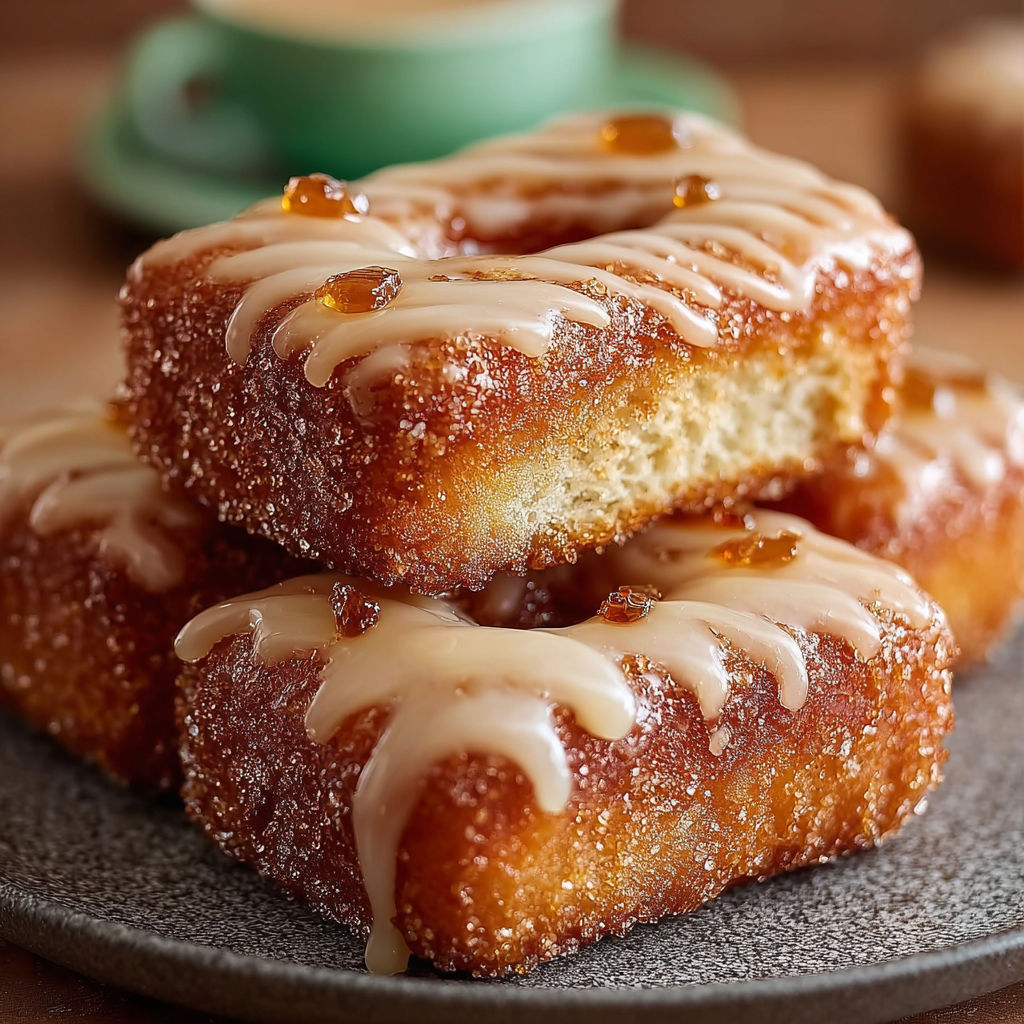
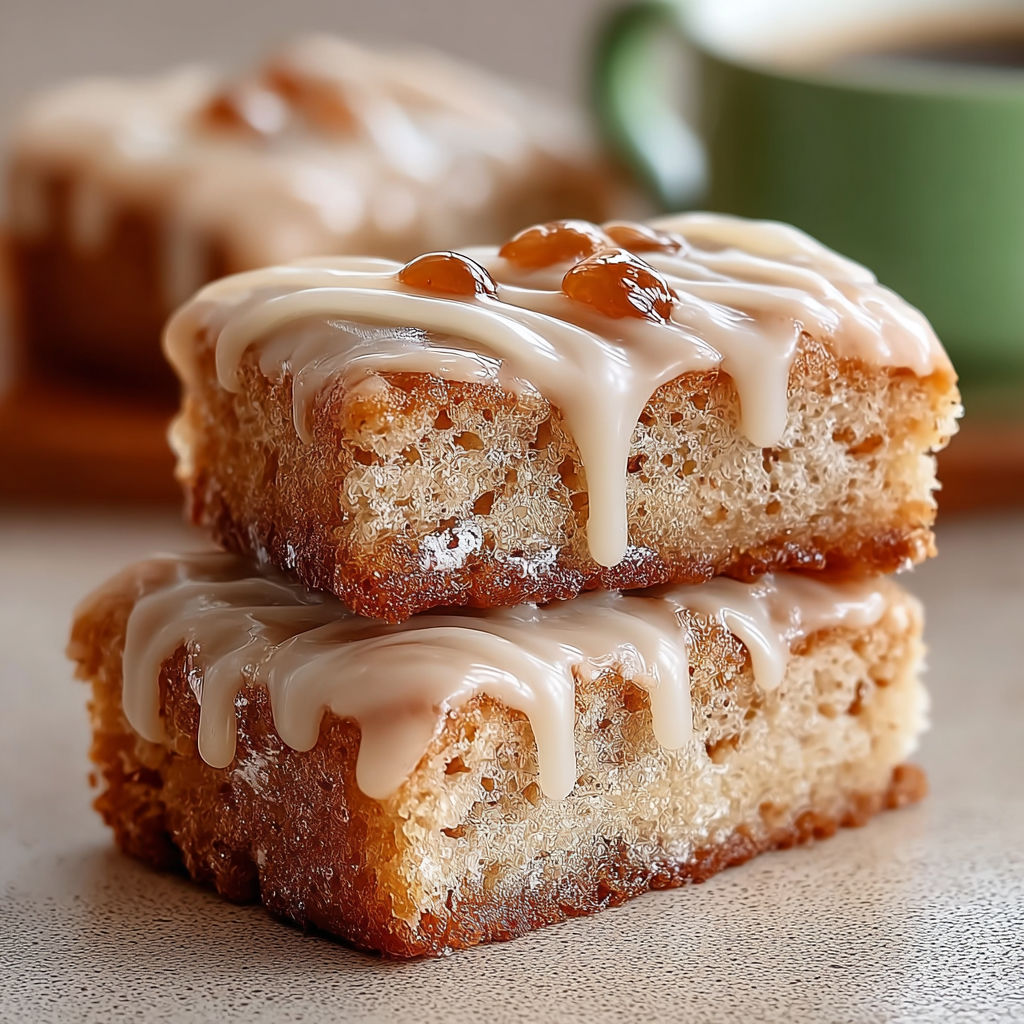
These maple donut bars transform the beloved donut shop flavor into an easy sheet pan treat that feeds a crowd without the fuss of frying. I developed this recipe after craving maple donuts but wanting something simpler to make for weekend brunch gatherings, and these bars have become my most requested contribution to potlucks and family breakfast celebrations.
I originally baked these for my daughter's soccer team breakfast and watched thirty kids devour every last crumb within minutes. Now I keep a batch in my freezer at all times because they thaw quickly and taste freshly baked even after weeks of storage. The texture sits somewhere between cake donuts and coffee cake which makes them incredibly satisfying for both dessert and breakfast occasions.
Gather Your Ingredients
- All purpose flour: Forms the structure of these bars and creates that tender crumb texture. Look for unbleached flour for the best flavor and avoid over measuring by spooning it into your cup rather than scooping directly from the bag.
- Baking powder and baking soda: Work together to give these bars their lift and light texture. Make sure both are fresh as expired leaveners will result in dense heavy bars.
- Salt: Enhances all the other flavors and balances the sweetness. I use fine sea salt but regular table salt works perfectly.
- Ground nutmeg: Adds that classic donut shop warmth and spice. Freshly grated nutmeg makes a noticeable difference if you have whole nutmeg available.
- Granulated sugar: Sweetens the batter and helps create moisture. Standard white sugar works best here rather than raw or coarse sugars.
- Unsalted butter: Provides richness and tender texture when melted into the batter. Let it cool slightly after melting so it does not cook the eggs when mixed.
- Large eggs: Bind everything together and add structure. Room temperature eggs incorporate more smoothly into the batter.
- Buttermilk: Creates incredible tenderness and adds a subtle tang that complements the maple flavor beautifully. If you do not have buttermilk add one tablespoon of lemon juice or vinegar to regular milk and let it sit for five minutes.
- Vanilla extract: In both the batter and glaze deepens the overall flavor profile. Pure vanilla tastes noticeably better than imitation in this recipe.
- Powdered sugar: Creates the smooth glossy glaze that makes these bars irresistible. Sifting removes lumps for the silkiest texture.
- Pure maple syrup: The star of the glaze so invest in real maple syrup rather than pancake syrup. Grade A amber or dark gives the best maple flavor intensity.
- Milk: Thins the glaze to the perfect pourable consistency. Whole milk creates the richest glaze but any milk variety works.
- Melted butter in the glaze: Adds shine and helps the glaze set with a beautiful finish.
- Chopped pecans or walnuts (optional): Make an optional topping that adds crunch and looks professionally finished.
How to Make It
- Prepare the Baking Pan:
- Preheat your oven to 350 degrees Fahrenheit which gives the oven plenty of time to reach the proper temperature while you mix the batter. Grease your 9x13 inch baking pan thoroughly with butter or nonstick spray then dust it with flour tapping out any excess. Alternatively you can line the pan with parchment paper leaving an overhang on two sides which makes lifting the entire batch out effortless for cleaner cutting. I prefer the parchment method because it guarantees the bars will release perfectly and cleanup takes seconds.
- Mix the Dry Ingredients:
- Whisk together the flour, baking powder, baking soda, salt, and nutmeg in a large bowl. Whisk vigorously for at least thirty seconds to ensure everything distributes evenly throughout the flour. This step prevents pockets of leavening agents or spices and eliminates the need for sifting. Make sure you whisk in a large enough bowl to accommodate adding the wet ingredients later without overflow.
- Combine the Wet Ingredients:
- In a separate medium bowl, whisk together the granulated sugar and melted butter until well combined and slightly lightened in color. Add the eggs one at a time whisking thoroughly after each addition until the mixture looks smooth and emulsified. Pour in the buttermilk and vanilla extract then whisk until completely uniform. The mixture should look smooth without any separation even though butter and buttermilk do not naturally want to combine.
- Create the Batter:
- Pour the wet ingredients into the bowl with the dry ingredients. Using a rubber spatula or wooden spoon, fold everything together with gentle strokes until you see no more dry flour streaks. Stop mixing as soon as the batter comes together because overmixing develops gluten which creates tough chewy bars instead of tender cake like texture. A few small lumps are perfectly fine and will bake out. The batter should be thick but pourable with a consistency similar to thick pancake batter.
- Pour Batter into Pan:
- Scrape all the batter into your prepared pan using your spatula to get every bit from the bowl. Spread the batter evenly into all corners and smooth the top with an offset spatula or the back of a spoon. Take your time with this step because even distribution ensures uniform baking and consistent texture throughout. Tap the pan gently on the counter two or three times to release any air bubbles trapped in the batter.
- Bake:
- Place the pan in the center of your preheated oven and bake for 20 to 25 minutes. Start checking at the 20 minute mark by inserting a wooden skewer or toothpick into the center. The bars are done when the skewer comes out clean or with just a few moist crumbs attached and the edges pull slightly away from the pan sides turning golden brown. The top should spring back when gently pressed with your finger. Avoid overbaking which dries out the bars and makes them crumbly rather than moist and tender.
- Cool:
- Remove the pan from the oven and let it sit on a wire rack for 10 minutes. This cooling period allows the structure to set so the bars do not fall apart when moved. After 10 minutes, if you used parchment paper, lift the entire slab out by the overhang and transfer it to the wire rack. If you greased and floured the pan, you can either leave the bars in the pan to cool completely or carefully invert onto the rack then flip right side up. Complete cooling takes about an hour and is essential before glazing because warm bars will melt the glaze instead of letting it set properly.
- Make the Maple Glaze:
- While the bars cool, sift the powdered sugar into a large bowl to eliminate any lumps that would create a grainy glaze. Add the maple syrup, melted butter, vanilla extract, and salt then whisk until smooth. Add the milk one tablespoon at a time whisking after each addition until you reach the perfect consistency. The glaze should be thick enough to coat the back of a spoon but thin enough to pour and spread easily. If you accidentally make it too thin, whisk in more powdered sugar a tablespoon at a time. If it is too thick, add milk by the teaspoon.
My favorite part of this recipe is using real maple syrup in the glaze because it creates a depth of flavor that cannot be replicated with artificial maple flavoring. I learned this lesson when I tried to save money using pancake syrup for a bake sale batch and the difference was so noticeable that several people asked what I had changed. The investment in pure maple syrup pays off in taste and the warm complex sweetness it brings to these bars. My family always gathers in the kitchen when I make these because the aroma of maple glaze combining with fresh baked cake fills the entire house with the most comforting scent.
Flavor Boosters
Replace buttermilk with an equal amount of plain yogurt thinned with a tablespoon or two of milk for similar tang and tenderness. Use melted coconut oil instead of butter for a dairy free version though the flavor will be slightly different. Swap the all purpose flour with a gluten free flour blend measuring cup for cup but expect a slightly more crumbly texture. Try brown sugar instead of granulated sugar in the batter for deeper molasses notes that complement the maple beautifully. Replace maple syrup in the glaze with honey for a different but equally delicious flavor profile. Almond extract can substitute for vanilla if you want a more complex flavor that pairs wonderfully with maple.
Serving Suggestions
Cut these bars into small squares for bite sized treats perfect for dessert platters at parties and showers. For breakfast or brunch service, cut larger rectangles about 2x3 inches which provide a more substantial portion. Serve these bars slightly warm with a scoop of vanilla ice cream for an incredible dessert that tastes like maple sundae. Pair with hot coffee or strong black tea to balance the sweetness. Add a piece of crispy bacon to each bar before the glaze sets or crumble bacon into the glaze for a sweet and salty twist that surprises and delights.
Creative Twists
For fall, add cinnamon and ginger to the dry ingredients and top with candied pecans or pumpkin spice. Use lemon zest in the batter and lemon juice in the glaze for a lighter spring version. In winter, add crystallized ginger to the batter and garnish with sugared cranberries for holiday flair. The bars can be frozen after baking and cut into individual pieces for grab and go treats. Make and store the glaze separately for the freshest finish when you are ready to serve.
These bars have become a favorite for my family and friends, and even novice bakers have success with this recipe. Whether for a holiday celebration or an afternoon treat, maple donut bars bring cozy nostalgia and impressive flavor in every bite.
Common Questions About This Recipe
- → Can I use pancake syrup instead of pure maple syrup?
Pure maple syrup provides the best flavor, but pancake syrup can be substituted in a pinch. The taste may differ slightly.
- → How should I store maple donut bars?
Keep bars in an airtight container at room temperature for up to 3 days, or refrigerate to extend freshness.
- → Can I freeze donut bars after baking?
Yes, freeze the bars unfrosted in a sealed bag. Thaw and glaze before serving for best results.
- → What can I use instead of buttermilk?
Mix regular milk with a tablespoon of lemon juice or vinegar, let it sit for a few minutes, and use as a buttermilk substitute.
- → Are there alternative toppings for these bars?
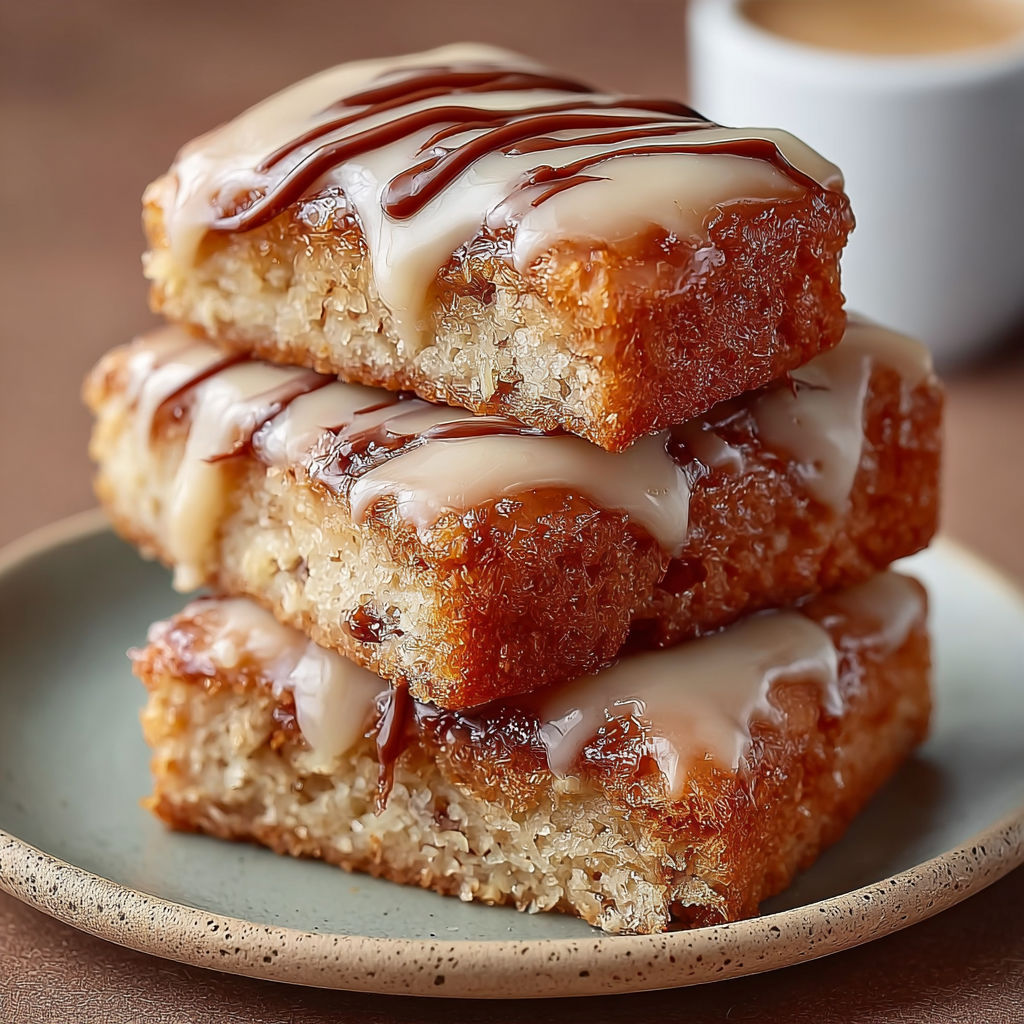
Try chopped pecans, walnuts, or a dusting of cinnamon. You can also drizzle melted chocolate for extra richness.