
 Pin
Pin
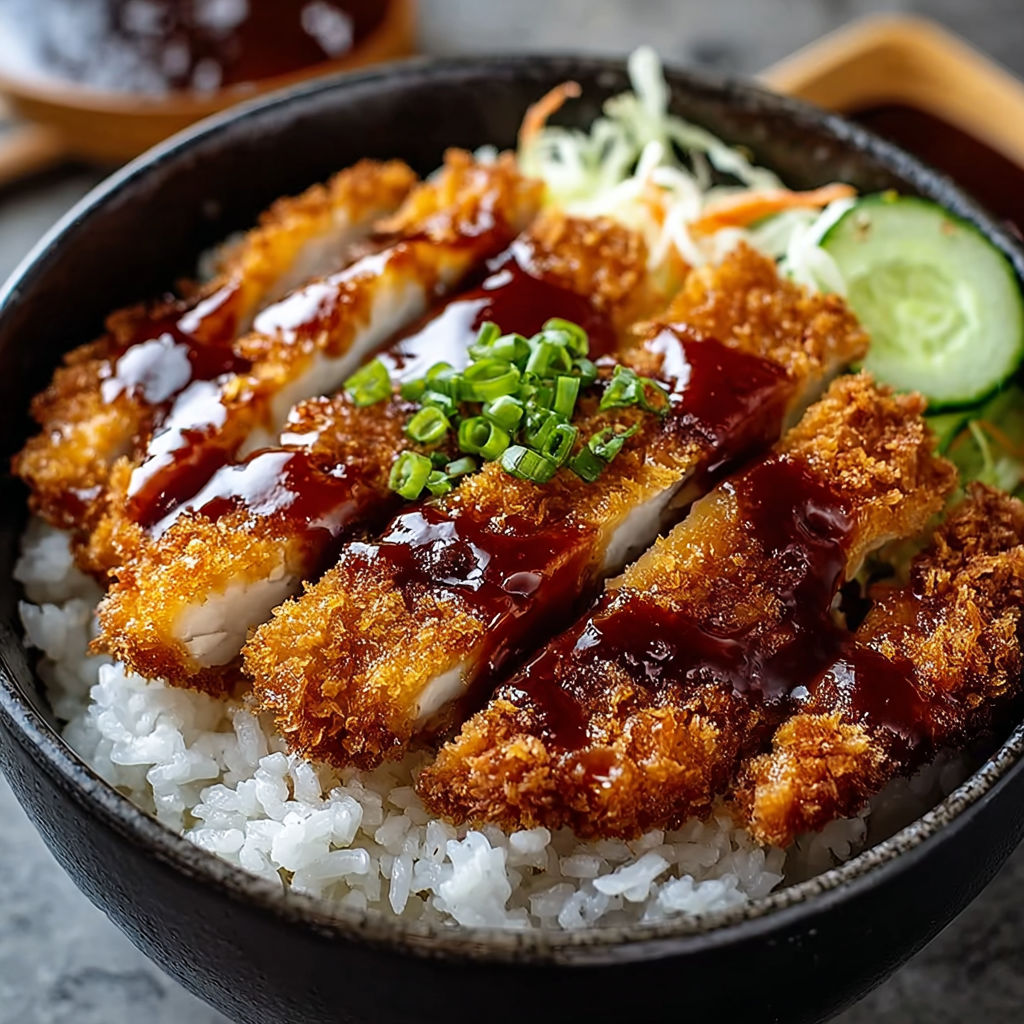
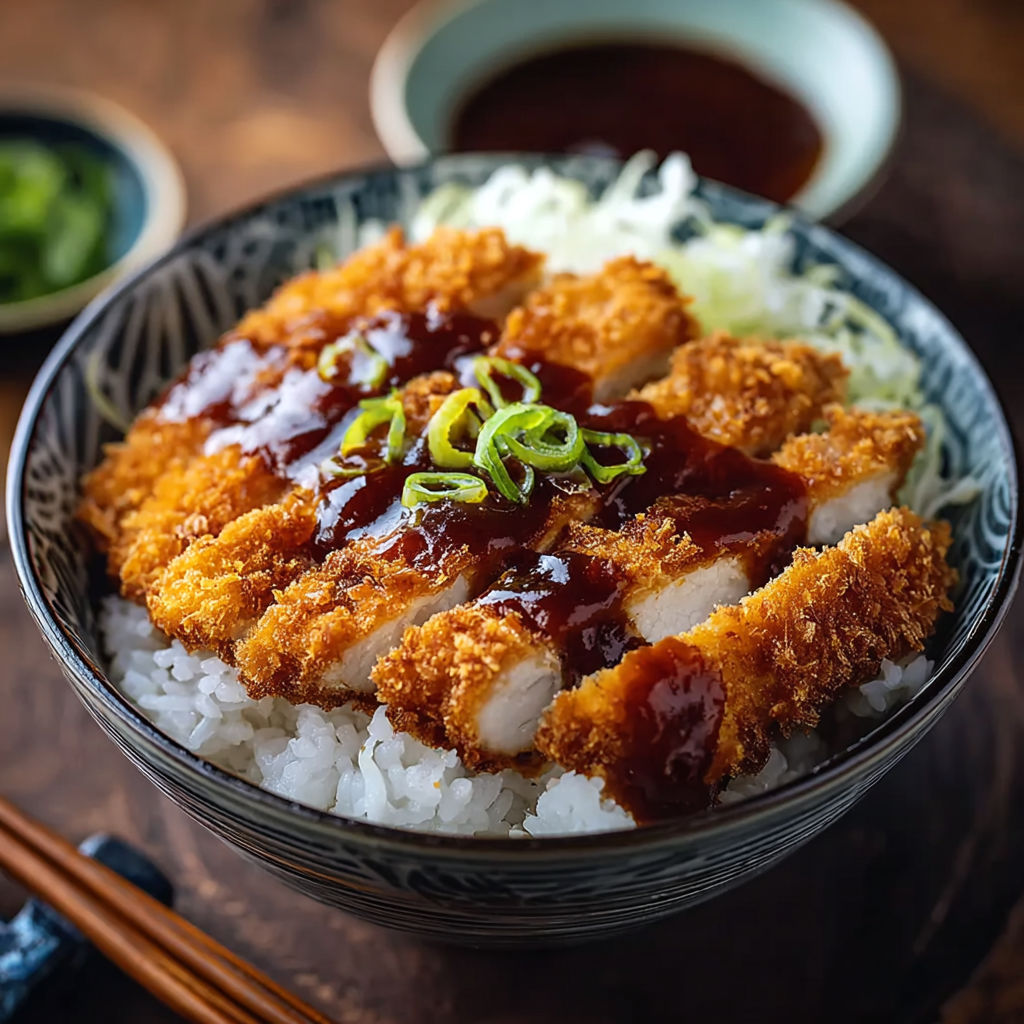
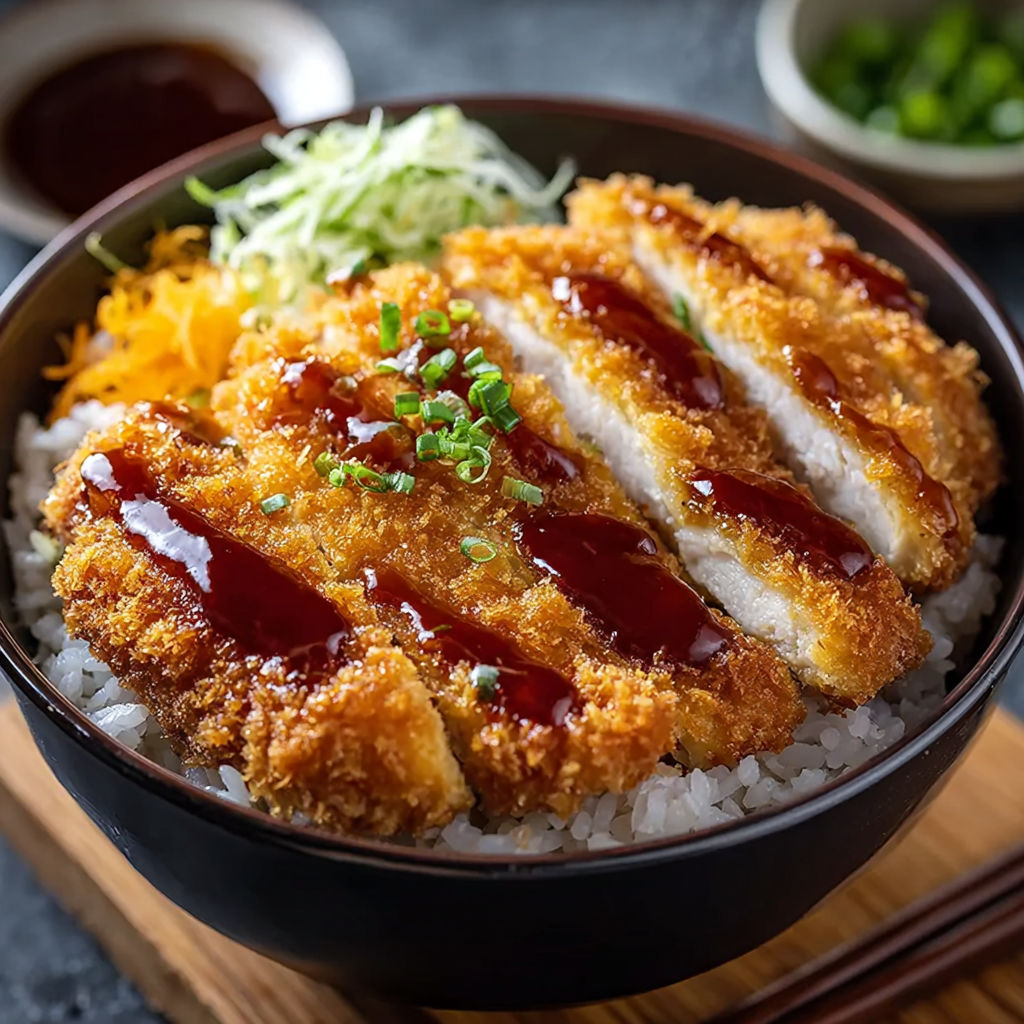
Crispy Japanese katsu bowls with homemade tonkatsu sauce are the perfect blend of comfort and crunch. This dish captures the soul of Japanese home cooking but makes it weeknight friendly thanks to smart shortcuts. The result is a golden breaded chicken cutlet layered over warm rice, drizzled with a sweet savory sauce that wakes everything up.
I started making these katsu bowls for my family on busy work nights. They disappeared faster than any takeout and now everyone asks for katsu bowl night when comfort food cravings hit.
Gather Your Ingredients
- Chicken breasts: boneless and skinless, tender protein source and easy to cook evenly. Choose ones that are similar in size for even frying
- Panko breadcrumbs: create extra crispy coating. Store bought Japanese panko is light and airy
- Large eggs: act as glue holding the coating to the chicken. Use fresh ones for best results
- All purpose flour: helps the breading stick. Choose unbleached for better flavor
- Low sodium soy sauce: for the tonkatsu sauce, brings umami flavor. Look for naturally brewed brands
- Mirin or rice vinegar: adds sweetness and depth to the sauce. If you use rice vinegar add a pinch more sugar
- Brown sugar: balances salt and acid. Choose dark brown if you like deeper caramel flavors
- Vegetable oil: for frying, gives a neutral taste and golden crunch. Pick a high smoke point oil like canola or peanut
- White or brown rice: makes the perfect fluffy base. Use short grain for authentic texture
How to Make It
- Prepare the Chicken:
- Place each chicken breast between two pieces of plastic wrap and use a meat mallet to pound evenly until about half an inch thick. This ensures they cook all the way through without drying out or burning.
- Dredge the Chicken:
- Arrange three shallow bowls in a row, one with all purpose flour, one with beaten eggs, and one with panko breadcrumbs. Dip each piece of chicken first in the flour covering both sides, then dip into the eggs making sure every bit is coated, and finally press firmly into the panko so the crumbs stick in a thick layer. Do this step well for the crispiest coating.
- Heat the Oil:
- Pour vegetable oil into a large skillet, enough that it forms a quarter inch layer on the bottom. Heat over medium until the oil shimmers and a crumb dropped in sizzles right away, usually when the oil reaches about three hundred fifty degrees Fahrenheit. Accurate oil temperature gives you a shatteringly crisp crust without absorbing too much oil.
- Fry Until Golden Brown:
- Gently lay the breaded chicken in the hot oil, do not crowd the pan. Fry on the first side for three to four minutes, pressing lightly if needed for even contact. Flip and cook another three to four minutes until the outside is deep golden and the inside registers one hundred sixty five degrees Fahrenheit on a thermometer.
- Make the Tonkatsu Sauce:
- In a small bowl whisk together soy sauce, mirin or rice vinegar, brown sugar, and a splash of water. Stir vigorously until the sugar dissolves and the sauce becomes glossy and pourable.
- Assemble Your Bowls:
- Pile hot cooked rice into bowls, slice the fried chicken and arrange artfully on top. Drizzle with plenty of tonkatsu sauce and if you have them sprinkle sliced green onions and toasted sesame seeds for color and crunch. Serve at once to keep the chicken crispy.
My favorite part is always the first bite when the chicken crunches louder than you expect. My whole family gathers around the kitchen as soon as they smell the chicken frying and sometimes we fight over those extra crispy crumbs left in the pan.
Flavor Boosters
Let leftover chicken cool on a wire rack before storing to keep it as crisp as possible. Store in a sealed container in the refrigerator for up to two days. To reheat place chicken pieces in a hot oven or toaster oven for about ten minutes until warmed through and crispy. The tonkatsu sauce can be made ahead and stored in the fridge for up to a week. Chilled sauce actually coats the hot chicken even better.
Serving Suggestions
For a truly authentic touch serve with quick pickled cucumber salad or shredded cabbage on the side. Add a few slices of avocado or a jammy soft boiled egg for richness. A sprinkle of shichimi togarashi a japanese chili spice mix is amazing for those who like heat. I love packing the leftovers into bento boxes to take for lunch on a busy day.
Creative Twists
You can swap pork cutlets traditional tonkatsu for chicken in this recipe if you like. Extra firm tofu also makes a great vegetarian option if pressed and breaded the same way. For gluten free needs use a gluten free flour blend and gluten free panko breadcrumbs. If you do not have mirin regular rice vinegar works just fine add a little honey or sugar to taste.
This katsu bowl is always a hit for family birthdays and busy nights, and it is just as delicious for lunch the next day. Making it from scratch is easier than you think and sure to bring smiles to your table.
Common Questions About This Recipe
- → What is katsu and how is it prepared?
Katsu is a breaded and fried cutlet, typically chicken or pork. The meat is pounded, dipped in flour, egg, then panko, and fried until crispy and golden brown.
- → What type of rice works best for katsu bowls?
Short-grain white rice is most common, but brown rice is a great alternative for a nutty flavor and chewy texture.
- → How do I make tonkatsu sauce at home?
Blend soy sauce, mirin or rice vinegar, and brown sugar with a splash of water for sweetness and tang. Adjust proportions to taste.
- → Can I use pork instead of chicken?
Yes, pork loin or pork cutlets are traditional for katsu and work well prepared the same way as chicken.
- → What garnishes complement katsu bowls?
Fresh green onions, toasted sesame seeds, or thinly sliced cabbage add crunch and freshness to the finished bowl.