
 Pin
Pin
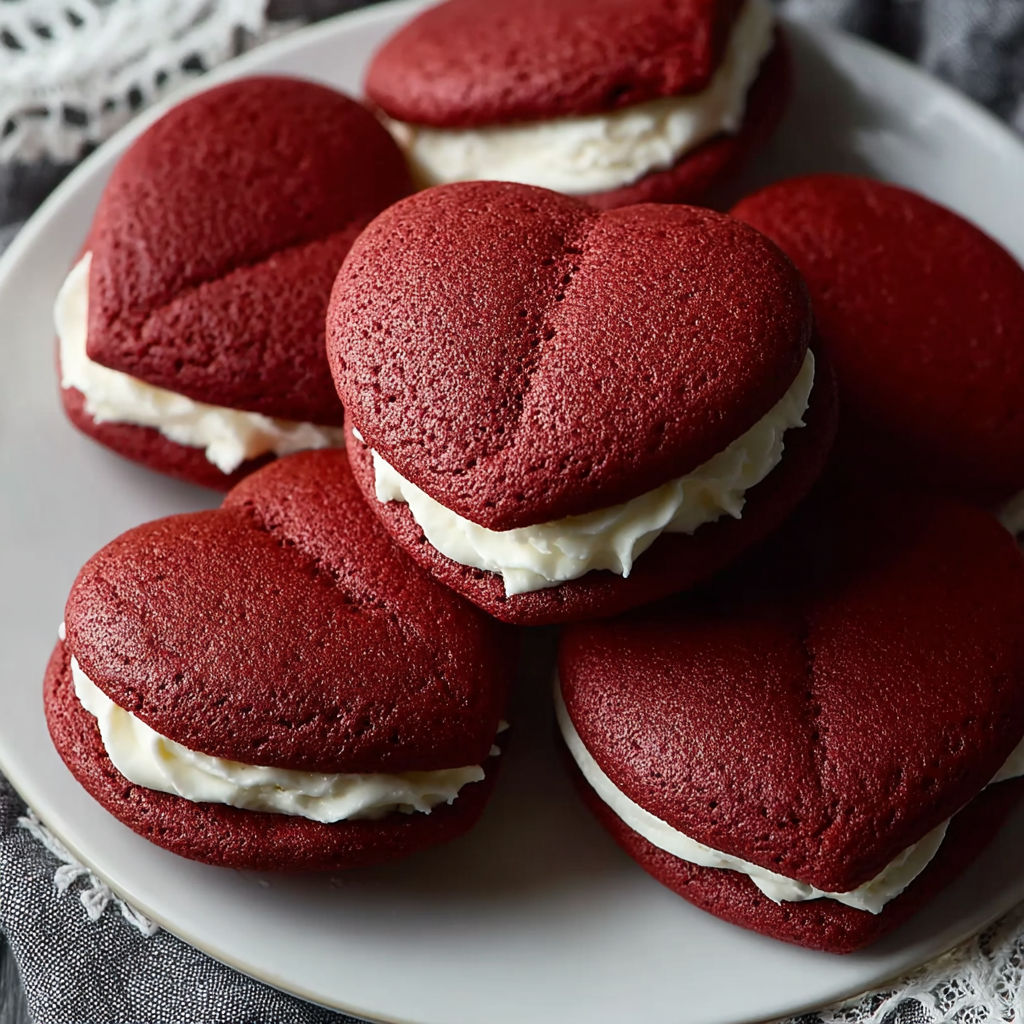
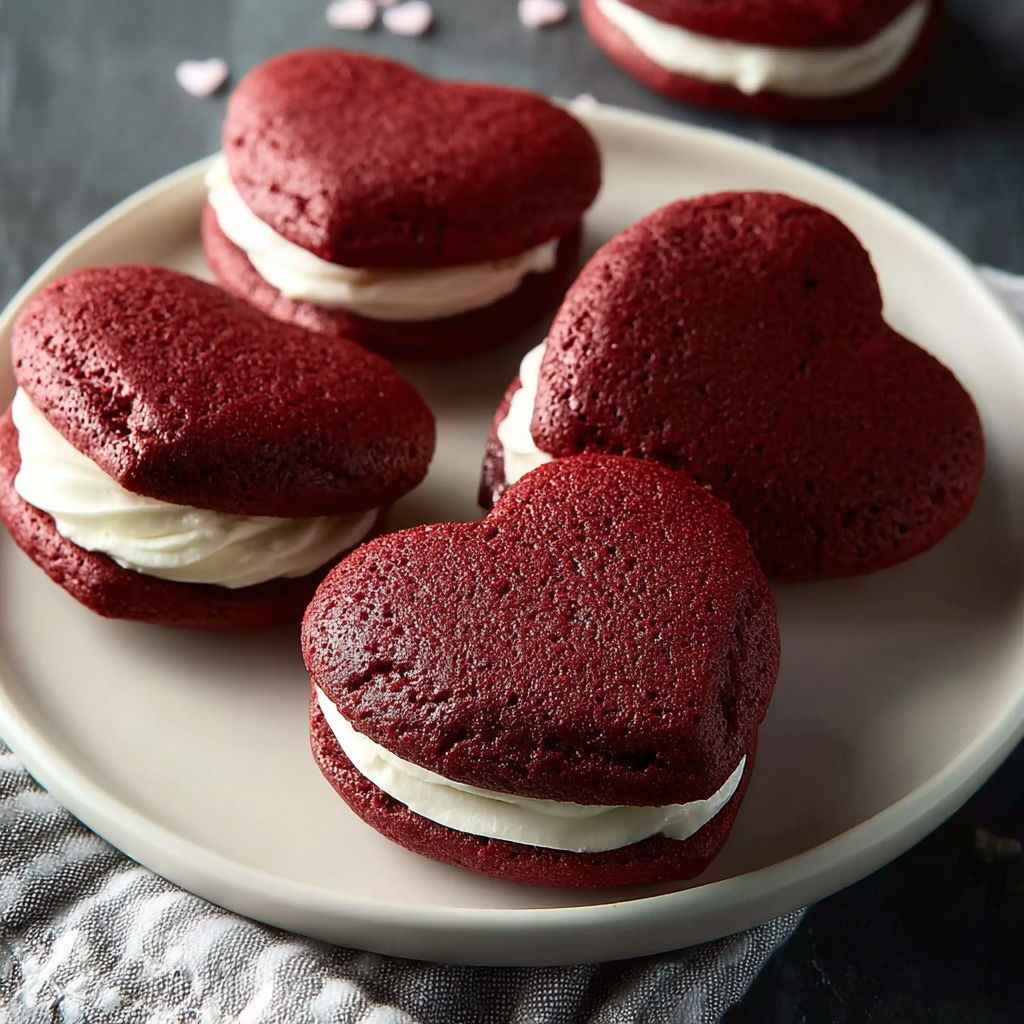
This tasty heart-shaped red velvet whoopie pies recipe has become a go-to treat for special occasions and cozy afternoons alike. It combines the rich flavors of red velvet with a creamy filling that feels homemade without too much fuss. Perfect for impressing guests or indulging in a sweet moment, these little cakes are as fun to make as they are to eat.
I first baked these for Valentine’s Day and the smiles around the table made it one of my favorite desserts to repeat. Now any event feels a little more special with a batch on hand.
Gather Your Ingredients
- One and a half cups flour: the base for tender cake layers, choose all-purpose for best texture
- Quarter teaspoon salt: enhances all the flavors naturally
- Three tablespoons cocoa powder: gives that mild chocolate taste essential to red velvet Dutch-processed if available for deeper color
- Half cup unsalted butter: for richness room temperature helps with easy mixing
- Half cup white sugar and one-third cup brown sugar: blend for sweetness and a hint of molasses complexity
- One egg: binds everything large eggs work best
- One teaspoon vanilla extract: boosts every flavor note, use pure if you can
- Half teaspoon baking powder and half teaspoon baking soda: leaveners that ensure a light crumb
- Half cup buttermilk: adds moisture and slight tang, important for that classic red velvet mouthfeel
- Red food coloring: brings the iconic vibrant hue gel or liquid both work but gel is more intense
- Four ounces softened cream cheese: key to creamy filling, pick full fat for richness
- Three tablespoons softened unsalted butter: balances the cream cheese in filling for smoothness
- Two to three cups powdered sugar: sweetens the filling to your preferred consistency and sweetness
How to Make It
- Sift Dry Ingredients:
- Carefully sift the flour, cocoa powder, salt, baking powder, and baking soda together into a bowl. This prevents lumps and ensures even distribution of the leaveners and cocoa for a consistent texture and color.
- Cream Butter and Sugars:
- In a separate large bowl, beat the softened butter with the white and brown sugars using an electric mixer on medium speed until the mixture is light and fluffy. This step creates a light texture in the cake layers.
- Add Egg and Vanilla:
- Beat in the egg followed by the vanilla extract until fully incorporated. Make sure there are no streaks of egg. This helps stabilize the batter.
- Alternate Adding Dry Ingredients and Buttermilk:
- Begin adding the sifted dry ingredients to the butter mixture in thirds, alternating with the buttermilk in halves. Start and end with the dry ingredients. Mix on low speed just until combined; overmixing causes dense cakes.
- Add Red Food Coloring:
- Stir in the red food coloring gradually, mixing until the batter reaches a deep, even red color. Adjust to your preferred shade but avoid adding too much liquid which can alter the batter consistency.
- Shape and Bake:
- Preheat your oven to 350 degrees Fahrenheit. Lightly grease your whoopie pie pans or line baking sheets with parchment paper. Pipe or spoon rounded heart shapes onto the baking surfaces. Bake for about 20 to 25 minutes, or until a toothpick inserted in the center comes out clean.
- Prepare the Filling:
- While the cakes cool, beat together the softened cream cheese and butter for the filling until smooth. Gradually add powdered sugar one cup at a time, beating on low speed to avoid a powdery cloud, until the filling is fluffy and sweetened to your liking.
- Assemble the Whoopie Pies:
- Once the cakes have completely cooled, spread or pipe a generous amount of filling onto the flat side of one cake and gently press another cake on top to form a sandwich. Chill in the refrigerator for about 30 minutes before serving to set the filling.
My favorite thing about this recipe is the contrast between the soft, moist red velvet layers and the tangy, creamy filling. One memory that stands out is sharing these at a family gathering where everyone kept going back for seconds despite trying to save room for dinner.
Flavor Boosters
Serve these little pies with a glass of cold milk or a cup of strong coffee. For a party, arrange them on a pretty platter with fresh berries or edible flowers to enhance that romantic vibe.
Serving Suggestions
Whoopie pies originated in the northeastern United States and have roots in Amish and Pennsylvanian Dutch cooking. The red velvet variation brings in that Southern charm, with its distinctive red color and cocoa flavor representing classic American baking traditions.
Creative Twists
You can adjust the red food coloring to a softer pink for spring celebrations or intensify it for deep winter holidays. Adding a pinch of cinnamon or nutmeg to the batter creates a warm spice note perfect for colder months.
These heart-shaped red velvet whoopie pies make a delightful treat for any occasion and combine ease with impressive flavors.
Common Questions About This Recipe
- → What makes the whoopies heart-shaped?
The batter is piped or spooned into heart shapes on the baking sheet before baking, giving them their distinctive form.
- → Can I substitute ingredients in the filling?
Yes, you can adjust the filling by using alternatives like mascarpone or adding a hint of lemon zest for extra flavor.
- → How should these whoopies be stored?
Store them in an airtight container in the refrigerator for up to 3 days to maintain freshness and texture.
- → Is there a way to make these whoopies less sweet?
Reducing the amount of powdered sugar in the filling or adjusting the sugar quantities in the cake will help balance the sweetness.
- → Can I prepare the whoopies in advance?
Yes, both the cakes and filling can be made ahead. Store separately and assemble just before serving for best results.