
 Pin
Pin
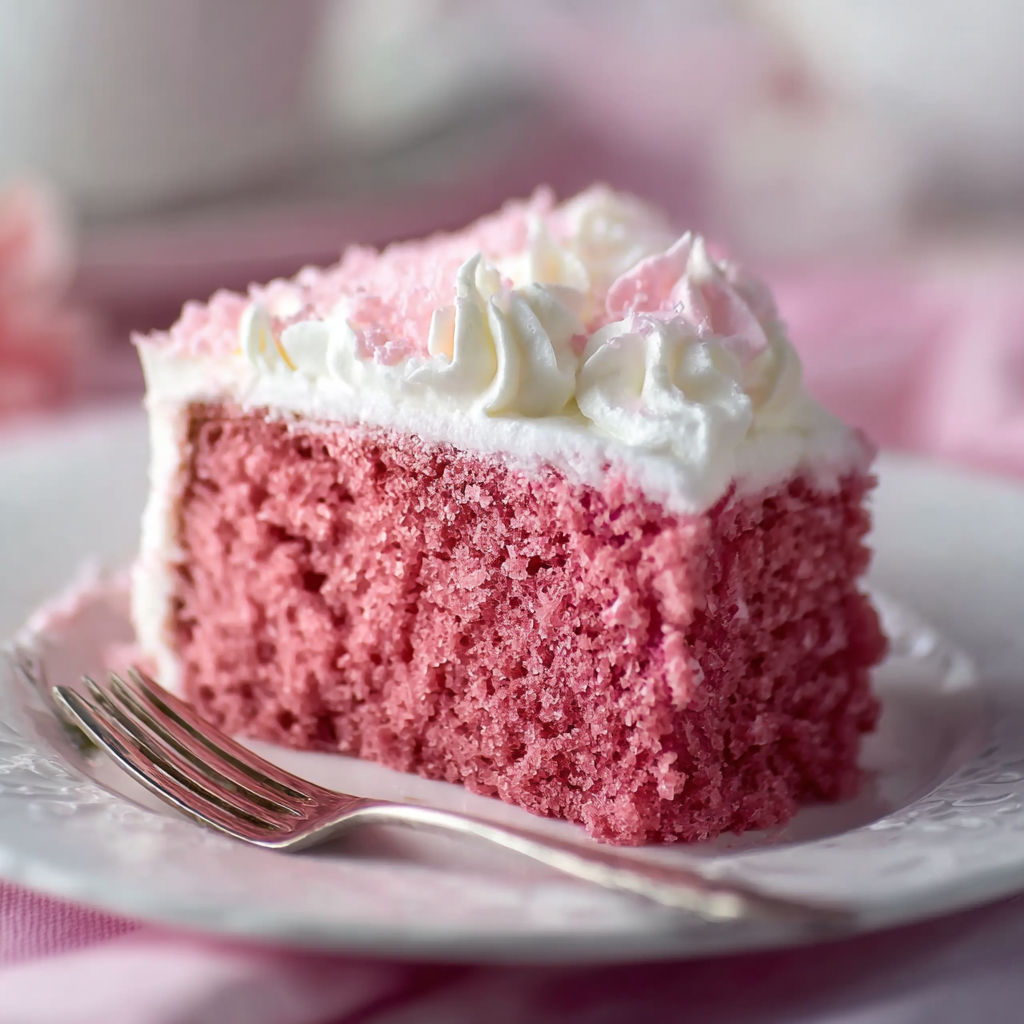
This easy pink velvet cake strikes the perfect balance between a classic red velvet and a charmingly lighter pink dessert. It’s ideal for birthdays, baby showers, or any occasion that calls for a bit of elegance in a simple form. With straightforward steps and familiar ingredients, it’s a bake that anyone can master without fuss.
I first baked this cake for a friend’s bridal shower and everyone commented on how light and delicious it was. Now it’s my go-to when I want a crowd-pleaser that looks stunning without extra effort.
Gather Your Ingredients
- Cake flour: provides a delicate texture, so choose a good quality brand or sift to avoid lumps
- Natural unsweetened cocoa powder: just enough to add subtle depth to the flavor, go for Dutch-processed if you want a smoother taste
- Baking powder and baking soda: the perfect combo for rise and lightness, ensure they are fresh for best results
- Kosher salt: enhances the cake’s flavor without overpowering, use finely ground if available
- Unsalted butter at room temperature: creaming it properly is key for fluffiness, opt for European-style butter if you want richer taste
- Granulated sugar: adds sweetness and helps with the structure, white sugar works best here
- Pink gel food coloring: this gives the cake its signature color without affecting texture, use a good quality gel for vibrant color
- Large eggs at room temperature: important for emulsifying and binding the batter smoothly
- Buttermilk at room temperature: creates a tender crumb and slight tang, homemade or store-bought both work well
- White vinegar: reacts with baking soda to help the cake rise perfectly
- Pure vanilla extract: rounds out flavor, choose a pure extract for the best aroma
How to Make It
- Savoring the preparation:
- Preheat your oven to 350 degrees Fahrenheit. Butter your chosen pans well and line them with parchment paper. This prevents sticking and allows the cake to release easily after baking.
- Whisking the dry ingredients:
- In a bowl, sift together the cake flour, cocoa powder, baking powder, baking soda, and kosher salt. This ensures everything is thoroughly combined and aerated, which will help your cake be light and even.
- Creaming the butter and sugar:
- Using a stand mixer with a paddle attachment, beat the room temperature butter on medium-high speed until it turns soft and pale. Gradually add the sugar and continue beating until the mixture is light and fluffy—this can take about five minutes. Next, add the pink gel food coloring and blend well, watching the batter turn a lovely shade of pink.
- Incorporating the eggs:
- Crack in the eggs one at a time, mixing well after each addition. This keeps the batter smooth and prevents curdling, ensuring even texture.
- Mixing wet ingredients:
- In a separate bowl, combine the buttermilk, white vinegar, and vanilla extract. The vinegar will activate with the baking soda to give the cake lift.
- Bringing batters together:
- Add the dry ingredients to the butter mixture in three batches, alternating with the buttermilk mixture. Begin and end with the dry ingredients. Mix gently but thoroughly after each addition until everything is just combined. Avoid overmixing as it could toughen the cake.
- Filling the pans:
- Divide the batter evenly between your prepared pans, smoothing the tops with a spatula for an even rise.
- Baking time:
- Place the pans in the preheated oven. Bake for about 30 to 45 minutes or until a toothpick inserted in the center comes out clean. Every oven is different, so start checking at 30 minutes.
- Cooling before serving:
- Allow the cakes to cool in their pans for 15 minutes before turning them out onto wire racks to cool completely. This keeps the cake moist and prevents breakage.
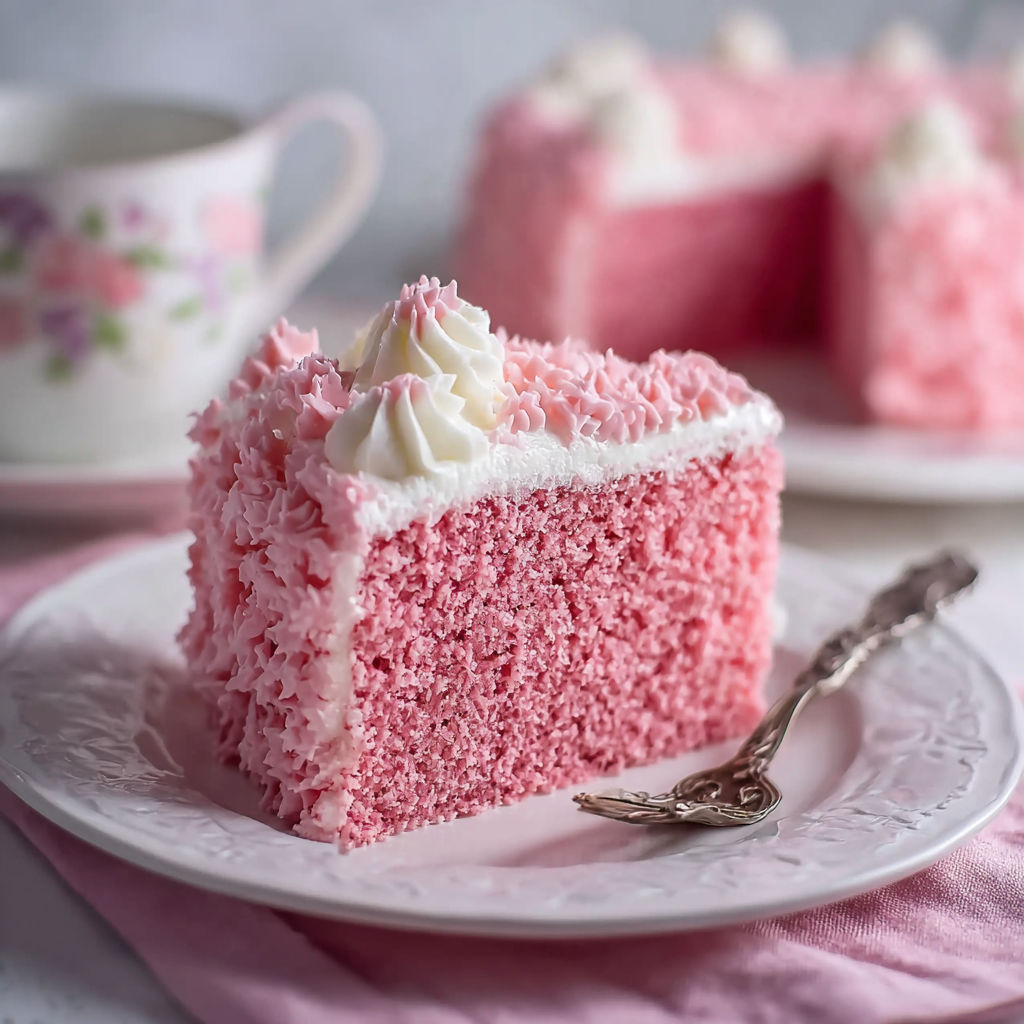
This cake’s gentle pink blush is my favorite because it feels festive without being overpowering. I remember sharing this cake at a family brunch and everyone marveled at how soft and light it was, especially those who say they usually avoid chocolate cakes.
Flavor Boosters
Storage Tips: This cake keeps well stored in an airtight container at room temperature for up to three days. Refrigeration can dry it out, so only refrigerate if you plan to frost it far in advance. Leftovers freeze beautifully wrapped tightly in plastic wrap and foil for up to two months.
Serving Suggestions
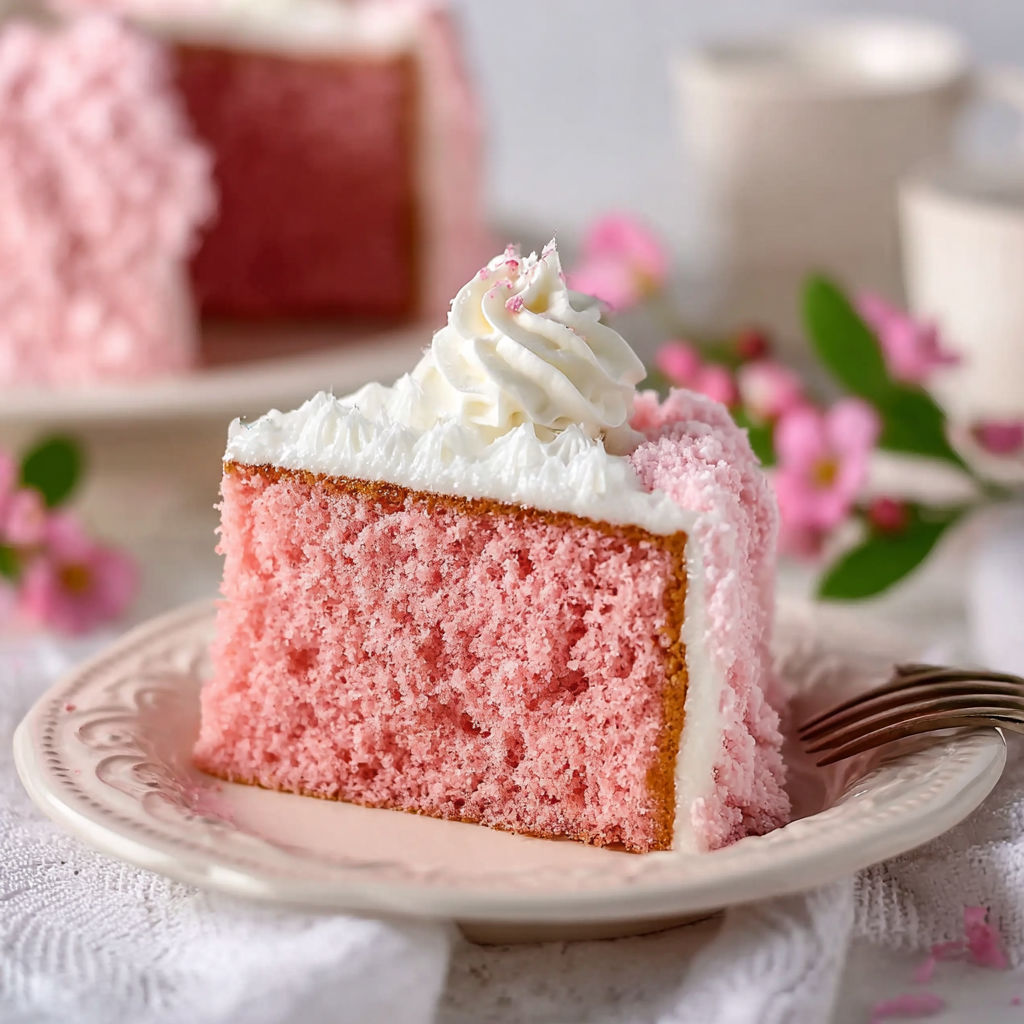
This cake shines with a classic cream cheese frosting or a whipped vanilla buttercream. Fresh berries and edible flowers make a beautiful and simple decoration. Serve slightly chilled or at room temperature for best flavor.
Creative Twists
Cultural Context: Velvet cake dates back to the early 20th century when it was prized for its soft texture. Traditionally red velvet is colored with red food dye or beet juice, but this pink take is a modern twist that keeps the charm but is a bit more subtle and playful. Seasonal Adaptations: Try adding a teaspoon of orange zest to the batter in spring or substituting the vanilla for almond extract in the fall for a seasonal twist. Topping with lightly toasted coconut or crushed pistachios works beautifully in summer.
This cake is a delightful treat that combines elegance with simplicity. It’s perfect for any celebration that calls for something a little special yet approachable.
Common Questions About This Recipe
- → What gives this cake its pink color?
The pink hue comes from pink gel food coloring, which provides vibrant color without altering the batter's texture.
- → Can I substitute buttermilk in this cake?
Yes, you can use regular milk mixed with a tablespoon of vinegar or lemon juice as a buttermilk substitute to maintain the cake's tenderness.
- → How should I prepare the pans for baking?
Butter the baking pans and line them with parchment paper to prevent sticking and ensure easy removal after baking.
- → Why is vinegar added to the batter?
Vinegar reacts with baking soda to help the cake rise and enhances the cake's light, tender crumb.
- → What is the best way to achieve a fluffy texture?
Creaming the unsalted butter and sugar until light and fluffy incorporates air, which is key to a soft and airy cake.