
 Pin
Pin
This festive treat delivers all the nostalgic flavor of Christmas with just four main ingredients and a no bake process that feels practically magical. Whether you are prepping for a holiday party or simply craving something special with your morning coffee these Christmas Oreo balls come together so easily but wow with their decadent taste and cheerful looks.
I discovered this candy years ago when a neighbor dropped a box at my door. Now I make them each year and end up doling out extras to friends because everyone begs for the recipe.
Gather Your Ingredients
- Oreos: They build that deep chocolatey core and provide structure to the balls. Go for classic Oreos for best results and avoid double stuffed to keep consistency right.
- Cream cheese: Softened cream cheese binds the mixture and adds rich creaminess. Use full fat for the best flavor and texture, and make sure it is at room temperature so it blends smoothly.
- Ghiradelli Dark chocolate melting wafers: Ideal for a sleek shiny coating and that chocolate punch. Ghiradelli melts evenly and sets beautifully making dipping a breeze.
- Ghiradelli White vanilla melting wafers: Adds a pretty contrast and sweet vanilla layer. Look for this brand to keep the white finish ultra smooth and not too thin.
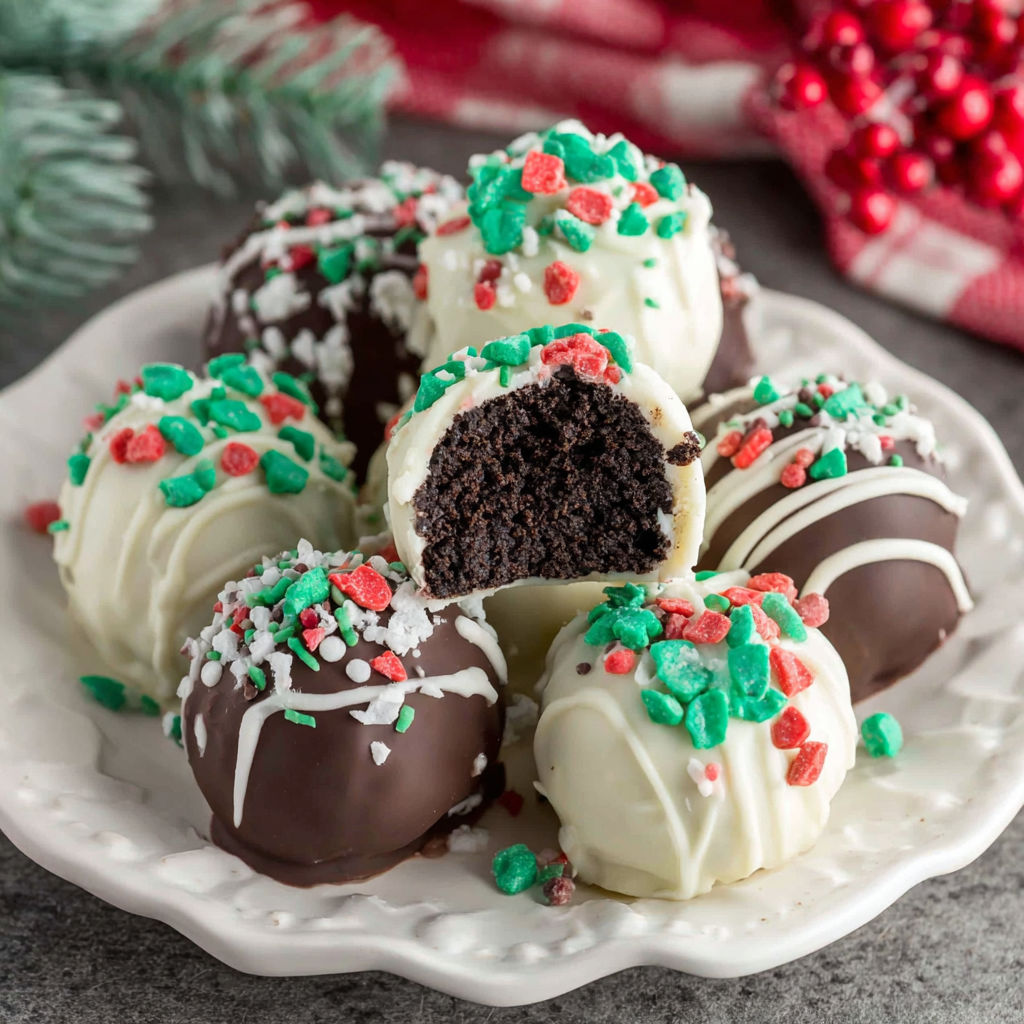
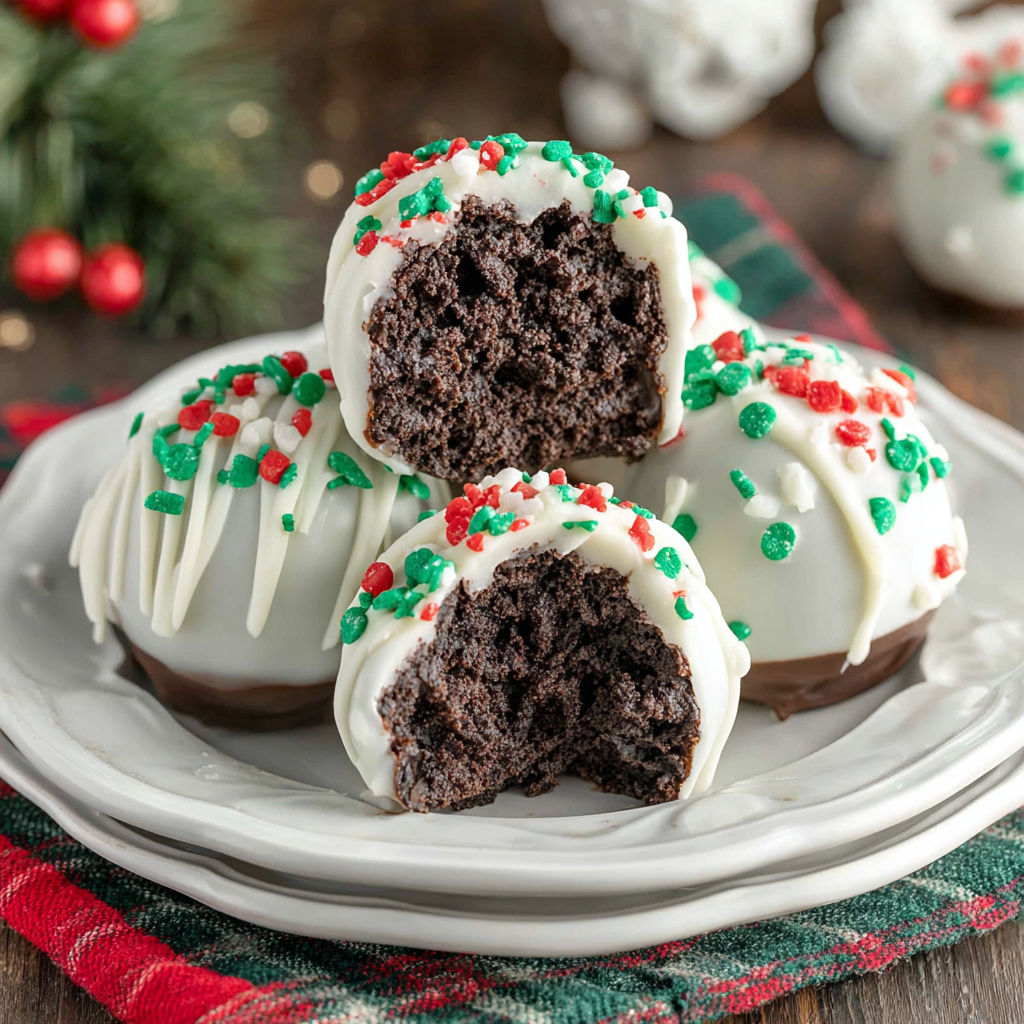
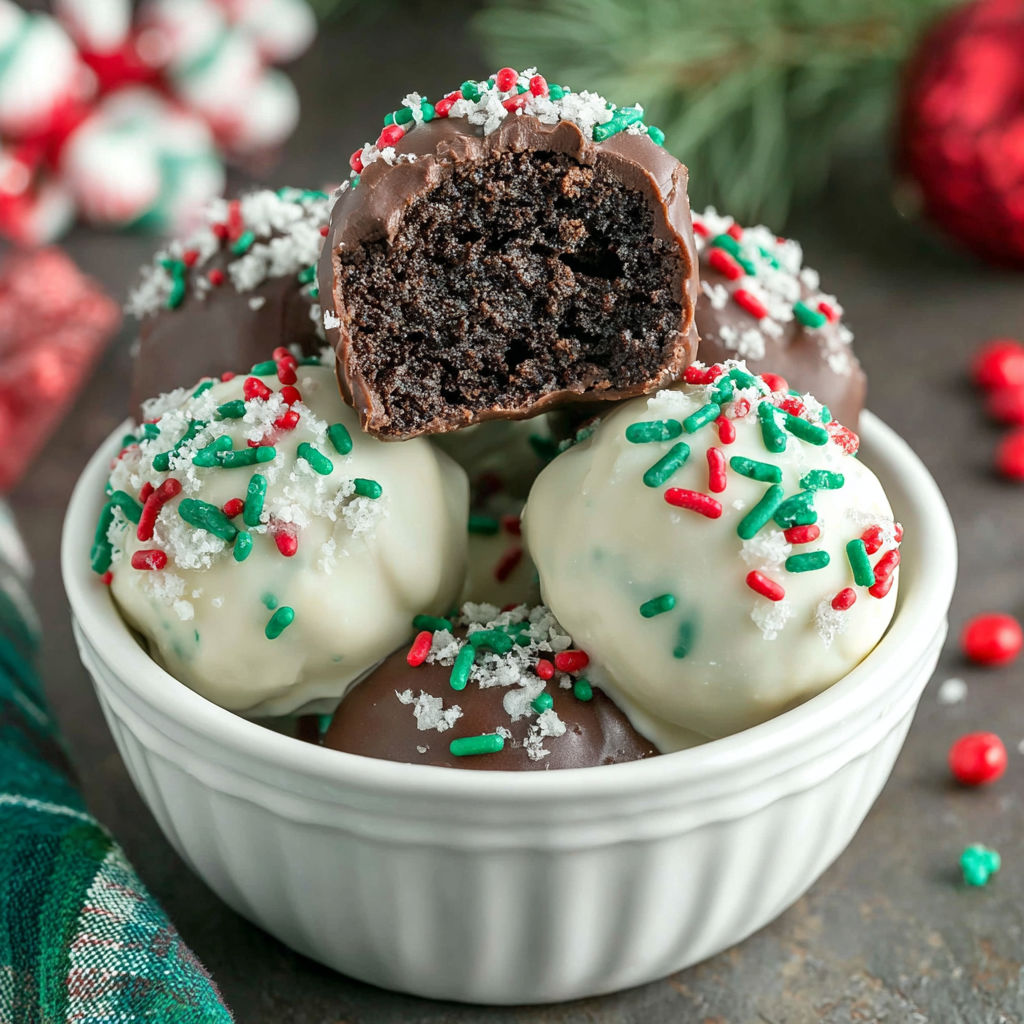
- Christmas sprinkles: For decoration and holiday flair. Pick a mix with festive reds, greens, and gold for the classic look.
How to Make It
- Pulse the Oreos:
- Place the Oreos in a food processor and process until they are fine crumbs. Do not stop too soon or you will have chunky bits.
- Blend with Cream Cheese:
- Add the softened cream cheese to the food processor. Pulse until the mixture is fully combined and begins to look thick and smooth, scraping the bowl as needed.
- Transfer and Finish Mixing:
- Scoop the mixture into a large bowl and use a rubber spatula to press everything together until there are no visible cream cheese streaks left.
- Form the Balls:
- Line a baking sheet with parchment paper. Using a mini cookie scoop that holds about one and a half tablespoons scoop out rounds of the mixture onto the baking sheet.
- Shape by Hand:
- Roll each portion between your hands for a few seconds to get a compact even shape. This step helps them coat evenly.
- Chill Completely:
- Place the tray of Oreo balls in the fridge or freezer for at least thirty minutes. This firms them up so they do not fall apart when dipped.
- Melt Dark Chocolate:
- Microwave the dark chocolate melting wafers in a bowl in short bursts stirring frequently until completely smooth and fluid.
- Dip in Dark Chocolate:
- Drop half the Oreo balls one by one into the smooth dark chocolate using a fork to let excess chocolate drip off. Quickly add Christmas sprinkles before the coating sets firm.
- Melt White Vanilla Wafers:
- Repeat the melting process with the white vanilla melting wafers until silky smooth.
- Dip in White Chocolate:
- Dip the rest of the Oreo balls into the white coating and top with holiday sprinkles right away so they stick to the surface before it hardens.
- Final Chill:
- Return all coated Oreo balls to the fridge until the outer shells are set and firm to the touch. This ensures perfect texture and prevents smudging.
The splash of cream cheese is what makes these extra special. Once my kids tried mixing in some peppermint extract for a minty twist and it turned into a new family favorite. We always gather in the kitchen to dip and sprinkle them together and it feels like the kick off to the holiday season.
Flavor Boosters
You can freeze them for up to two months with no loss of flavor. When choosing your ingredients opt for high quality melting wafers since they set up best and do not crack off. Double check your cream cheese is fresh and smooth for seamless blending.
Serving Suggestions
These look stunning on a holiday dessert tray piled with peppermint bark and frosted sugar cookies. You can also stick a lollipop stick in each one before chilling for a festive cake pop. They disappear quickly at cookie swaps so always bring a big batch.
Creative Twists
Try using other store brand chocolate sandwich cookies if original Oreos are not available but keep the same ratio. You can swap in milk chocolate melting wafers for a sweeter coating or use vegan cream cheese and gluten free chocolate cookies if you need an allergy friendly alternative.
Use a mini scoop for perfectly uniform sizes which makes the finished candies look professional and ensures even coating every time.
Common Questions About This Recipe
- → Can I use different chocolate for coating?
Yes, you can use milk chocolate, semisweet, or colored melting wafers to coat Oreo balls, based on preference or festive themes.
- → How do I store Oreo balls?
Store Oreo balls in an airtight container in the refrigerator. They stay fresh for about a week and can also be frozen for longer storage.
- → Can I make Oreo balls ahead of time?
Absolutely, Oreo balls can be prepared a day or two in advance and chilled until ready to serve or gift.
- → What type of cream cheese works best?
Full-fat, brick-style cream cheese gives Oreo balls the richest taste and best texture, but low-fat works if you prefer.
- → Do I need a food processor?
A food processor helps quickly crush Oreos, but you can also use a zip-top bag and rolling pin for manual crushing.