
 Pin
Pin
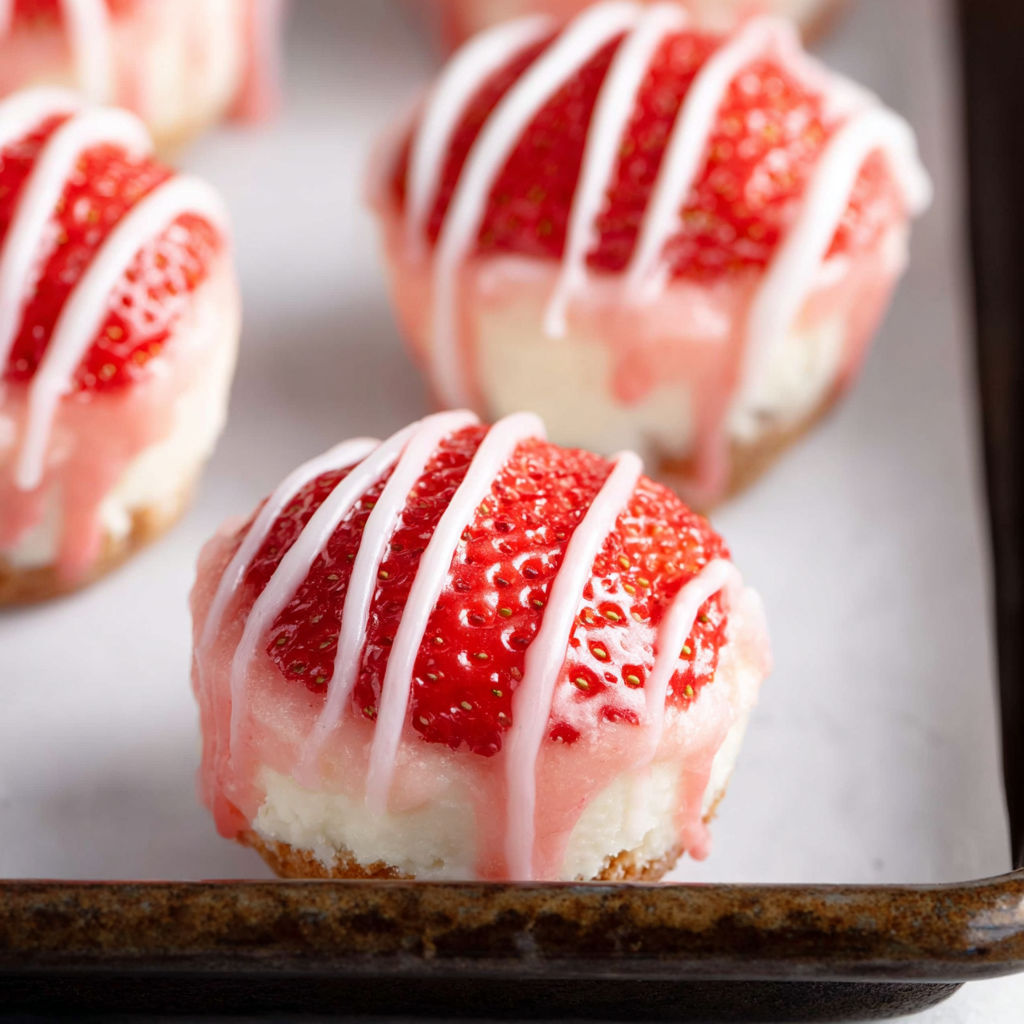
This no bake strawberry cheesecake bites recipe has become my go to dessert when I need something impressive but simple. The combination of tangy cream cheese with sweet strawberry cake mix creates little pops of heaven that disappear faster than I can make them. I started making these for summer potlucks and now they're requested at every family gathering year round.
I discovered this recipe when I needed a last minute dessert for my daughter's birthday party. The simplicity surprised me but the taste impressed everyone. Now my family considers these a special treat and my daughter asks to make them together every few weeks.
Gather Your Ingredients
- 25 ounces strawberry cake mix: This creates the sweet strawberry flavor base. Look for a quality brand with vibrant color and make sure to heat treat it first for food safety.
- 8 ounces cream cheese softened: The tangy richness balances the sweetness perfectly. Let it sit at room temperature for at least an hour so it blends smoothly without lumps.
- 12 ounces pink candy wafer melts: These create a beautiful smooth coating that hardens nicely. Choose candy melts over chocolate chips as they set better and have a creamier texture.
- 4 ounces white almond bark for optional drizzle: This adds an elegant finish and extra sweetness. The almond flavor complements strawberry beautifully but you can skip it if you prefer simpler presentation.
How to Make It
- Heat Treat the Cake Mix
- Pour your dry strawberry cake mix into a medium sized heat safe bowl. This step is crucial for food safety since the cake mix won't be baked. Place the bowl in your microwave and heat for 30 seconds. Remove and stir thoroughly with a spoon to distribute the heat evenly throughout the mix. Return to the microwave for another 30 seconds. Stir again very well. You want to ensure the entire mixture reaches a safe temperature to kill any potential bacteria. Let the cake mix cool completely on your counter for about 15 to 20 minutes. Touch it to make sure it's returned to room temperature before proceeding. This cooling period is important so the heat doesn't soften your cream cheese in the next step.
- Whip the Cream Cheese
- Place your softened cream cheese into a medium sized mixing bowl. Using a handheld mixer set to medium high speed, beat the cream cheese continuously for 2 to 2 and a half minutes. Watch as it transforms from slightly lumpy to completely smooth and fluffy. The cream cheese should look lighter in color and have a whipped texture. This beating process incorporates air and makes your final cheesecake bites lighter and creamier. If you see any lumps remaining, keep beating until they disappear completely.
- Combine Mix and Cream Cheese
- Sprinkle the cooled heat treated cake mix over the top of your whipped cream cheese. Don't dump it all in one spot or it will be harder to incorporate. Start your mixer on low speed to avoid a cloud of cake mix powder. Once the ingredients start coming together, increase to medium speed. Mix thoroughly for about 1 to 2 minutes. Stop occasionally to scrape down the sides of the bowl with a spatula. Make sure no pockets of dry cake mix hide at the bottom or sides. The mixture should look uniform in color with a thick dough like consistency. It will be quite dense and hold together well.
- Chill the Mixture
- Cover your bowl tightly with plastic wrap pressed directly onto the surface of the mixture. This prevents a skin from forming and keeps it fresh. Place the covered bowl in your refrigerator and let it chill for a full 2 hours. This firming time is essential as it makes the mixture much easier to roll into balls. The cream cheese needs this time to firm up so the balls hold their shape. I usually make the mixture in the morning and let it chill while I do other tasks.
- Prepare Your Workspace
- Take out a large baking sheet and line it completely with parchment paper. Make sure the paper lays flat with no wrinkles. This prevents the coated bites from sticking and makes cleanup effortless. Set this prepared sheet within easy reach of where you'll be dipping. Have everything ready before you start rolling so you can work efficiently once the candy coating is melted.
- Roll the Cheesecake Balls
- Remove your chilled mixture from the refrigerator. Using a small cookie scoop or spoon, portion out about 1 tablespoon of the mixture at a time. Roll each portion between your palms to form smooth round balls. Try to make them as uniform in size as possible so they look professional and coat evenly. Place each rolled ball onto your prepared baking sheet. If the mixture becomes too soft while you're working, pop the sheet back in the fridge for 10 minutes. Continue until all the mixture is rolled into balls.
- Melt the Candy Coating
- Pour your pink candy wafer melts into a medium sized heat safe mixing bowl. Place the bowl in the microwave and heat for 30 seconds. Remove and stir well with a spoon. The wafers will start to soften but won't be fully melted yet. Return to the microwave for another 30 seconds. Stir again thoroughly. Repeat this process until the coating is completely smooth and liquid with no lumps remaining. The stirring between intervals is important to distribute heat evenly and prevent burning. The melted coating should be fluid enough to drip easily from your spoon.
- Coat the Cheesecake Bites
- Working with one ball at a time, drop it into your melted pink coating. Use a fork to roll it around until completely covered on all sides. Lift the coated ball with the fork and hold it over the bowl. Gently tap the fork against the edge of the bowl several times. This tapping removes excess coating so you get a thin even layer rather than a thick clumpy one. If you notice any bare spots on the ball, use a spoon to drizzle extra coating over those areas while the ball is still on the fork. Use a toothpick to carefully scrape any excess coating off the bottom of the fork tines. Then use the toothpick to gently push the coated ball from the fork onto your parchment lined baking sheet. The toothpick method prevents you from disturbing the smooth coating with your fingers. Repeat this process with each ball.
- Add the Decorative Drizzle
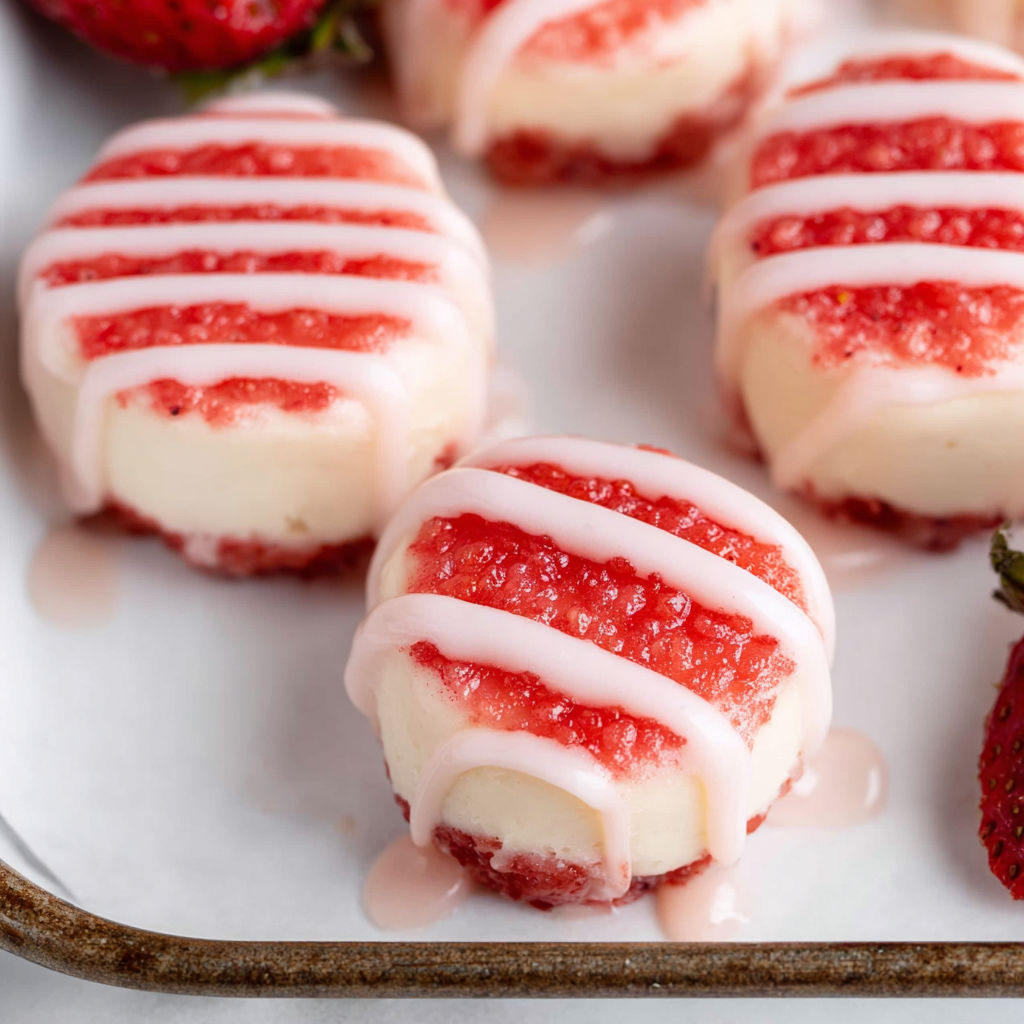
- Place your white almond bark in a small heat safe bowl. Microwave for 30 seconds then stir well. Continue heating in 30 second intervals, stirring thoroughly after each one, until the bark is completely melted and smooth. The mixture should be thin enough to drizzle easily. Dip a spoon or small dipper into the melted white bark. Hold it about 6 inches above your coated cheesecake bites. Move your hand back and forth in quick motions to create thin ribbons of white drizzle across the pink coating. Don't worry about perfection as random drizzles look beautiful and artisan. Work quickly as the white bark will start to set within seconds of landing on the cool pink coating. Drizzle all the bites before moving to the final step.
- Final Chill and Serve
- Once every single cheesecake bite is fully coated and drizzled, carefully transfer your baking sheet back to the refrigerator. Let the bites chill for at least 30 minutes so the coating sets completely hard. They should feel firm to the touch and the coating should not be tacky. Keep them refrigerated until about 10 minutes before you plan to serve them. They taste best slightly chilled but not rock hard cold.
The cream cheese in these bites is my favorite ingredient because it creates such a luxurious creamy texture while adding protein and balancing the sweetness. I remember the first time I made these for a baby shower and watching guests come back for seconds and thirds. The host called me the next day asking for the recipe and couldn't believe how simple it was.
Flavor Boosters
Proper storage keeps these strawberry cheesecake bites fresh and delicious for days. Place them in an airtight container with parchment paper between layers to prevent sticking. They stay perfect in the refrigerator for up to one week though they rarely last that long in my house. The candy coating protects the cream cheese filling and prevents it from drying out. Always store them chilled as the cream cheese base needs refrigeration for food safety.
- Never leave these at room temperature for more than 2 hours
- Stack carefully with parchment between layers
- Keep away from strong smelling foods as cream cheese absorbs odors
You can easily adapt this recipe based on what you have available or dietary needs. Swap the strawberry cake mix for any flavor you love like chocolate, vanilla, lemon or red velvet. Each creates a completely different taste experience. Use regular chocolate melting wafers instead of pink candy melts if you want a more classic look. Greek cream cheese works wonderfully and adds extra protein and tang.
- Try reduced fat cream cheese for a lighter version
- Dark chocolate coating creates an elegant adult version
- Add a teaspoon of vanilla extract to the cream cheese for extra depth
Serving Suggestions
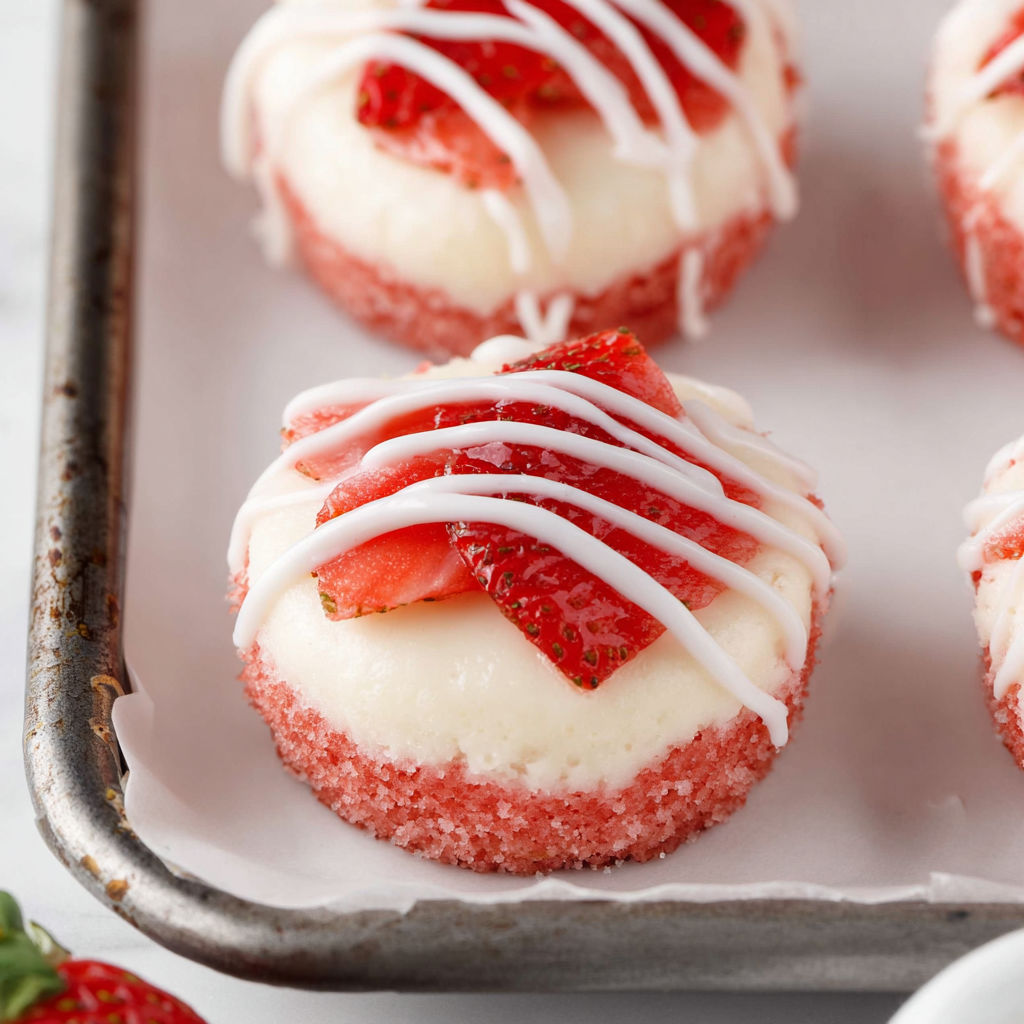
These bite sized treats work beautifully for so many occasions. Arrange them on a pretty platter for baby showers, bridal showers or birthday parties. I love serving them alongside fresh strawberries and whipped cream for an elegant dessert spread. They're perfect for Valentine's Day with their pink color. Pack them in decorative boxes as homemade gifts that look bakery quality. Set them out at holiday cookie exchanges for variety.
- Dust with edible glitter for extra sparkle at celebrations
- Serve in mini cupcake liners for easy grab and go treating
- Place a small one on top of cupcakes as decoration
Creative Twists
The beauty of this recipe is how well it works with advance preparation. I often make the cream cheese and cake mix mixture up to two days before I need them. Just keep it tightly covered in the refrigerator until you're ready to roll and coat. You can even roll the balls and freeze them uncoated for up to one month. When you're ready, let them thaw slightly then dip in your melted coating.
- Coat the bites up to 3 days before your event
- Freeze coated bites for up to 2 months in airtight containers
- Thaw frozen coated bites in the refrigerator overnight
If your mixture seems too soft to roll, add an extra tablespoon or two of cake mix until it firms up. Too dry and crumbly means your cream cheese wasn't soft enough when you mixed it. Let the cream cheese come to true room temperature next time. When candy coating seems too thick, add a teaspoon of vegetable oil or shortening to thin it out. Cracks in your coating usually mean the cheesecake balls were too cold when dipped. Let them sit at room temperature for 5 minutes before coating.
- Reheat candy melts if they start to thicken while you work
- Use a deeper bowl for easier dipping and full coverage
- Work in batches so coating stays at ideal consistency
Make these once and you’ll see why they disappear at every party. With so many ways to change up flavors and toppings, cheesecake bites will earn a permanent spot in your dessert rotation.
Common Questions About This Recipe
- → How should I heat-treat the cake mix?
Microwave the dry strawberry cake mix in two 30-second intervals, stirring between each, until heated through. Allow it to cool completely before mixing with cream cheese.
- → Can I use other cake mix flavors?
Yes, you can substitute the strawberry cake mix with flavors like chocolate or vanilla for a different twist.
- → What’s the best way to coat the bites?
Melt the pink candy wafer melts and roll each chilled cheesecake bite through the melted coating, letting any excess drip off before setting them on parchment paper.
- → Is the almond bark drizzle required?
The white almond bark drizzle is optional, but it adds a nice color and texture contrast to the bites.
- → How do I store strawberry cheesecake bites?
Keep them chilled in an airtight container in the refrigerator until ready to serve. They’re best eaten within a few days.