
 Pin
Pin
These red velvet cookies capture everything I love about the classic cake in a handheld form that's easier to share and even more fun to eat. The soft, slightly cocoa flavored cookie base paired with tangy cream cheese frosting creates that iconic red velvet experience without the fuss of layer cakes and careful slicing. I developed this recipe when I wanted to bring red velvet to a potluck but needed something more portable than my usual towering cake.
When I first made these cookies, I wanted to capture all the essence of a traditional red velvet cake but with the ease of a cookie. The result became a family favorite that my kids ask me to make for every holiday gathering. The way the cream cheese frosting pairs with the slight cocoa flavor of the cookie base creates a combination that's impossible to resist.
Gather Your Ingredients
- All purpose flour: Creates the structure for these tender cookies. Choose a quality brand and spoon it into your measuring cup rather than scooping directly to avoid dense cookies.
- Baking soda: Helps the cookies rise and creates that perfect chewy texture. Make sure yours is fresh by testing it with a bit of vinegar to see if it bubbles.
- Cocoa powder: Adds subtle chocolate undertones without overpowering the red velvet flavor. Dutch processed cocoa gives a smoother taste but natural cocoa works beautifully too.
- Salt: Enhances all the other flavors and balances the sweetness. Don't skip this even though it seems like a small amount.
- Unsalted butter: At room temperature creams properly with the sugar to create light and fluffy cookies. Let it sit out for about an hour until it's soft enough to leave an indentation when pressed.
- Granulated sugar: Sweetens the cookies and helps create those lovely crackled tops when they bake.
- Large egg: Binds everything together and adds richness. Room temperature eggs incorporate more smoothly into the batter.
- Red food coloring: Gives these cookies their signature vibrant hue. Gel food coloring provides the most intense color with less liquid but liquid works fine too.
- Vanilla extract: Adds warmth and depth to the flavor. Pure vanilla makes a noticeable difference over imitation.
- Cold milk: Serves as the perfect accompaniment when eating these cookies. It balances the sweetness and richness of the frosting.
How to Make It
- Prepare Your Baking Station:
- Set your oven to preheat at 350°F which gives it time to reach the proper temperature while you mix your dough. Line two or three baking sheets with parchment paper, making sure the paper lies flat without wrinkles. This prevents sticking and ensures even browning on the bottom of your cookies. Having multiple sheets prepared means you can load the next batch while one bakes.
- Mix the Dry Ingredients:
- Grab a medium bowl and add your flour, baking soda, cocoa powder, and salt. Use a whisk to blend these together for at least 30 seconds, making sure the cocoa powder breaks up and distributes evenly throughout. This step is crucial because it ensures every cookie gets the same amount of leavening and cocoa flavor. Set this bowl aside where you can easily reach it.
- Cream the Butter and Sugar:
- In your largest mixing bowl, add the softened butter and granulated sugar. Using an electric mixer on medium speed, beat these together for about 3 to 4 minutes until the mixture becomes light, fluffy, and pale in color. This creaming process incorporates air into the dough which creates tender cookies. Stop and scrape down the sides of the bowl halfway through to make sure everything combines evenly.
- Add the Wet Ingredients:
- Crack your egg into the butter mixture and beat on medium speed until fully incorporated, about 30 seconds. Pour in the red food coloring and vanilla extract, then continue beating for another minute. The mixture will transform into a vibrant red color. Don't worry if it looks almost shocking in its brightness because the color mellows slightly during baking. Make sure to scrape the bottom of the bowl where ingredients sometimes hide.
- Combine Wet and Dry:
- Add the flour mixture to the wet ingredients in three separate additions. After each addition, mix on low speed just until you no longer see dry flour streaks. This should take only about 10 seconds per addition. Overmixing at this stage develops too much gluten and creates tough cookies instead of tender ones. The final dough should be thick, slightly sticky, and uniformly red.
- Shape and Bake:
- Use a cookie scoop or tablespoon to portion dough into balls about 2 tablespoons in size. Roll them briefly between your palms to create smooth rounds, then place them on your prepared baking sheets leaving about 2 inches between each cookie. They will spread during baking. Slide the sheet into your preheated oven and bake for 10 to 12 minutes. The cookies are done when the edges look set but the centers still appear slightly soft and puffy. They will continue cooking on the hot pan after you remove them.
- Cool Completely:
- Let the cookies rest on the baking sheet for 5 minutes after removing them from the oven. This allows them to firm up enough to move without breaking. Then transfer them carefully to a wire cooling rack using a thin spatula. Let them cool completely for at least 30 minutes before frosting. Warm cookies will melt the cream cheese frosting and create a mess.
- Frost and Serve:
- Once the cookies reach room temperature, spread or pipe cream cheese frosting onto each one. You can use a butter knife for rustic spreading, an offset spatula for smooth coverage, or a piping bag with a star tip for decorative swirls. Add sprinkles or a light dusting of cocoa powder if you want extra visual appeal. The cookies are now ready to serve with cold milk.
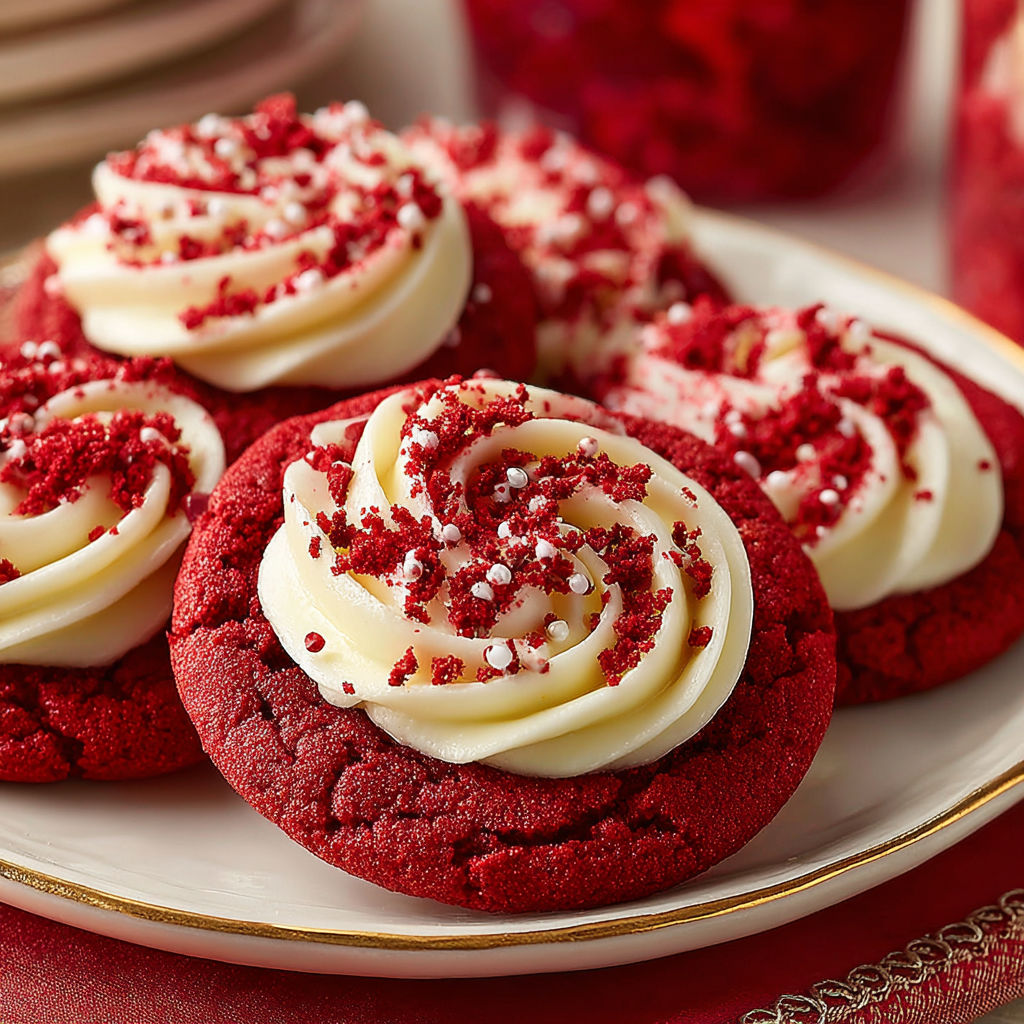
My favorite part about these cookies is how they bring people together. I remember making a triple batch for a holiday cookie exchange and watching people's faces light up when they saw the bright red cookies with swirls of white frosting. Several friends asked for the recipe on the spot. The cream cheese frosting is what really makes them special because it provides that signature tang that reminds you of authentic red velvet cake.
Flavor Boosters
The frosting deserves as much attention as the cookies themselves. Use full fat cream cheese that's been sitting at room temperature for at least an hour because cold cream cheese creates lumps no matter how much you beat it. Beat the cream cheese alone first until it becomes smooth and creamy, then add softened butter and beat again until fully combined. Finally add powdered sugar gradually while mixing on low speed to prevent a sugar cloud in your kitchen. A splash of vanilla and a pinch of salt enhance the flavor beautifully. The finished frosting should be thick enough to hold its shape but spreadable without tearing the cookies.
Make sure you sift your powdered sugar before adding it to eliminate lumps.
Let both the cream cheese and butter sit at room temperature for the smoothest texture.
Add a tablespoon of heavy cream if your frosting becomes too thick.
Serving Suggestions
These cookies adapt wonderfully to different storage methods depending on when you plan to serve them. Unfrosted cookies stay fresh in an airtight container at room temperature for up to 3 days with parchment paper between layers to prevent sticking. For frosted cookies, refrigeration is necessary because cream cheese frosting can spoil at room temperature. Place them in a single layer in an airtight container and refrigerate for up to 5 days. The cold actually helps the cookies stay extra chewy. You can freeze unfrosted cookies for up to 3 months or frosted cookies for up to 2 months. For frosted cookies, freeze them on a baking sheet until solid, then transfer to a container with parchment between layers.
Bring refrigerated cookies to room temperature before serving for the best flavor and texture.
Freeze cookie dough in portioned balls for fresh baked cookies anytime.
Store leftover frosting separately in the refrigerator for up to 5 days.
Creative Twists
Baking allows for creativity once you understand how ingredients function together. If you don't have unsalted butter, salted butter works but reduce the added salt to 1/4 teaspoon. Cake flour can replace all purpose flour for even more tender cookies but reduce the amount to 2 1/4 cups since cake flour is lighter. Brown sugar instead of granulated creates chewier cookies with a hint of molasses flavor. For the food coloring, natural alternatives like beet powder give a more muted red but won't affect taste. Some bakers use buttermilk powder mixed into the dry ingredients for extra tang though this isn't traditional. The cocoa powder is essential for authentic red velvet flavor so I don't recommend omitting it even though the amount seems small.

The history behind red velvet adds an extra layer of meaning to every bite. Whether you make these cookies for a holiday, a party, or just because, their beautiful color and rich flavor are sure to make memories that last.
Common Questions About This Recipe
- → How do I store red velvet cookies with cream cheese frosting?
Store frosted cookies in an airtight container in the refrigerator for up to 5 days. Unfrosted cookies can be kept at room temperature for 3 days.
- → Can these cookies be frozen?
Yes, freeze frosted cookies in a single layer until solid, then transfer to a container with parchment between layers. They keep for up to 2 months.
- → What is the best way to achieve a rich red color?
Use a full tablespoon of red food coloring for a vibrant hue. Mixing well with other wet ingredients ensures even color throughout.
- → What pairs well with red velvet cookies?
Cold milk is a classic choice, cutting the sweetness and balancing the rich cream cheese frosting.
- → Can I prepare the frosting ahead of time?
Yes, prepare the cream cheese frosting up to 5 days in advance. Store in the refrigerator and bring to room temperature before using.