
 Pin
Pin
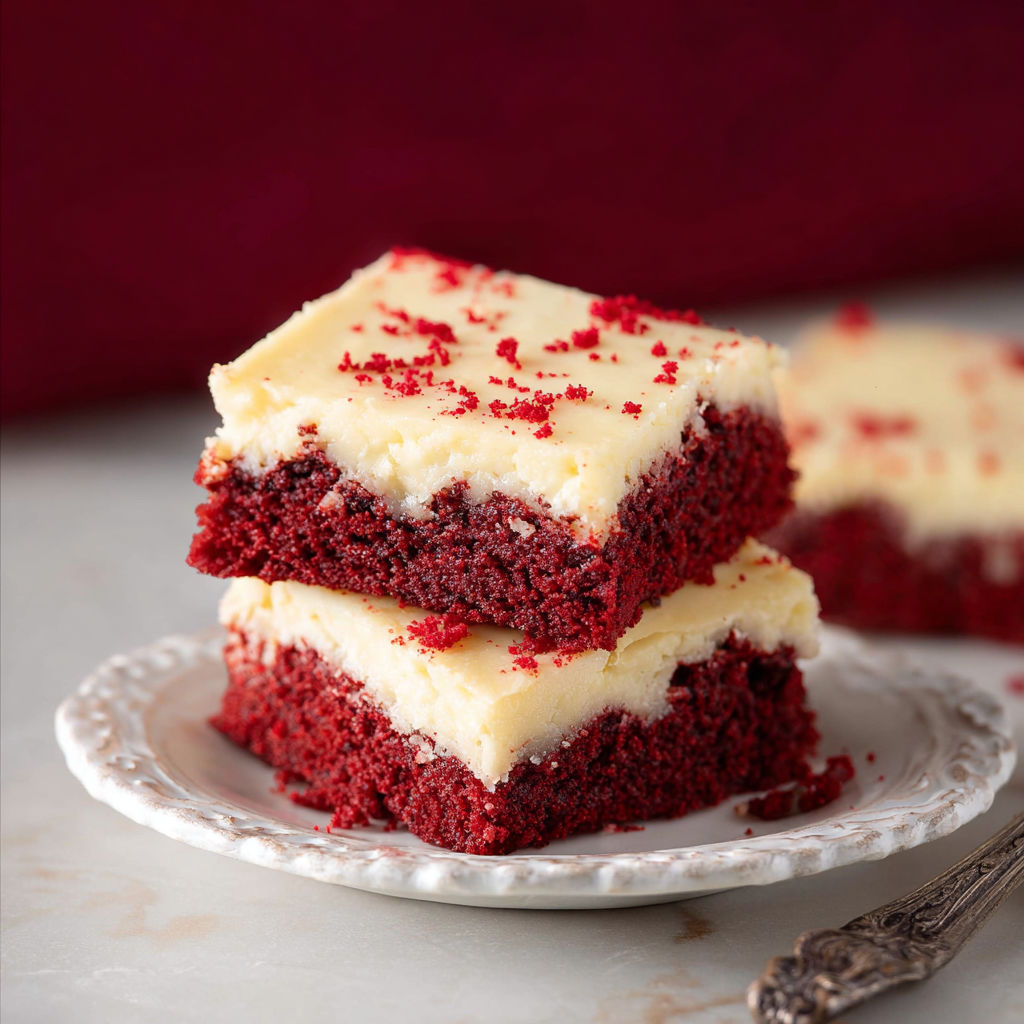
Red velvet cookie bars bring together irresistible cocoa flavor and a classic cream cheese frosting in an easy treat perfect for sharing. This version updates the traditional cake into chewy bars with rich color and tang while keeping the baking process simple and weeknight friendly.
My family asks for these cookie bars at every birthday and potluck. The first time I made them the pan disappeared in minutes and now they are one of my most-requested desserts.
Gather Your Ingredients
- All-purpose flour: The sturdy base for thick bars so look for a fresh bag with no off smell
- Cocoa powder: Brings in traditional red velvet flavor use natural or Dutch-process for deeper color
- Baking powder and baking soda: Work together to lift the bars for a soft bite
- Salt: Sharpens the flavors so go for a fine grain for even mixing
- Unsalted butter: Provides richness and a chewy texture it should be soft but not greasy
- Granulated sugar: Adds structure and crisp edges use fresh sugar for the best rise
- Brown sugar: Brings moisture and a touch of caramel depth light or dark both work
- Egg plus additional yolk: Create fudgy bars and extra richness
- Vanilla extract: Highlights the chocolate notes reach for real vanilla for best flavor
- Red food coloring: Gives the signature color gel or liquid both deliver but add carefully for desired shade
- Distilled or white vinegar: Interacts with baking soda adding subtle acidity especial in red velvet recipes
- Full-fat brick style cream cheese: Yields an ultra creamy frosting do not use whipped tubs
- Powdered sugar: Ensures the frosting is smooth sift if needed for no lumps
- Salt (for frosting): Balances sweet and tangy
- Cream: Thins the frosting making it luscious and spreadable choose fresh cream for best texture
How to Make It
- Mix and Sift Dry Ingredients:
- In a large bowl whisk together the flour cocoa powder baking powder baking soda and salt. Combine thoroughly with a whisk or fork to break up any clumps and to evenly mix the leaveners which ensures the bars rise properly.
- Cream Butter and Sugars:
- Place the unsalted butter granulated sugar and brown sugar in a stand mixer or use a hand mixer. Beat on medium speed for around 3 minutes until creamy and pale. Properly creamed butter will look fluffy and should not appear oily.
- Add Eggs and Flavorings:
- Add in the whole egg egg yolk vanilla extract red food coloring and vinegar. Beat until thoroughly blended. Scrape down the sides of the bowl so that no streaks of color or egg remain. This is key for the bold red hue and an even sweet tangy taste.
- Combine Wet and Dry Ingredients:
- Slowly add the dry flour mixture to the wet mixture in thirds. Mix at low speed after each addition only until the flour disappears. Over-mixing here makes tough bars so stop once you see no more dry spots.
- Press and Bake the Bars:
- Line a nine by thirteen pan with parchment paper for easy removal and even slices. Gently press the cookie dough into the pan spreading it into corners for an even surface. Bake at three hundred fifty degrees Fahrenheit for twenty three to twenty five minutes or until the edges look set and a toothpick comes out with a few crumbs. Cool completely in the pan before frosting.
- Beat the Frosting:
- In a bowl beat together soft unsalted butter and brick style cream cheese until perfectly smooth with no lumps. Slowly add powdered sugar mixing in small batches. Add salt and a tablespoon or two of cream for balance and a spreadable texture. Whip until light and fluffy.
- Frost and Slice:
- Once bars are fully cooled spread frosting evenly over the top using an offset spatula. For clean slices chill bars for fifteen minutes first then wipe your knife between cuts.
The star ingredient for me is the brick style cream cheese. I will never forget my daughter carefully adding the frosting as we laughed over who would get the first corner piece. It is moments like that which turn a simple dessert into a cherished ritual.
Flavor Boosters
Swirl a little orange zest into the frosting for a bright spring touch or sprinkle with crushed peppermint in winter. For summer fold in a handful of mini white chocolate chips or mix in a spoonful of berry puree for color.
Serving Suggestions
Garnish the frosted bars with white chocolate curls or a light dusting of cocoa powder for extra elegance. Try serving small squares as part of a mixed dessert platter at your next party. For holidays use heart or festive shaped cutters after chilling to add seasonal charm.
Creative Twists
No cream cheese on hand Use full-fat mascarpone for a slightly milder taste. If you run out of brown sugar you can use all granulated sugar but bars will taste a bit less caramelized. Gel coloring creates a more vibrant red but natural beet powder works for a subtle hue.
Cool bars completely before storing to prevent sticky frosting. Store in an airtight container in the fridge for up to five days.
Common Questions About This Recipe
- → What gives the bars their red color?
Red food coloring is added for a vivid hue. Use gel or liquid as preferred, and adjust the amount for your desired shade.
- → Can I use natural substitutes for red food dye?
You can try pureed beets or natural food colorings, though the color may be less intense than artificial dyes.
- → How do I make the bars chewy?
The combination of brown sugar and softened butter creates a soft, chewy texture in the cookie bars. Avoid overbaking for best results.
- → Is cream cheese frosting necessary?
Cream cheese frosting enhances the flavor but can be replaced with a simple glaze or enjoyed plain for a lighter treat.
- → Can I prepare these ahead of time?
Yes, bake the bars and store them in an airtight container. Add frosting before serving for best texture and flavor.