
 Pin
Pin
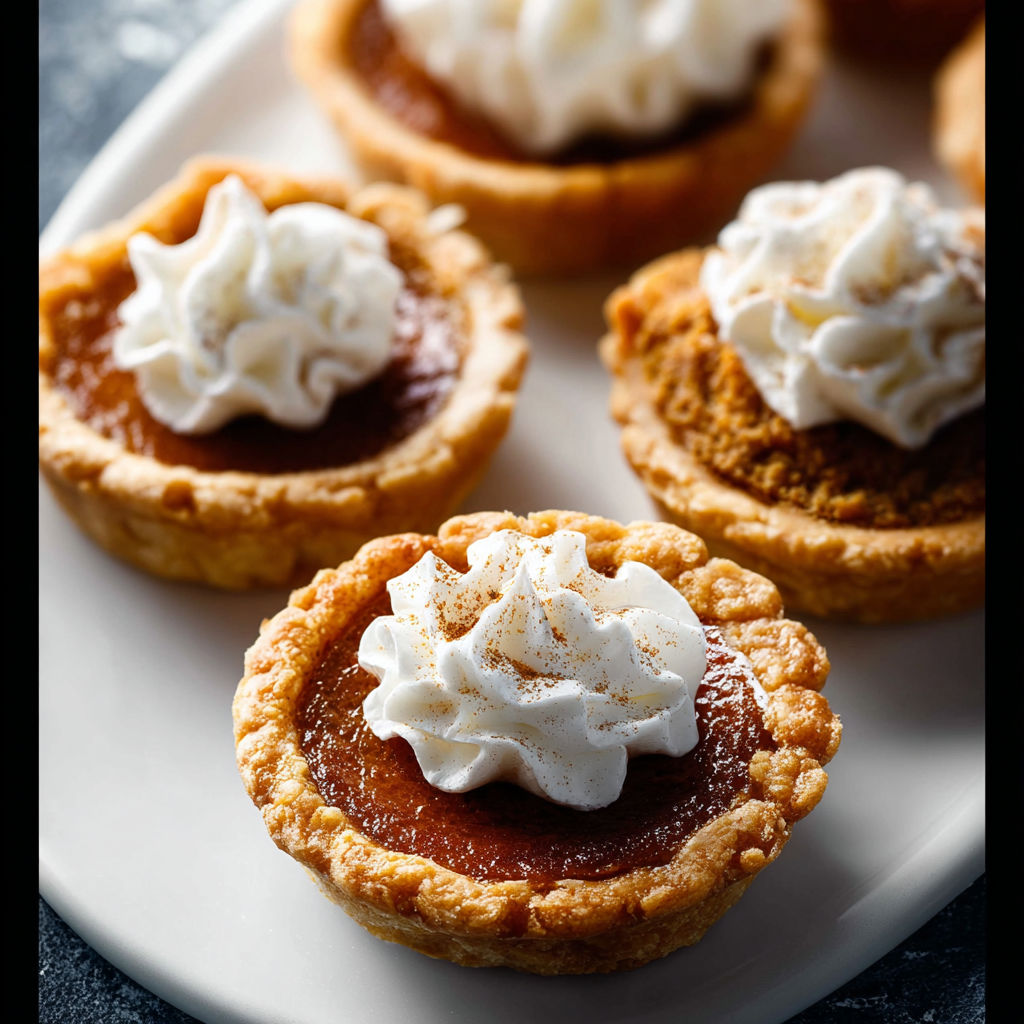
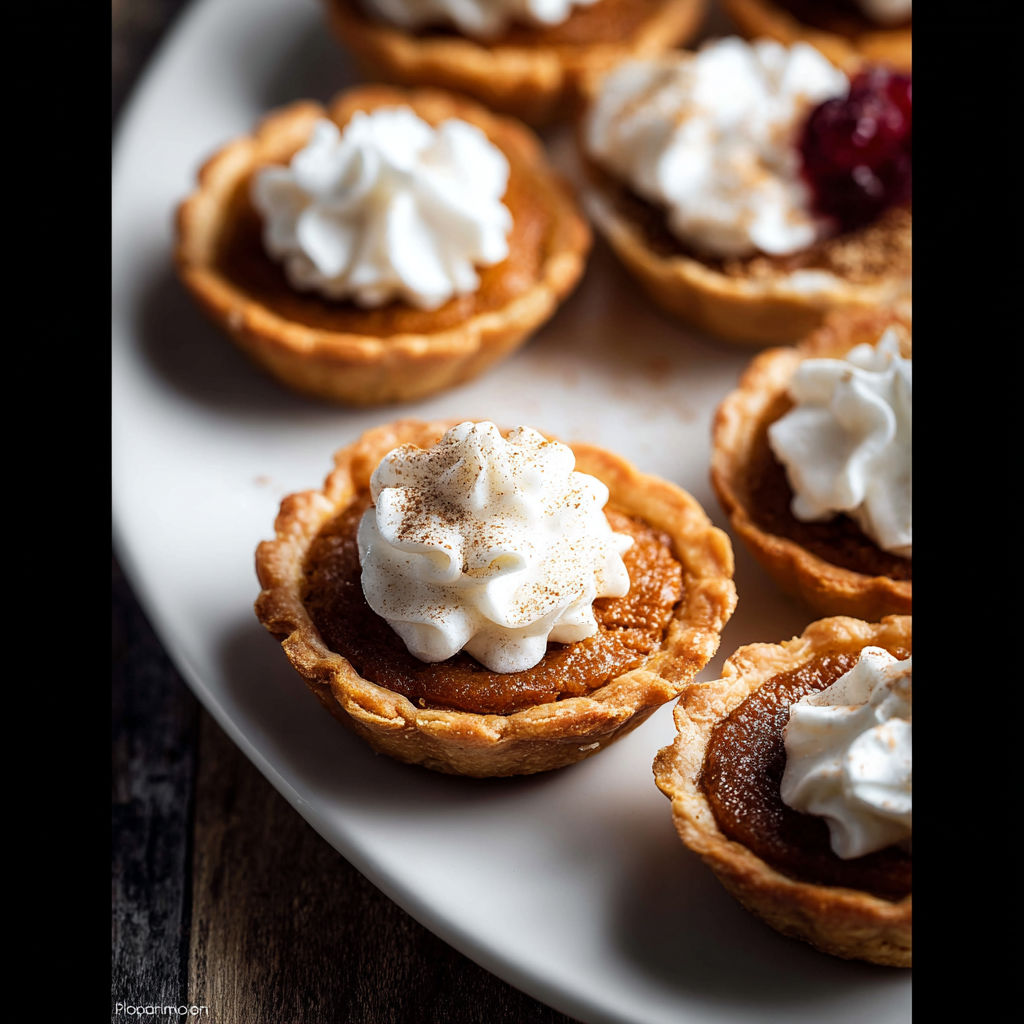
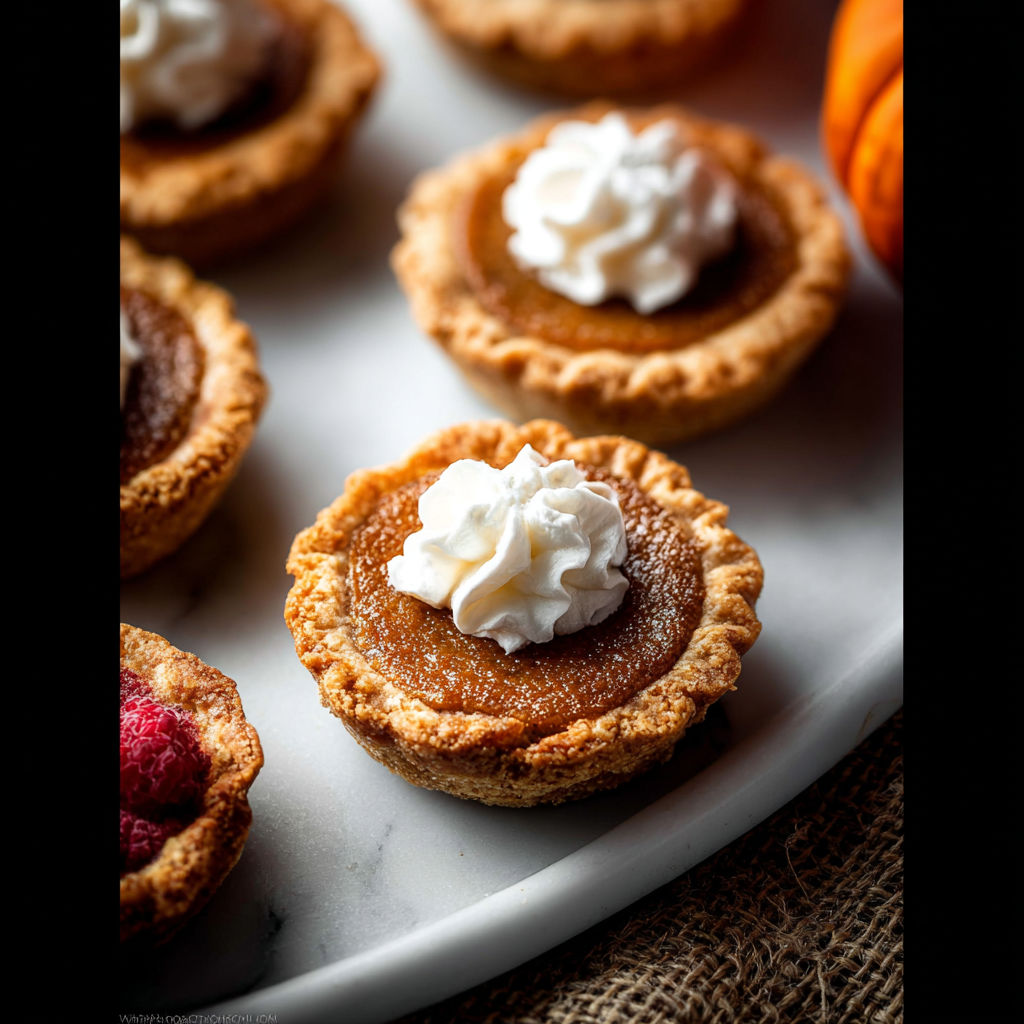
Mini pumpkin pies have become my go-to solution for fall gatherings and quick weeknight desserts when you crave the comfort of traditional pumpkin pie without all the fuss. Their petite size means easy portioning and faster baking, and friends always rave about how adorable they look on the table.
I made these the first time for Thanksgiving when we hosted more guests than I had pie plates. They disappeared within minutes and now my family asks for them on every chilly weekend.
Gather Your Ingredients
- Pie crust discs: Either ready-made or homemade allow for speed but still deliver buttery texture. Choose high quality all-butter crust if possible for best flavor.
- Pumpkin puree: Gives the signature custardy texture and earthy flavor. Use pure, unspiced pumpkin for control over sweetness and spice.
- Brown sugar: Brings a warm caramel note and moisture. Look for dark brown for a deeper taste.
- Heavy cream: Creates richness and silkiness. Avoid ultra-pasteurized for pure creaminess.
- Whole milk: Helps lighten the custard but keeps it smooth. Opt for fresh milk for best set.
- Egg: Acts as a binder, giving the filling structure. Use farm-fresh or organic for richer color.
- Salt: Brightens all the other flavors. Try fine sea salt for even seasoning.
- Ground cinnamon: Anchors the classic pumpkin spice aroma. Fresh, potent cinnamon works best.
- Pumpkin pie spice: Gives a nuanced, familiar blend. Make your own for customizable balance.
How to Make It
- Prepare Your Pie Dough:
- If using homemade pie dough, make it the night before as it needs at least two hours to chill in the refrigerator—this ensures easy rolling and less shrinking in the oven.
- Mix the Pumpkin Filling:
- In a large mixing bowl, whisk together pumpkin puree, brown sugar, heavy cream, milk, egg, salt, cinnamon, and pumpkin pie spice. Whisk or beat for about two minutes until the mixture is smooth and silky. Cover the bowl and refrigerate this filling until ready to use so it stays thick and cold.
- Preheat Oven and Prepare Pans:
- Set your oven to 375 degrees Fahrenheit and generously grease two mini muffin pans with nonstick spray. This is crucial so your pies pop out easily after baking.
- Shape the Pie Crust:
- Roll out your chilled pie dough to about one eighth inch thick. Use a round cutter slightly larger than your muffin tin wells. Cut circles, then gently press each dough round into the mini muffin pans, pressing flat to the bottom and up the sides for even coverage.
- Fill the Mini Pies:
- Spoon the chilled pumpkin filling evenly into each crust, filling right up to the top. This ensures maximum pumpkin flavor with every bite.
- Bake:
- Slide the pans into the preheated oven. Bake for twenty one to twenty five minutes until the filling is just set and the crust edges are a light golden brown. The filling will puff up then deflate a bit as it cools.
- Cool and Serve:
- Rest the mini pies in the pans for about five minutes so they set. Pull them out carefully using a small spoon. Let cool to room temperature or chill in the refrigerator. Serve with a dollop of whipped cream if you like.
I always use a brown sugar heavy on molasses for extra depth and every Thanksgiving my little nephew volunteers to help press the dough into the muffin tins—his laugh now feels like part of the recipe.
Flavor Boosters
Cool the mini pies completely before storing them in an airtight container. They will keep for up to five days in the refrigerator. If you have extra, freeze them in a single layer then store in a freezer bag for up to two months. To reheat, pop them in a 300 degree oven for about ten minutes or let them thaw at room temperature. These taste great cold too for an easy treat with coffee.
Serving Suggestions
Pile on whipped cream or dust them with cinnamon before serving. For festive flair, add sugared cranberries or a sprinkle of toasted nuts. Arrange on a cake stand for impressive presentation at holiday gatherings.
Creative Twists
If you need dairy free use canned coconut cream and almond milk instead of heavy cream and whole milk. For a gluten free option swap in a gluten free pie crust—the filling itself is naturally gluten free. No pumpkin on hand? Try canned butternut squash puree for a slightly sweeter twist.
The first time I brought these to a holiday potluck even the people who claimed not to like pumpkin pie went back for seconds. Colorful sprinkles or playful garnishes make these a hit at kids parties and they travel well for sharing at work or school.
Common Questions About This Recipe
- → Can I use store-bought pie dough?
Yes, you can use either homemade or store-bought pie crust discs for convenience and great results.
- → How do I prevent mini pies from sticking?
Grease the mini muffin pans thoroughly with nonstick spray to help the pies release easily after baking.
- → Can I prepare the filling in advance?
Absolutely. The pumpkin filling can be made and refrigerated ahead of time until you're ready to assemble and bake.
- → Are these suitable for freezing?
Yes, you can freeze the baked mini pies. Thaw in the refrigerator before serving for best texture and flavor.
- → What toppings pair well with these pies?
Classic whipped cream is a favorite, and sugared cranberries add a festive touch and tart contrast.