
 Pin
Pin
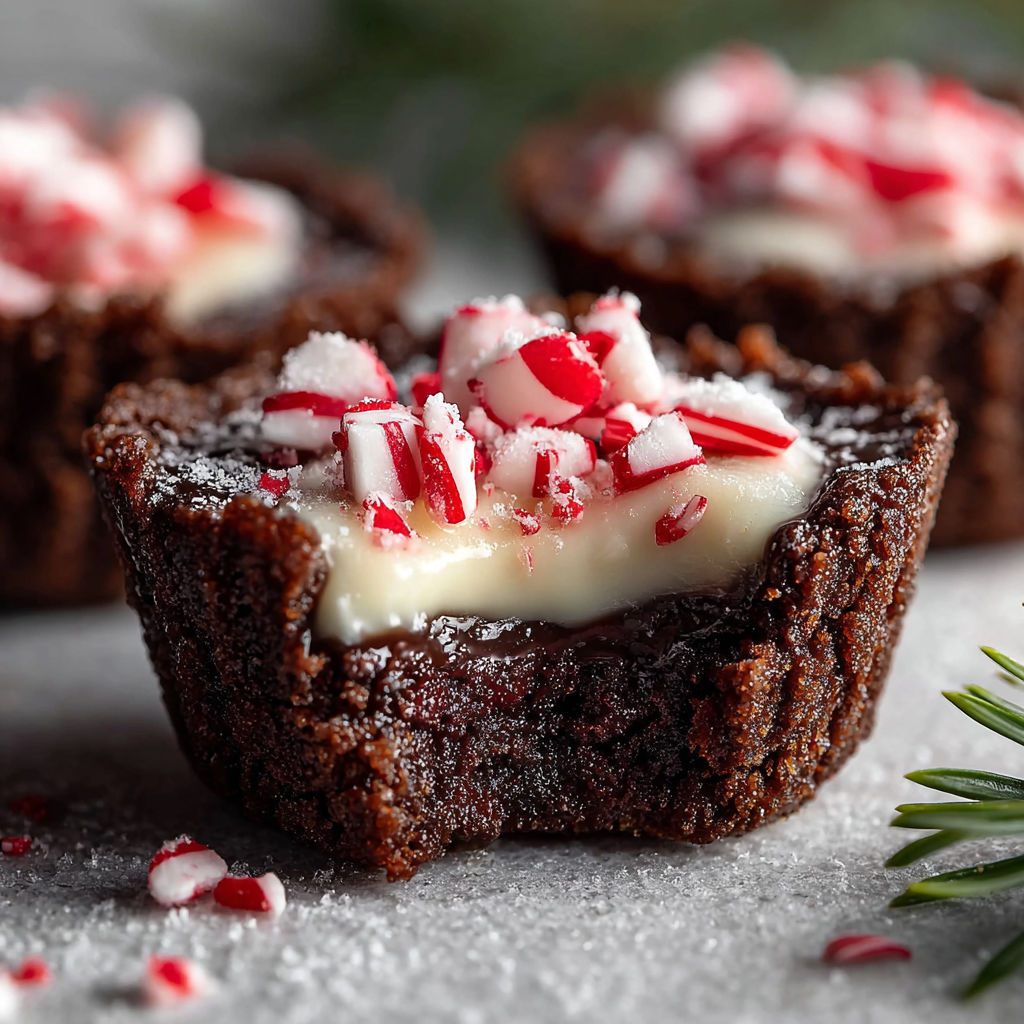
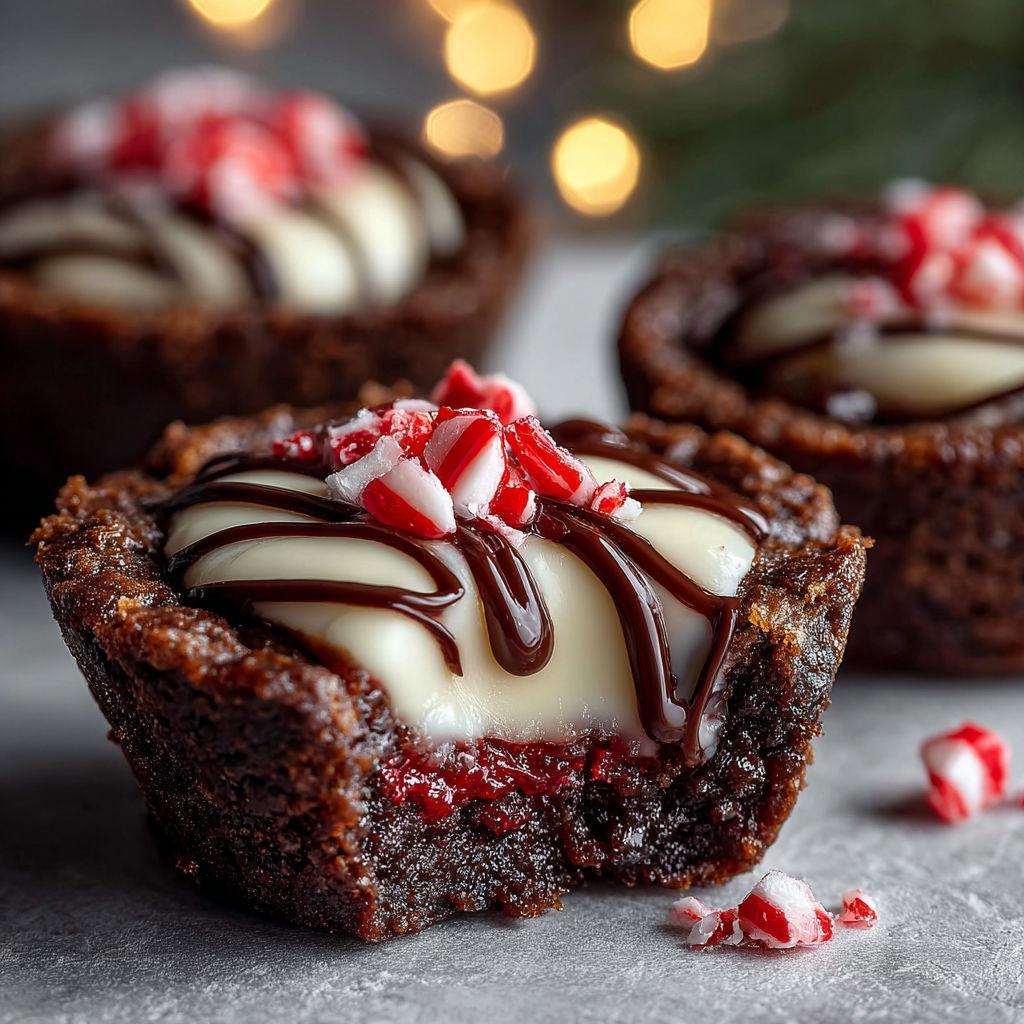
These chocolate peppermint cookie cups bring together rich cocoa flavors with a refreshing hint of peppermint, making a festive treat perfect for any occasion. The cookie base is tender and chocolaty, while the creamy peppermint filling adds a cool, smooth contrast. Whether for holiday parties or cozy nights in, this recipe blends traditional baking techniques with ease and convenience.
I first made these during a chilly December afternoon, and they quickly became a holiday favorite in my house. Now every year, my family asks me to bake them as part of our seasonal traditions.
Gather Your Ingredients
- All-purpose flour: forms a sturdy base for the cookies use fresh flour for best texture
- Dutch-processed cocoa powder: adds smooth, rich chocolate flavor sift before measuring to avoid lumps
- Black cocoa powder: intensifies the dark chocolate profile look for quality brands to enhance color and taste
- Baking soda: provides gentle leavening to keep cookies tender
- Salt: balances sweetness and enhances the chocolate notes
- Unsalted butter at room temperature: key for creamy cookie dough avoid melted butter to retain structure
- Granulated sugar and light brown sugar: create a balanced sweetness with slight caramel undertones from brown sugar
- Large eggs at room temperature: help bind ingredients and contribute to moisture
- Vanilla extract: brings warmth and depth to the dough
- Heavy whipping cream chilled: whips into stiff peaks to lighten the filling
- Full fat cream cheese: gives the filling tang and richness ensure it is softened slightly for smooth mixing
- Granulated sugar for filling: sweetens the cream cheese mixture without graininess
- Peppermint extract: delivers the festive mint flavor add carefully as it can be quite potent
How to Make It
- Preheat and prepare:
- Preheat your oven to 350 degrees Fahrenheit or 175 degrees Celsius. Thoroughly spray two regular-sized cupcake tins with cooking spray to prevent the cookie cups from sticking. This step ensures easy removal later.
- Mix dry ingredients:
- In a medium bowl, whisk together the all-purpose flour, Dutch-processed cocoa powder, black cocoa powder, baking soda, and salt. Sifting together these ingredients removes lumps and blends flavors uniformly. Set aside after mixing.
- Cream butter and sugars:
- Using a large mixing bowl, beat the room temperature unsalted butter with granulated sugar and light brown sugar on medium-high speed for about two to three minutes. The goal is to achieve a light, fluffy, and well-combined mixture which provides the cookie’s tender texture.
- Incorporate eggs and vanilla:
- Reduce the mixer speed to low, adding the eggs one at a time. This careful incorporation avoids breaking the batter’s emulsion. Follow with the vanilla extract and beat until fully combined.
- Combine dry and wet ingredients:
- Gradually add the flour mixture to the butter mixture while mixing just until incorporated. Overmixing can develop gluten and make the cookies tough, so stop once the dry ingredients are mostly blended.
- Bake the cookie cups:
- Divide the cookie dough evenly among the cupcake tins and bake for ten to thirteen minutes. The centers should be mostly set but retain a slight softness which makes shaping possible.
- Create the filling well:
- Right after removing the pans from the oven, press down firmly into the center of each cookie cup using a small jar or container. This creates a well for the peppermint cream cheese filling.
- Cool the cookie cups:
- Allow the cookie cups to cool in the pans for ten minutes. Then gently twist each cup slightly to loosen it before continuing to cool on a wire rack for another five minutes. Complete cooling outside the pan ensures the cups hold their shape.
- Whip the cream:
- Using a cold bowl and whisk, whip the chilled heavy cream until stiff peaks form. This will lighten the filling and add fluffy texture.
- Prepare the peppermint filling:
- In a separate mixing bowl, beat the cream cheese with granulated sugar and peppermint extract until smooth and creamy. This combination delivers a luscious, minty filling.
- Fold whipped cream into filling:
- Gently fold the whipped cream into the cream cheese mixture until fully combined. The result is a fluffy, light filling perfect for piping.
- Assemble and chill:
- Pipe a generous swirl of the peppermint cream cheese filling into each cooled chocolate cookie cup. Refrigerate the filled cups for one to two hours to let the filling set before serving.
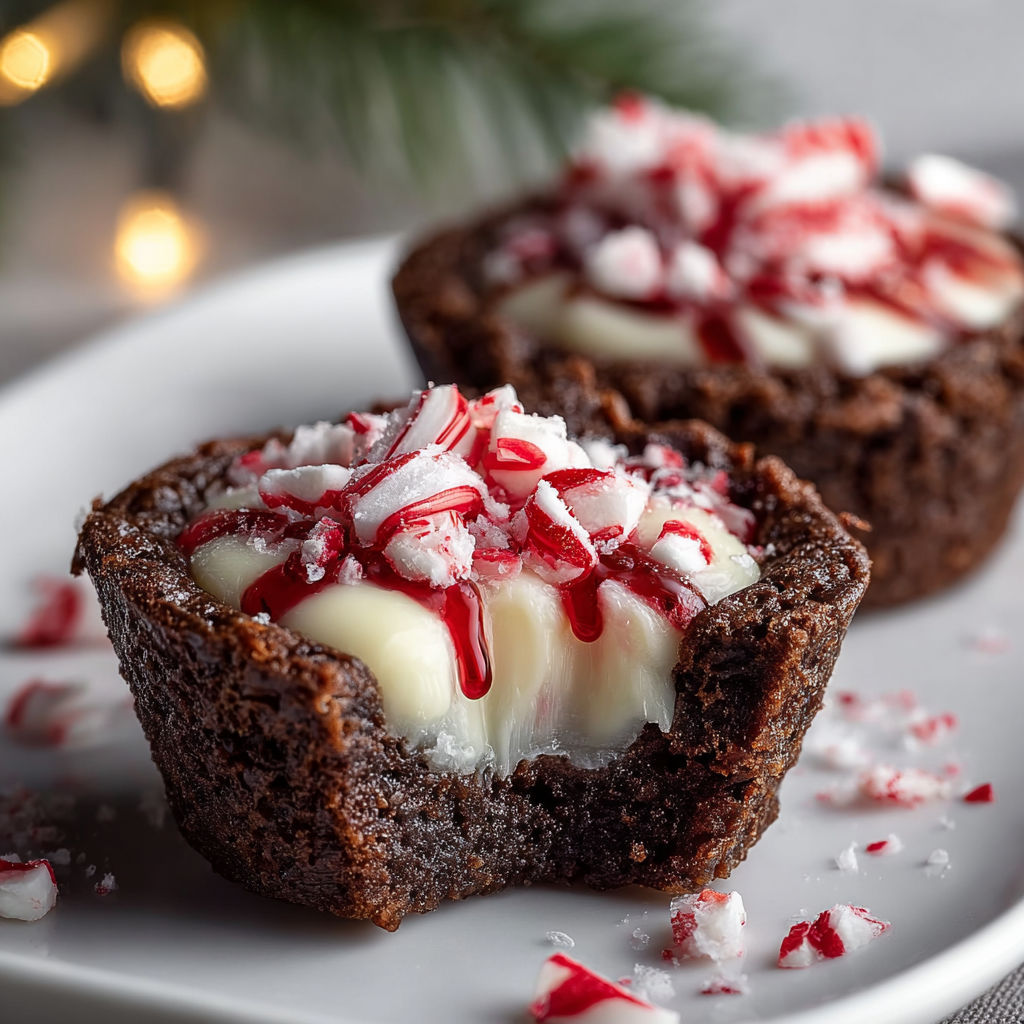
My favorite part is the cream cheese peppermint filling which balances the rich chocolate with a refreshing brightness. One holiday season, I surprised my neighbors with these cookie cups, and their delight made the baking effort extra special.
Flavor Boosters
Store cookie cups in an airtight container in the refrigerator for up to three days to keep the filling fresh and cookies moist. To extend shelf life, freeze the unfilled cookie cups for up to four weeks. When ready to serve, thaw at room temperature and fill with fresh peppermint cream cheese mixture.
Serving Suggestions
Serve these cookie cups chilled alongside a cup of hot chocolate or coffee to complement the chocolate and peppermint flavors. Garnish with finely chopped candy canes or dark chocolate shavings for extra festivity. They also pair well with a scoop of vanilla ice cream on the side.
Creative Twists
During summer, swap the peppermint extract for orange or lemon zest to brighten the flavor while keeping the chocolate base. In winter, incorporate a sprinkle of cinnamon or nutmeg into the cookie dough for a warm spice element. These adjustments make the recipe versatile throughout the year.
This festive recipe is sure to delight and become a seasonal favorite for all your celebrations.
Common Questions About This Recipe
- → How do I create the well in the cookie cups?
After baking, press down firmly in the center of each warm cookie cup with a small jar or container to make a well for the filling. Allow them to cool completely before filling.
- → Can I prepare the cookie cups ahead of time?
Yes, the cookie cups can be baked and filled in advance. Refrigerate for 1-2 hours until the filling sets. They can also be frozen without topping for up to 4 weeks.
- → What makes these cookie cups soft inside?
The baking time is short (10-13 minutes), ensuring the centers remain soft while the edges firm up, creating a tender texture perfect for holding the filling.
- → How is the peppermint flavor incorporated?
Peppermint extract is blended into the cream cheese filling, providing a fresh minty taste that complements the chocolate base.
- → What is the best way to serve these cups?
Serve chilled, optionally topped with chopped candy canes for added texture and festive appeal. They pair well with winter and holiday occasions.